
Appraisal Financials Groups
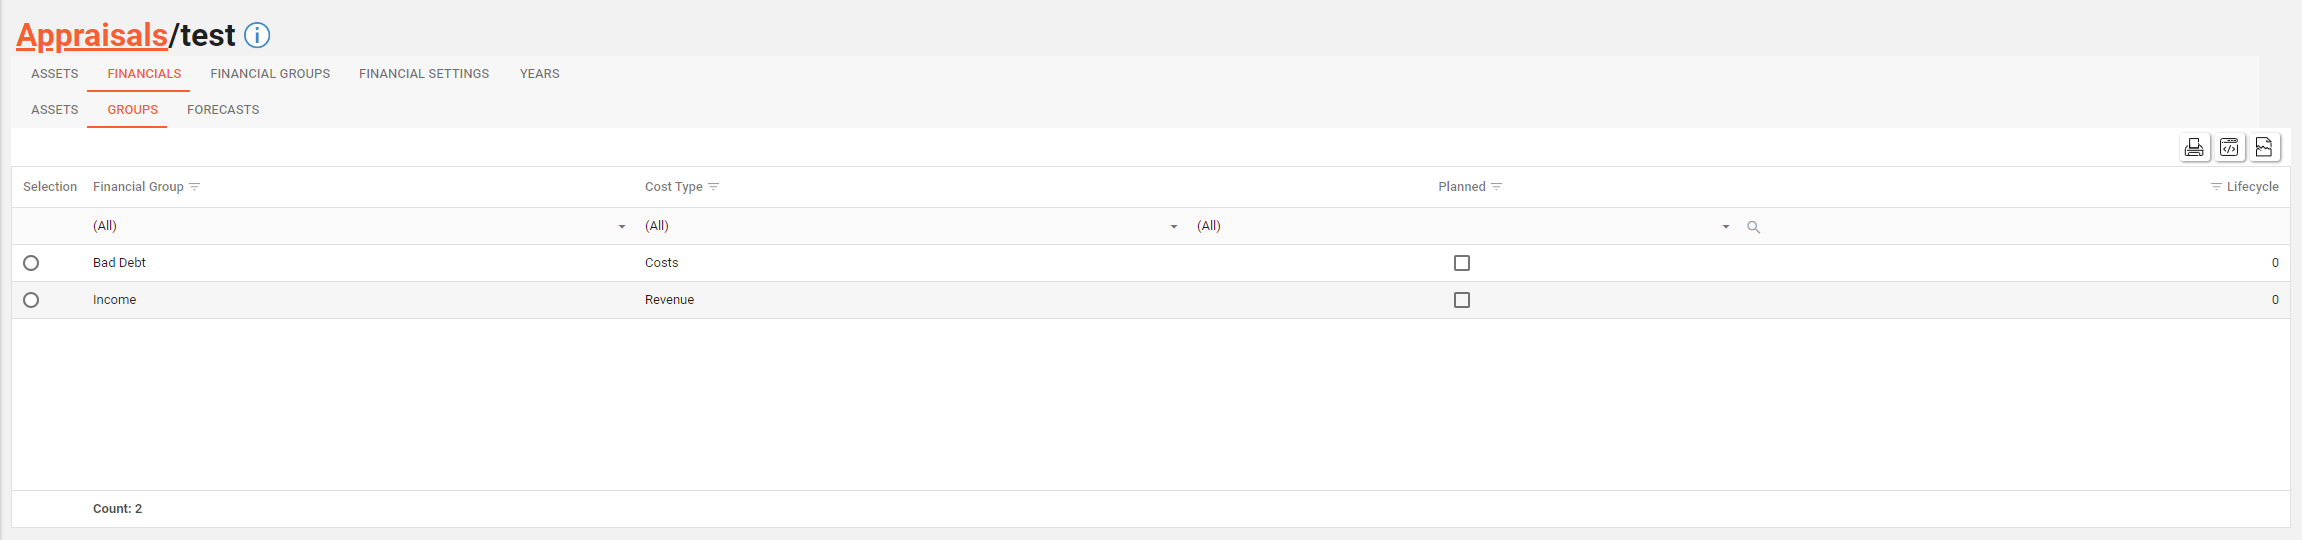
The Appraisal Financial Groups tab allows a user to see Appraisal Asset Costs per Appraisal Financial Group.
A user will need the following permissions to access and perform any actions on this tab:
AA_Appraisal_Appraisals_Asset_Costs
AA_Appraisal_Appraisals_Asset_Costs_Create
AA_Appraisal_Appraisals_Asset_Costs_Update
AA_Appraisal_Appraisals_Asset_Costs_Delete
Editing an Appraisal Asset Cost
An Appraisal Asset Cost will need to have been created in the Assets Tab before you can edit via the Groups Tab.
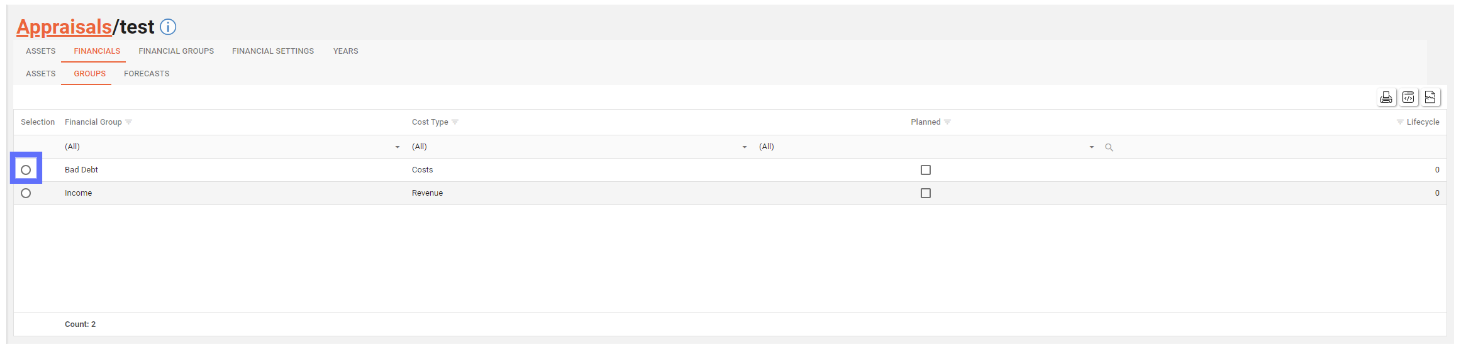
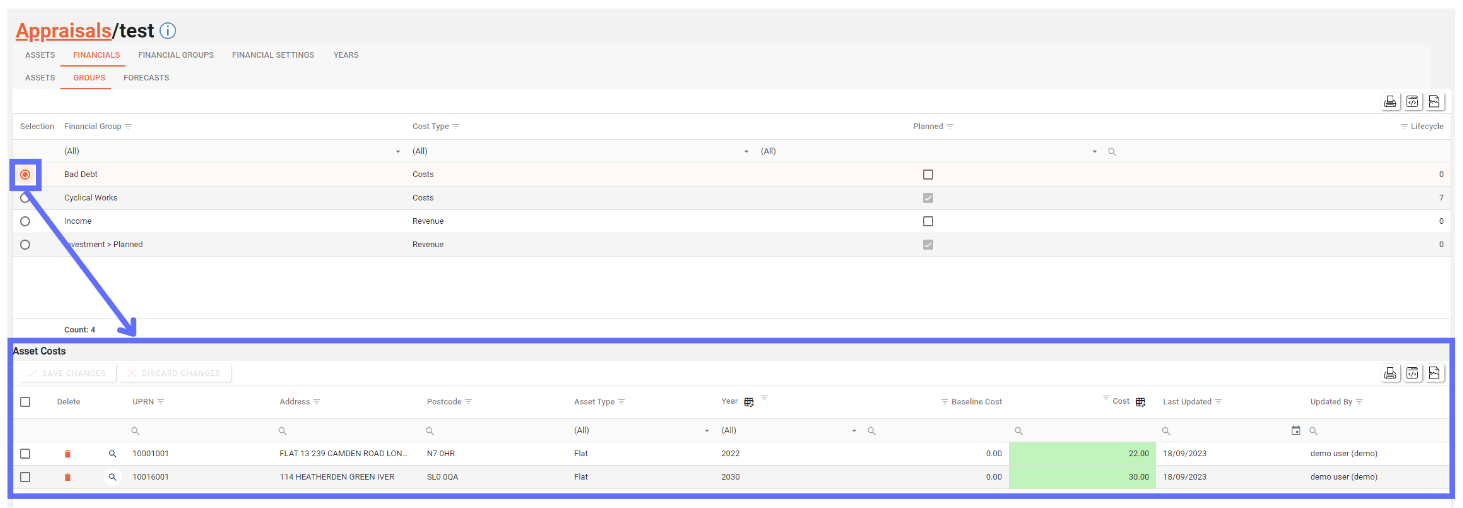
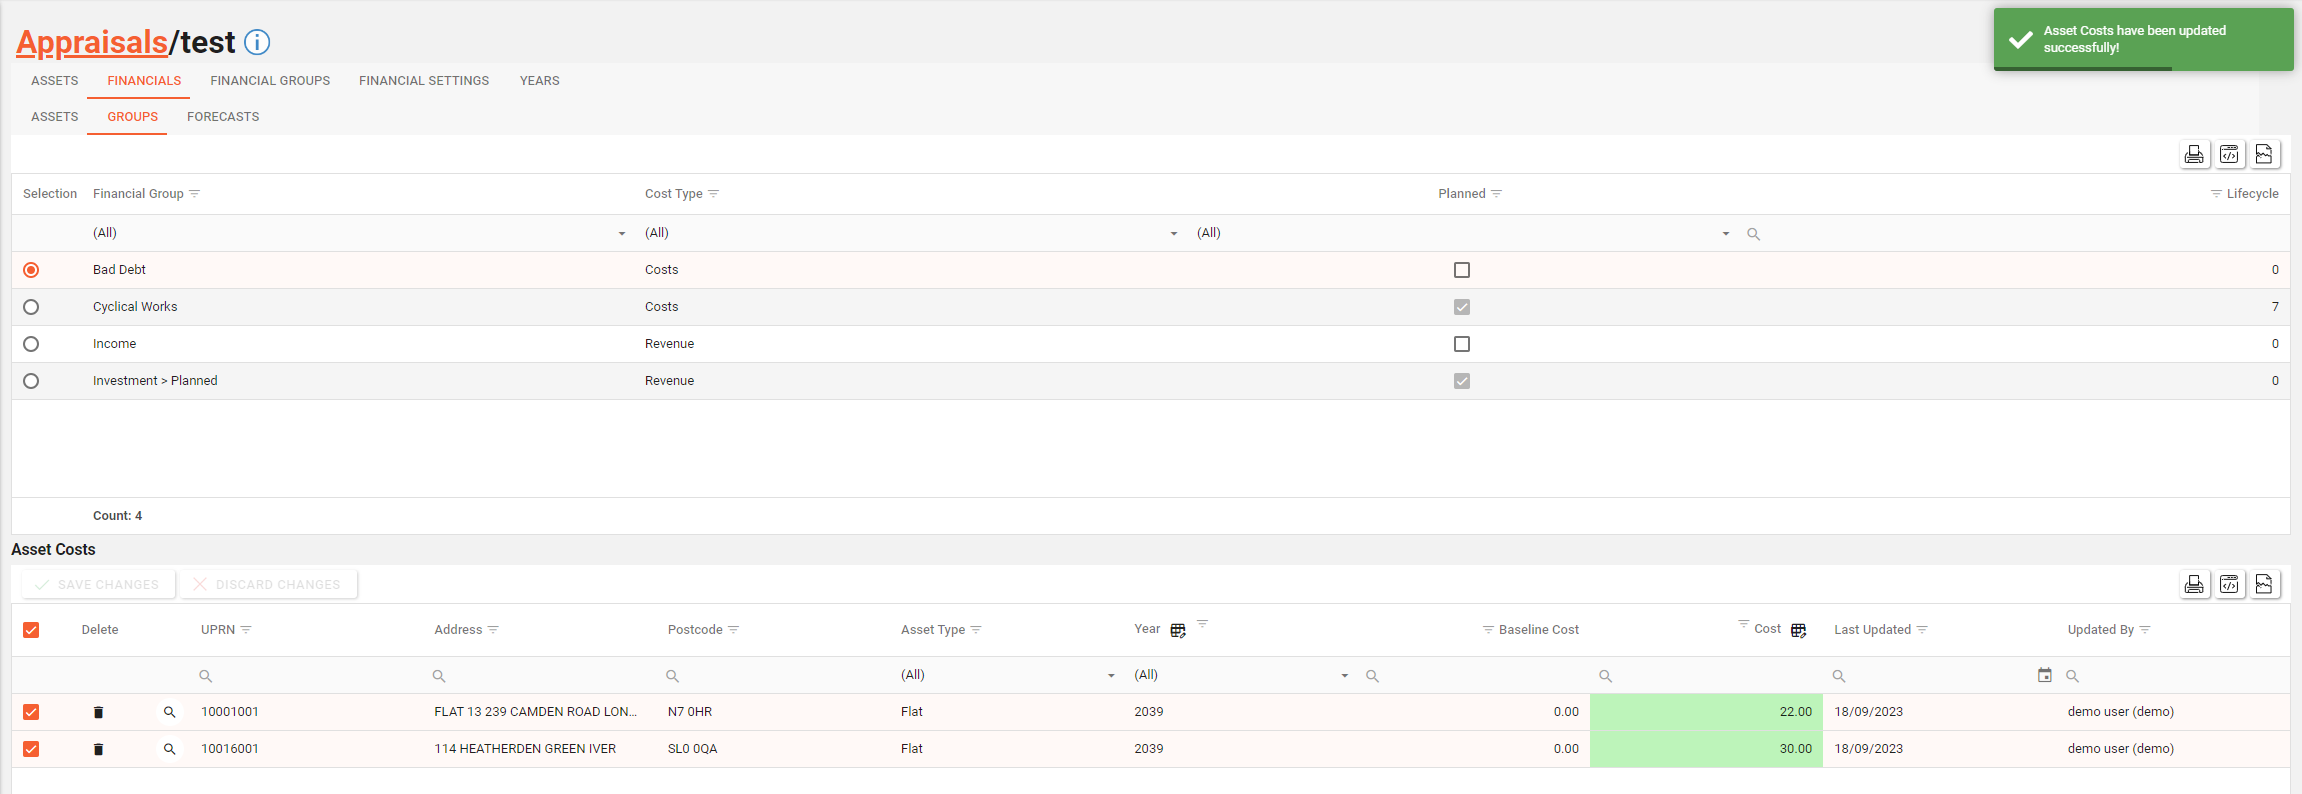
In order to edit an Asset Cost for a certain Appraisal Financial Group you will first need to select the group from the top grid via the the radio button on the far lefthand side. (see below)
This will reveal the bottom grid of Asset Costs (see below)
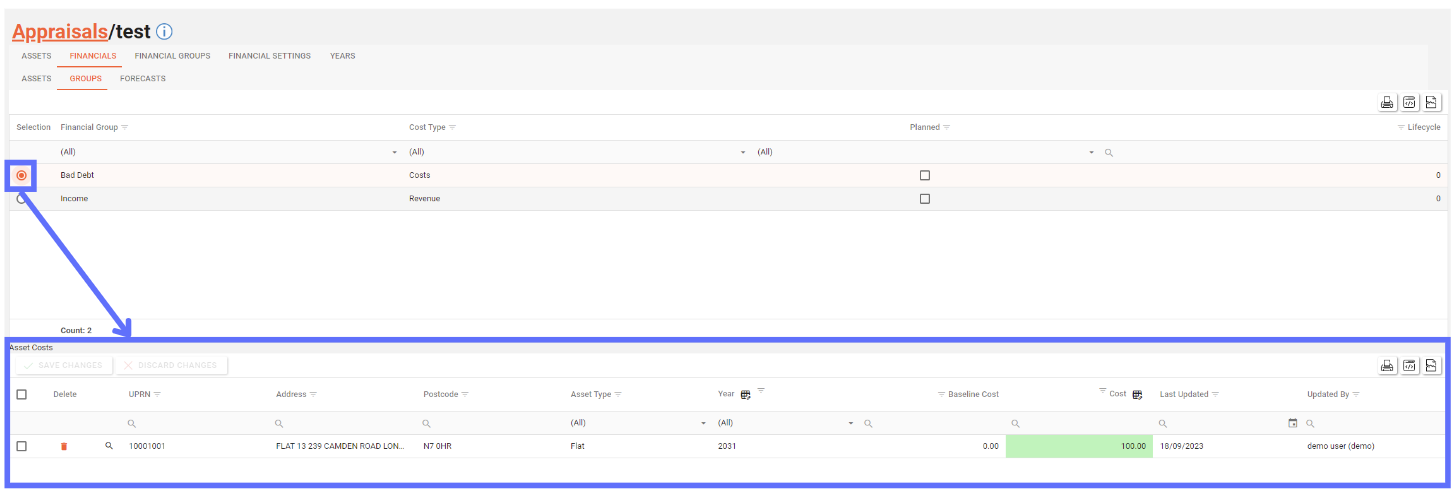
Here is a definition of the columns for the bottom Asset Costs grid.
Field | Type | Description | Editable | Bulk Edit |
|---|---|---|---|---|
 | Button | Trash Can button that marks the Asset Cost row for deletion. | No | No |
 | Button | Clicking on this magnifying glass button will navigate to the Asset | No | No |
UPRN | text | The UPRN for the Asset | No | No |
Address | text | The Address of the Asset | No | No |
Postcode | text | The Postcode of the Asset | No | No |
Asset Type | List | The type of Asset | No | No |
Year | List | The Year of the Asset Cost | Yes | Yes |
Baseline Cost | Decimal | The Baseline cost that comes from the corresponding row in the Project Financials screen | ||
Cost | Decimal | The value of the Asset Cost | Yes | Yes |
Last Updated | Date | When the Asset Cost was created or last updated | No | No |
Updated By | string | Who created or last updated the Asset Cost | No | No |
The only columns that can be edited are Year and Cost. The rest of are purely for reference.
Click into the cell you want to edit and choose from a drop down list of Appraisal Years or simply specify a new cost for the row.

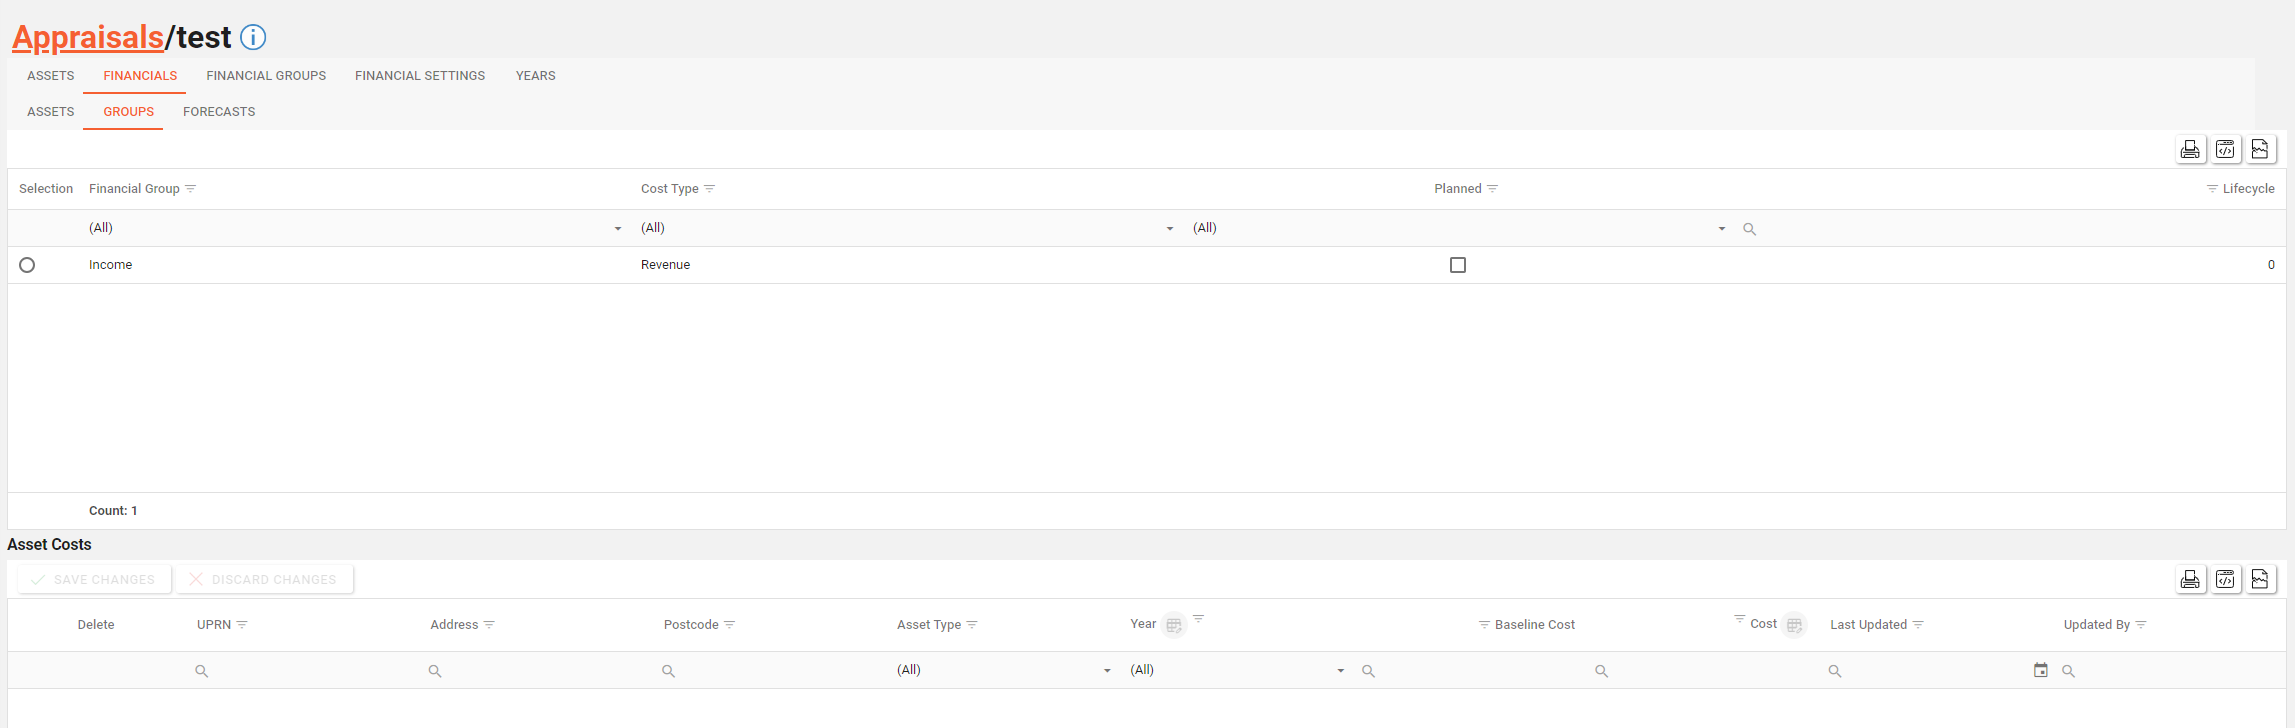
Remember to click on the “Save Changes” button to persist the changes to the database.
Any unsaved changes can be reverted by clicking on the “Discard Changes” button.

The changes have been saved.
Deleting an Appraisal Asset Cost
Deleting an Appraisal Asset Cost will permanently remove it from the database. If the Appraisal Asset Cost is an override of a Project Asset Cost it will simply be reset. If the Appraisal Asset Cost isn’t an override it will be removed from the grid.
In order to delete an Asset Cost for a certain Appraisal Financial Group you will first need to select the group from the top grid via the the radio button on the far lefthand side. (see below)
This will reveal the bottom grid of Asset Costs (see below)
To delete an Asset Cost you will need to click on the “Trash Can” icon on the far lefthand side of the Asset Costs grid. (see below)

This will mark the row for deletion by changing the background colour of the row in question “Pink” and displaying a “Revert Arrow” icon in place of the “Trash Can”.

Even though the Asset Cost grid contains Asset information (UPRN, Address, Postcode, etc), deleting an Asset Cost won’t delete the Appraisal Asset only the linked cost.
Clicking on the “Revert Arrow” icon will return the row’s background colour to normal and unselect it for deletion. Alternatively clicking on the ”Discard Changes” button will also reset any and all rows that have been marked for deletion.
If you’re sure you want to proceed with the Asset Cost deletion, click on the “Save Changes” button and the record will be permanently deleted from the database.
Bulk Editing Appraisal Asset Costs
In order to bulk edit an Asset Cost for a certain Appraisal Financial Group you will first need to select the group from the top grid via the the radio button on the far lefthand side. (see below)

This will reveal the bottom grid of Asset Costs (see below)
Select the Asset Cost rows you want to bulk edit by ticking the checkboxes on the far lefthand side of the Asset Costs grid.

The Asset Costs grid has buttons in the column headers for Year and Cost that allow you to bulk edit.

Click on a button in the grid header to open the bulk edit dialogue.
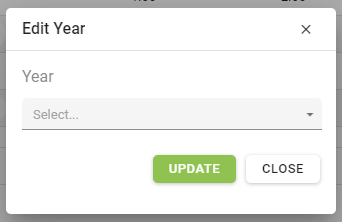
In this example I’ve clicked on the Year bulk edit button and the following “Edit Year” dialogue has appeared (see below)
Upon clicking on the dropdown box a list of years pertinent to the current Appraisal will be displayed:
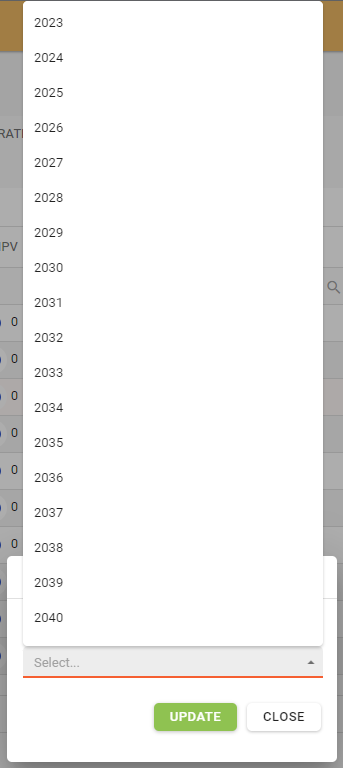
Choose the Year from the list that you want to apply to all of the previously selected Asset Cost rows and click on the “Update” button.
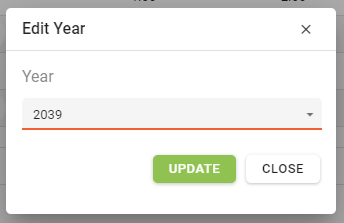
In this example the Year 2039 was chosen. It will now be applied to all of the previously selected rows. The amended rows will have a green background.
Once you’ve finished bulk editing remember to click on the “Save changes” button to persist the changes to the database.

The bulk edited rows have now been saved:
Load Scenarios
The “Load Scenarios” button should be used with caution as it can change Appraisal Asset Costs.
A licence and certain permissions are required to use the “Load Scenarios” button. Please speak to your administrator to enable the following license and permissions:
Licence:
AppraisalAssetsIntegrationPermission:
AA_Appraisal_Appraisals_Financial_Group_RepairsPermission:
AA_Appraisal_Appraisals_Financial_Group_Repairs_Create
Before using the “Load Scenarios” button you will need to have configured a Scenario(s). You can follow this guide to do so.
You will also need to configure Project Financial Group Repairs as the mappings will be required to map Repairs that are identified within the Scenario rules to Project Financial Groups. You can follow this guide to create the mappings.
Click on the button “Load Scenarios” (see below)

This will show a popup (see below)
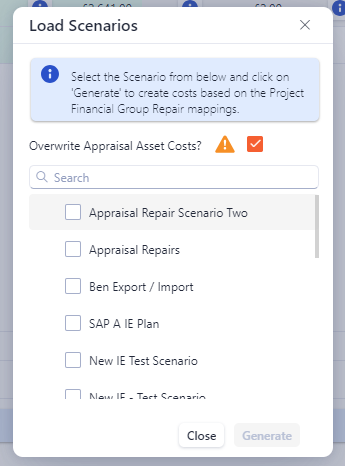
This popup allows you to pick a Scenario from the list and use the rules configured within it to add, remove, replace and modify Appraisal Asset Costs, based on the mappings configured in Project Financial Group Repairs.
The “Overwrite Appraisal Asset Costs” checkbox when checked will allow any pre-existing to be overwritten. If you want to keep any costs that have been previously modified; then uncheck the checkbox.
Choose a Scenario and click on the “Generate” button.
For this feature to work successfully it’s worth spending time ensuring the rules with the Scenario are going to achieve the desired result. Scenario rules can use specific Assets or you can create criteria to pick up only Assets with certain characteristics instead. To allow further control, try creating multiple Scenarios that target certain rules. Using this technique multiple Scenario’s can be applied one after another, checking the outcome before apply any more.
The Financial Group Repair Mappings need to crafted carefully. If you’re specifying Asset Types for a mapping, it will make the mapping more selective. Whilst you may think a certain Asset should be affected by the mapping and the Scenario, the Asset’s type might not match the one specified in the mapping and therefore not trigger a rule to be applied.