
Configure Repairs
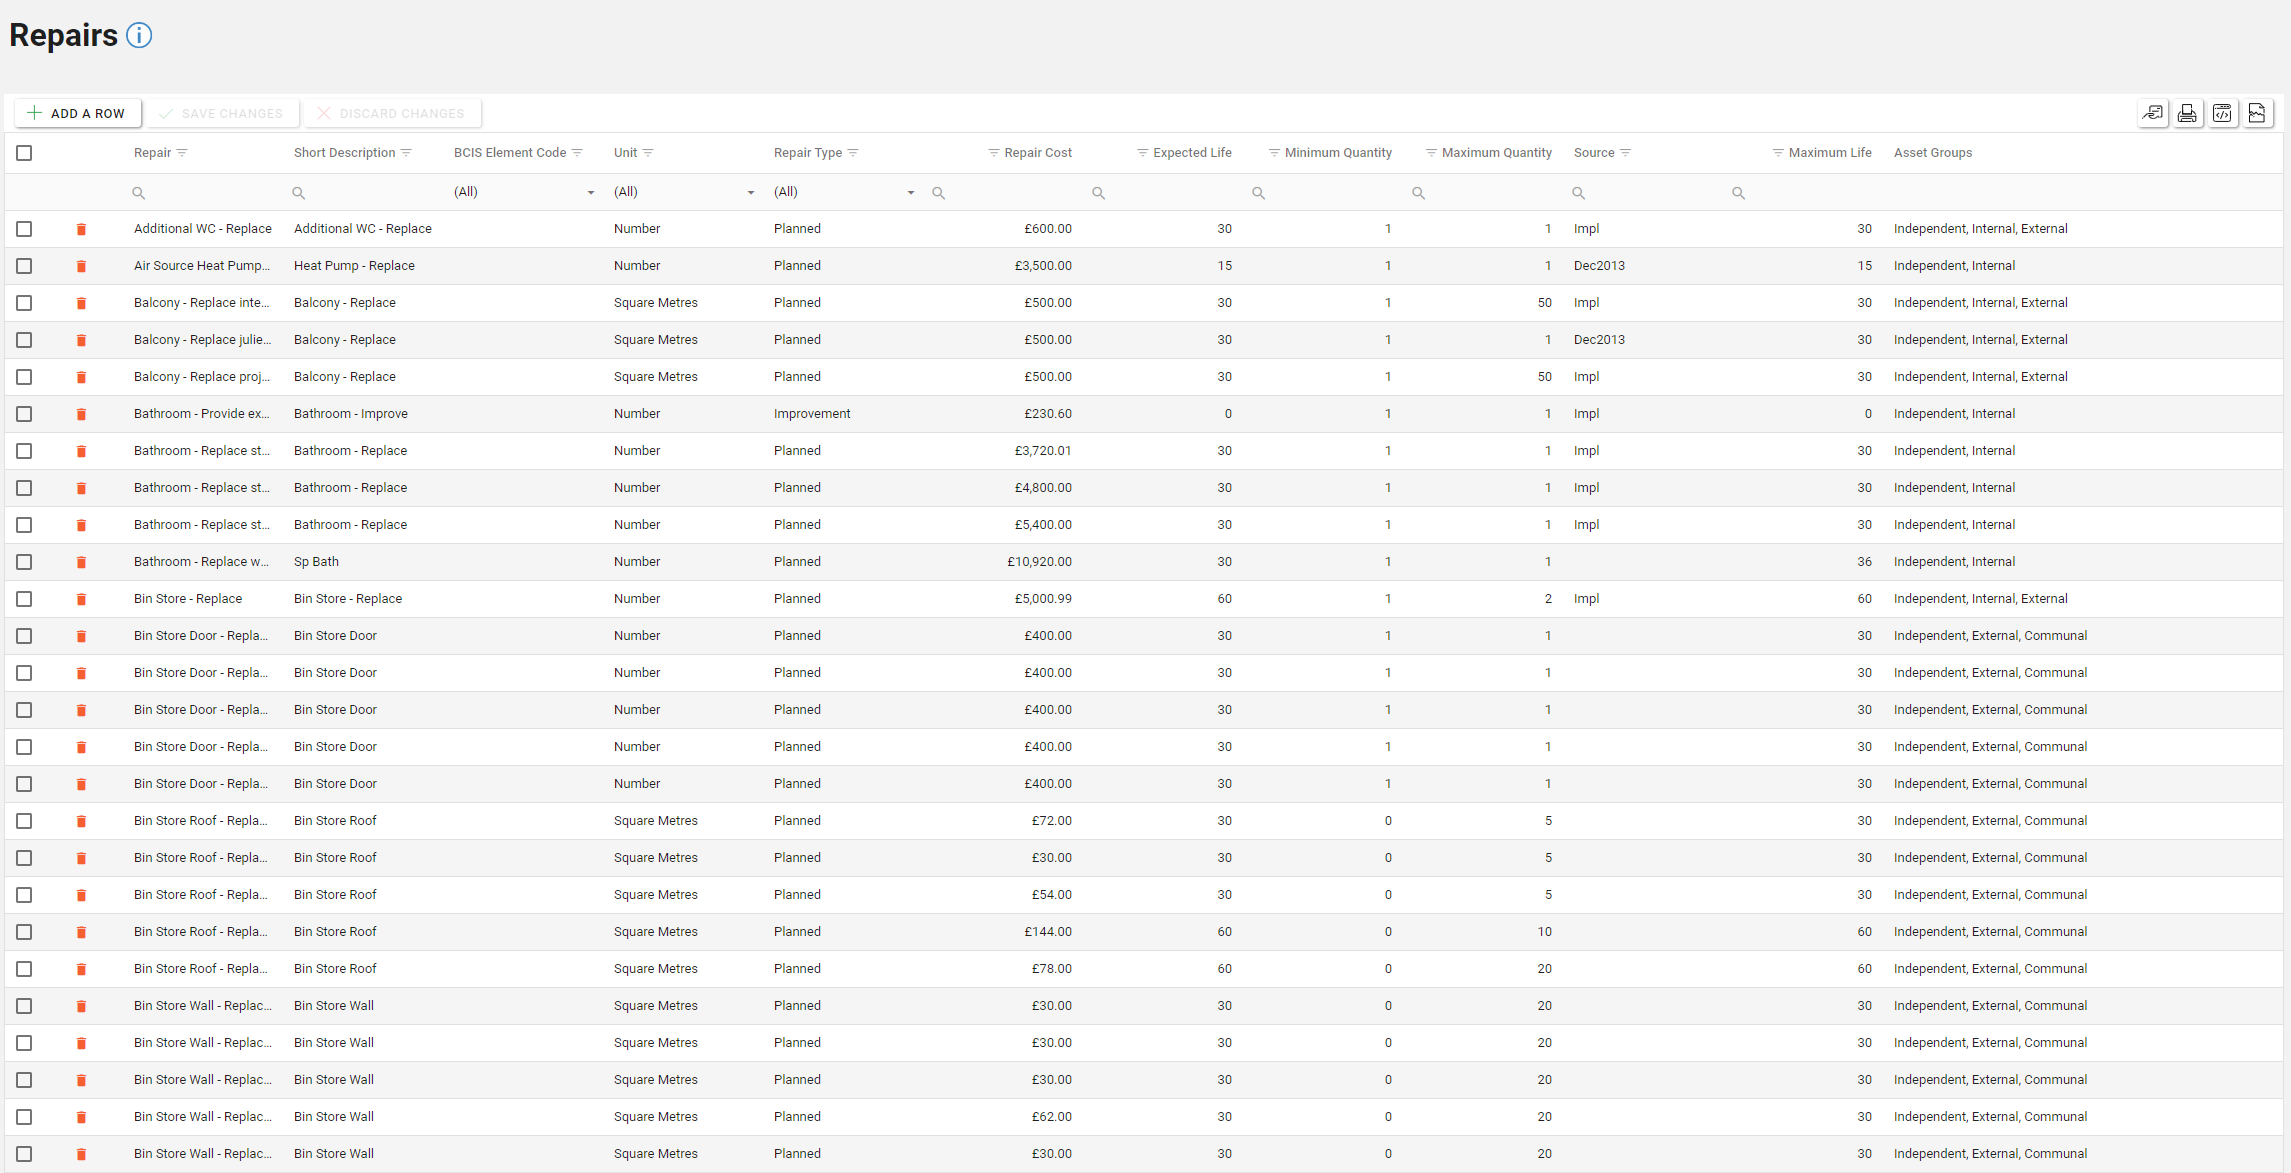
Repairs can be configured via the Repairs screen and are typically used within the Repair Section and when you add a Repair to a Component.
Repairs are used to inform all areas of Asprey Assets which utilise Repairs, therefore, if a Repair does not appear on this screen, it cannot be used by the application.
You will require the following permissions to access and edit this area.
AA_Configuration_Repair_Create
AA_Configuration_Repair_Delete
AA_Configuration_Repair_Update
AA_Configuration_Repair_View
Please speak to your internal administrator to grant the relevant permissions.
Create a Repair
To add a new Repair, click the “Add a Row” button located at the top left-hand side of the Repair page.
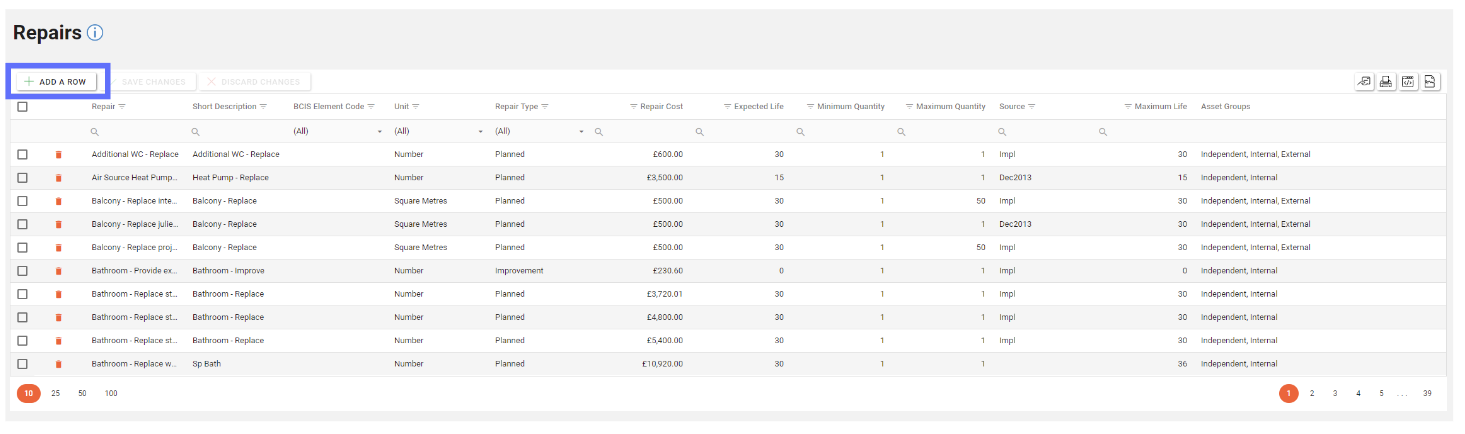
A new row will appear at the top of the Repair Grid. Enter the details of the new Repair here.

You will need to have Units and Repair Types pre-configured before using this screen so that you can make use of them within the respective dropdown lists. (see above). These fields help with determining the type and cost of a Repair and are therefore mandatory.
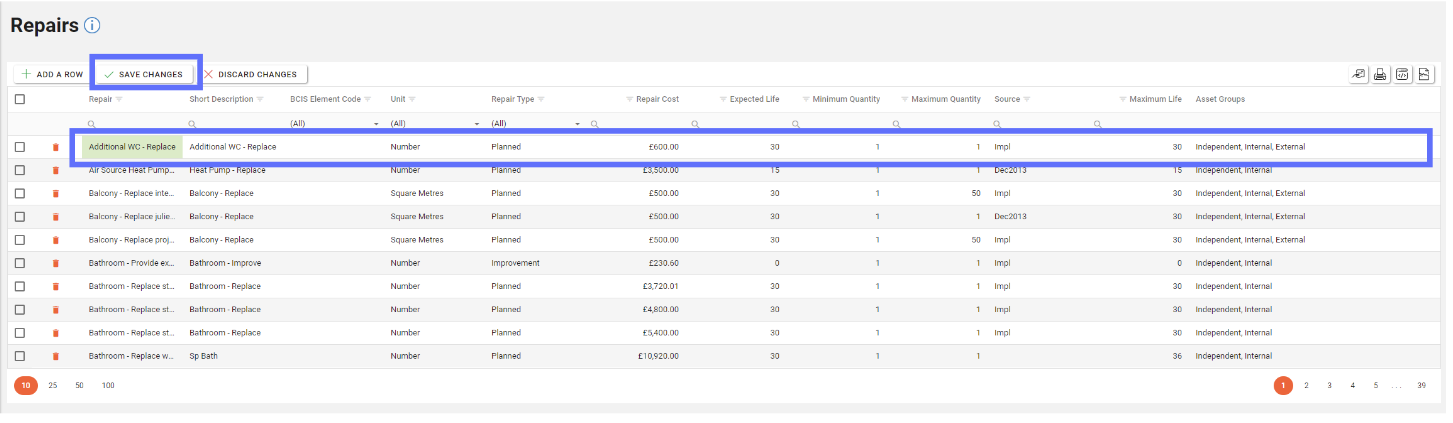
When the required data has been entered, click the “Save Changes” button to save the new row.
Editing a Repair
To edit an existing Repair, select the row you wish to edit and then select the field to be edited and overwrite the existing data present. When all changes are made to the relevant columns, click the “Save Changes” button.
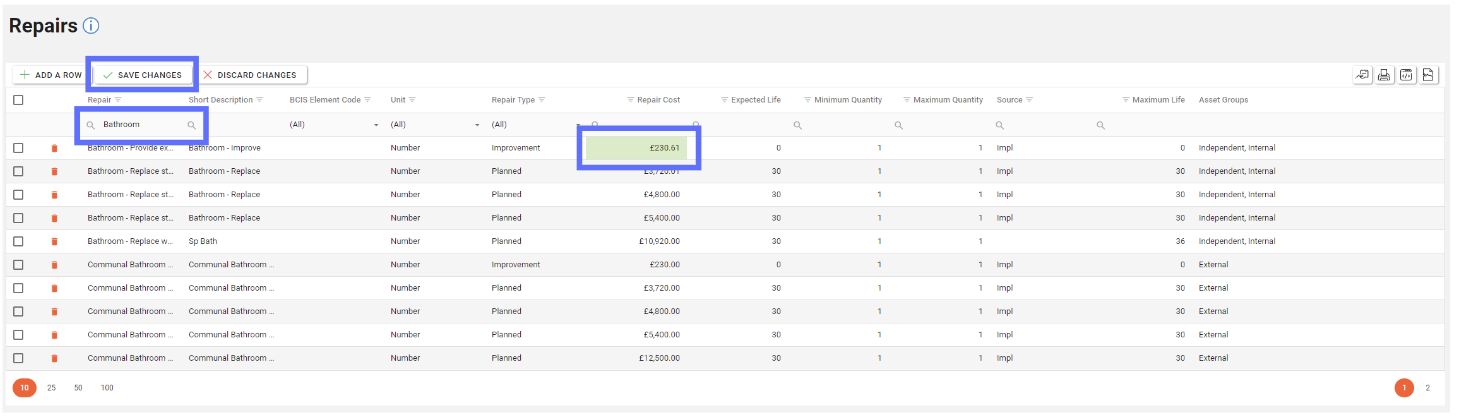
Periodically you will want to revise Repair cost estimates within this screen. This can be done easily by searching for the Repair in the search box directly underneath the Repair column header and updating the Repair Cost. (this applies to all other fields too)
Alternatively you may want to bulk edit Repairs. This can be done easily by filtering on the column you want to filter with, for example “Repair Type”.
Click on the filter button to the right of the column label “Repair Type” (it looks like a triangle made up from lines). This will open up a context menu, allowing you to choose the criteria you want to filter with.
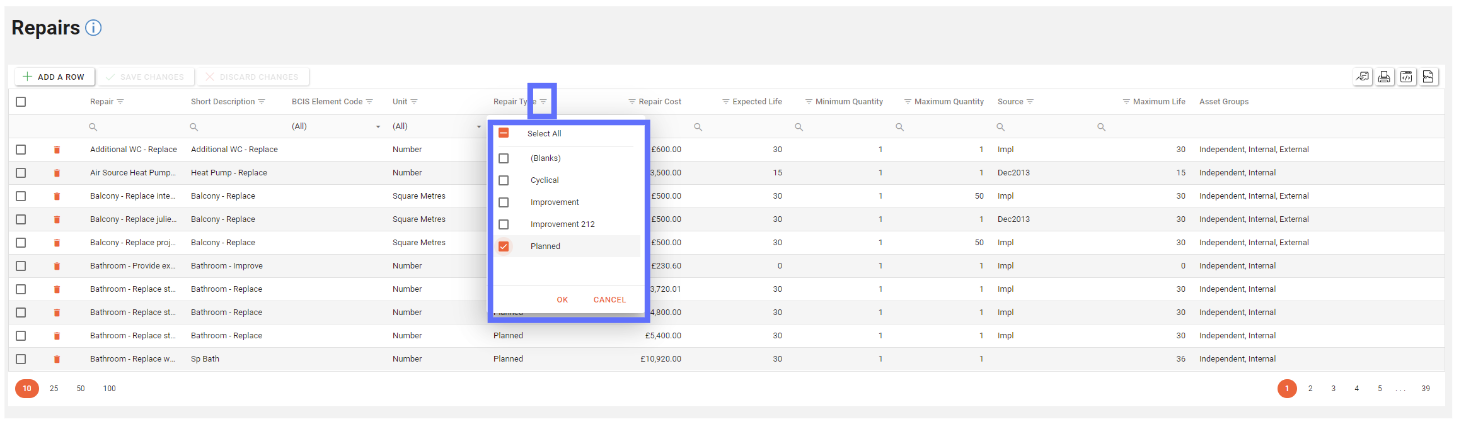
You can now bulk edit Repair rows, in this example we’re updating the Repair Cost for multiple “Planned” Repairs.
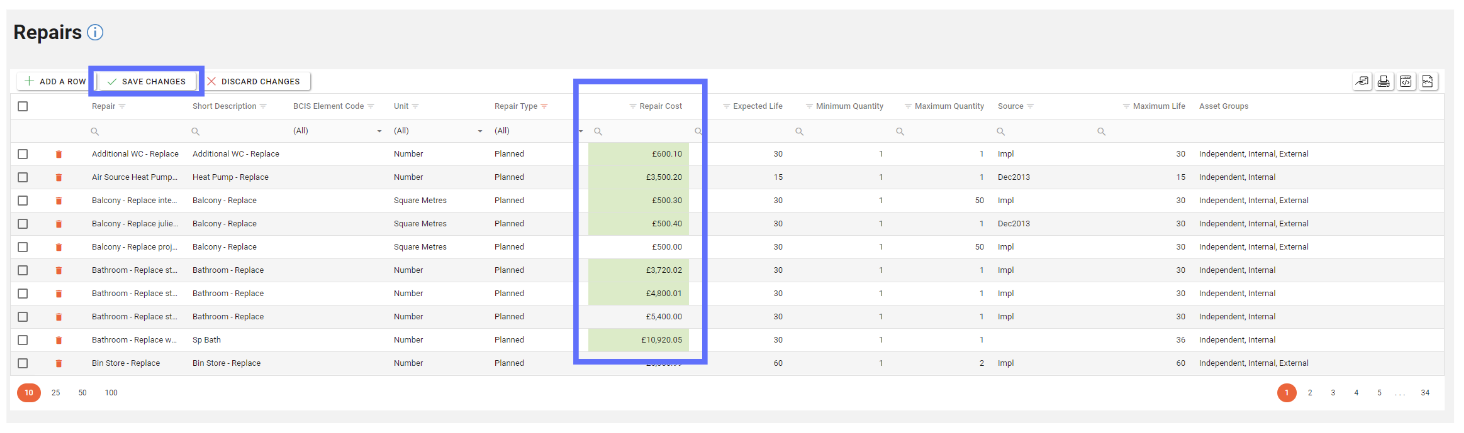
Remember to click the “Save Changes” button when you’ve finished editing
If you wish to undo any unsaved changes, click the “Discard Changes” button.
Deleting a Repair
Deleting a Repair will permanently remove it from the database! You won’t be permitted to delete a Repair if it’s been used elsewhere in the application - for example: Repairs that have been added to a Component
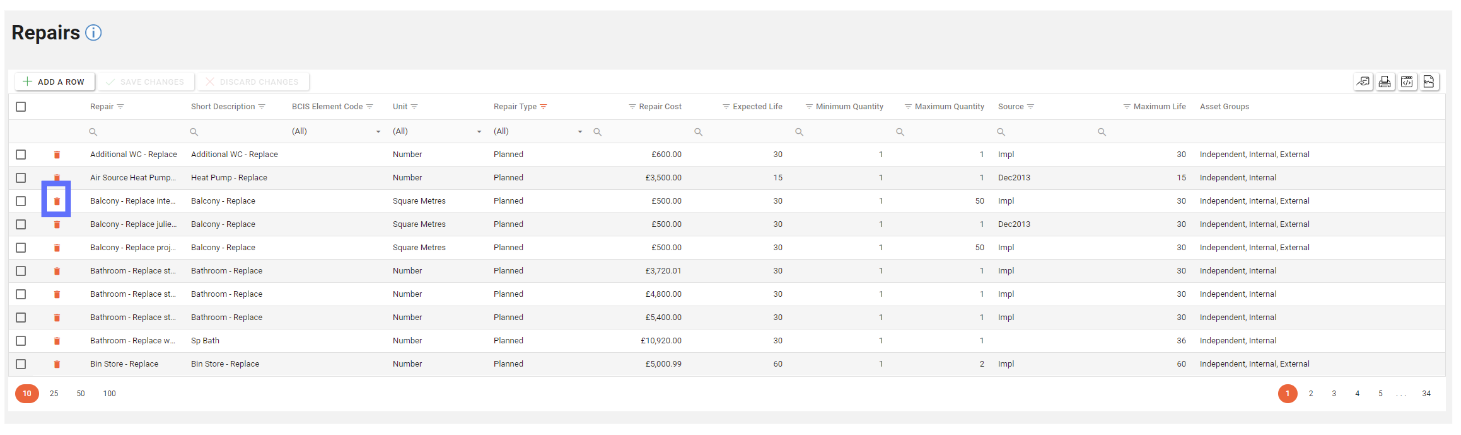
To delete an existing Repair click the trash can button in the row you wish to delete from Asprey Assets.
This will then update the screen to show an “undo” arrow in place of the trash can and the save changes/discard changes buttons are illuminated indicating a change has been made on the screen.
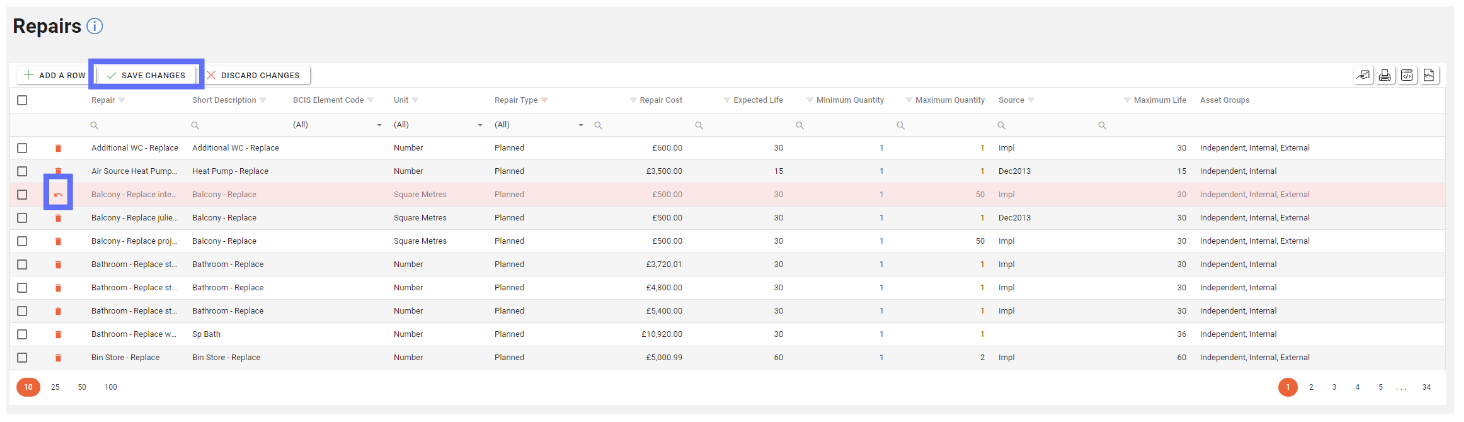
To confirm the deletion, click the “Save Changes” button.