Default Financial Settings
The Default Financial Settings screen allows user to create, edit and delete financial settings for Default Projects within the Appraisal Module of Asprey Assets.
Default Financial settings are dependant on Default Projects, Financial Setting Groups and Financial Setting Types. Before configuring a Default Financial Setting you will need to set up some of the aforementioned settings.
Permissions are required to manage Default Financial Settings. please speak to your internal administrator to enable the following permissions:
AA_Appraisal_Configuration_Financial_Settings
AA_Appraisal_Configuration_Financial_Settings_Create
AA_Appraisal_Configuration_Financial_Settings_Update
AA_Appraisal_Configuration_Financial_Settings_Delete
Create a Default Financial Setting
Firstly choose a Default Project from the dropdown list of Projects at the top of the screen.
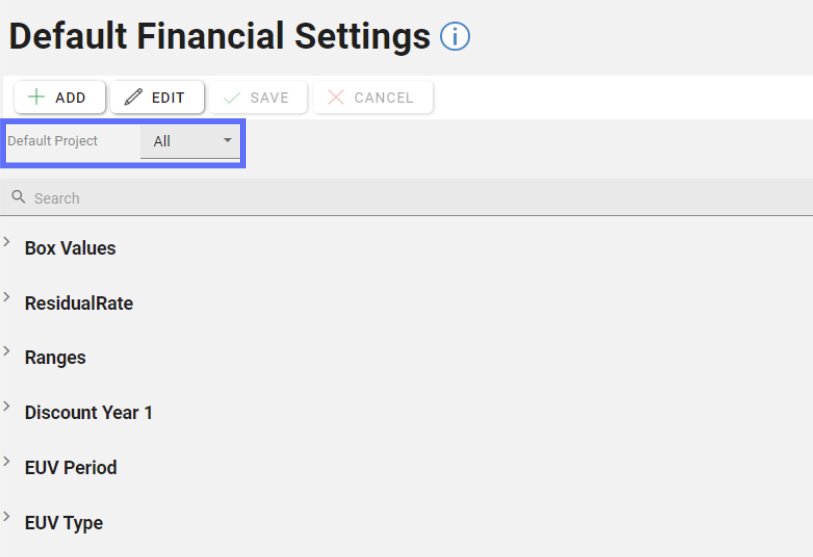
This will be the Default Project the Financial Setting will be set up under.
The next step is to click on the “Add” button in the toolbar:
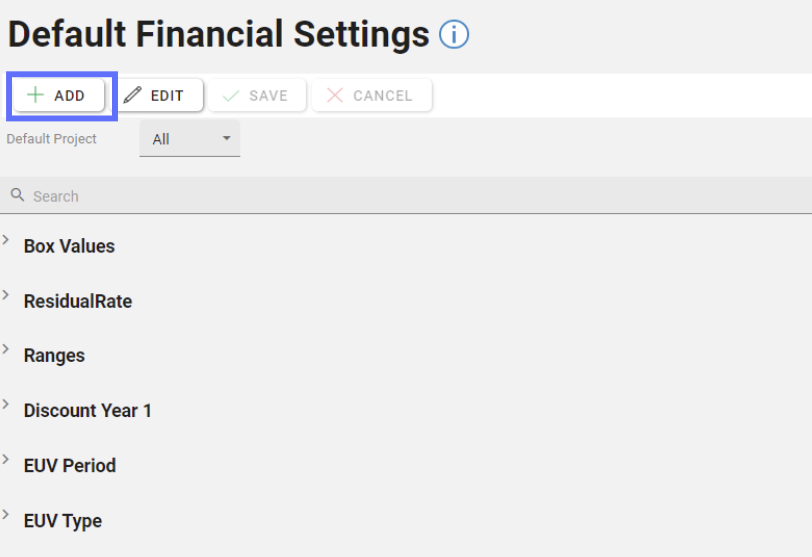
This will open the “Add Default Financial Setting” dialogue, allowing users to chose from Financial Setting Types and Financial Setting Groups (if there are any specified for the Setting Type)
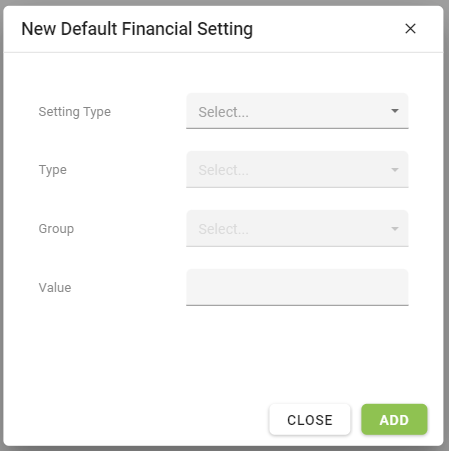
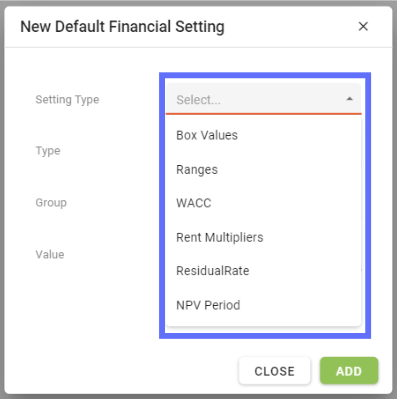
Start by choosing a Setting Type from the dropdown list.
The Setting Types are list of system configured types that cannot be edited or maintained by users.
You can however choose a Setting Type for each Financial Setting Type in the Financial Setting Types section.
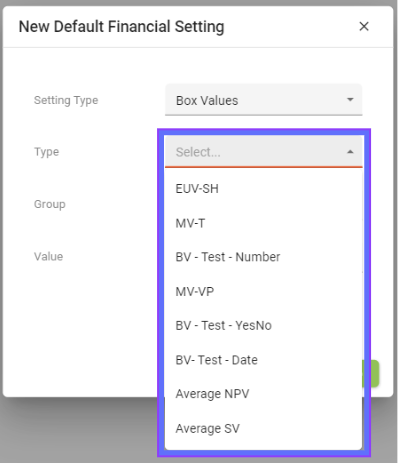
Depending on what Types have been configured in the Financial Setting Types section for the selected Setting Type; they will appear in the Type dropdown list.
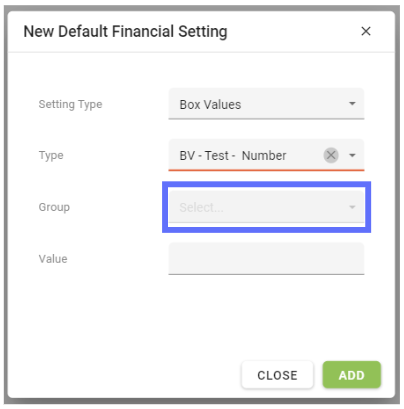
If Financial Setting Groups have been configured for the selected Setting Type they will show in the Group dropdown list, although it’s not mandatory to choose a Group.
Here’s an example New Default Financial Setting that does have a Group assigned to the Setting Type → Type:
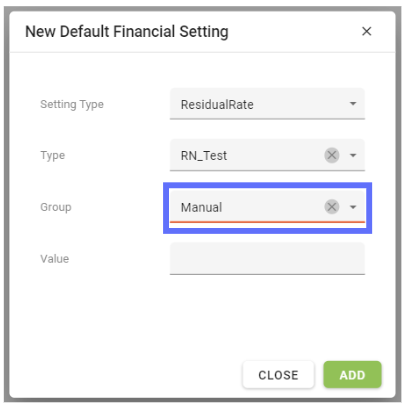
Specify the value for the New Default Financial Setting.
The Data Type of the value will be dependant on the Data Type chosen in the Financial Setting Types section for the selected Type in the dialogue.
In the above example the Type is “RN_Test” which has a Data Type of Number (see below screenshot from the Financial Setting Types section)

The list of possible Data Types can be found here: Data Type.
When the all of the required fields have ben filled out click on the “Add” button to add the new Default Financial Setting.
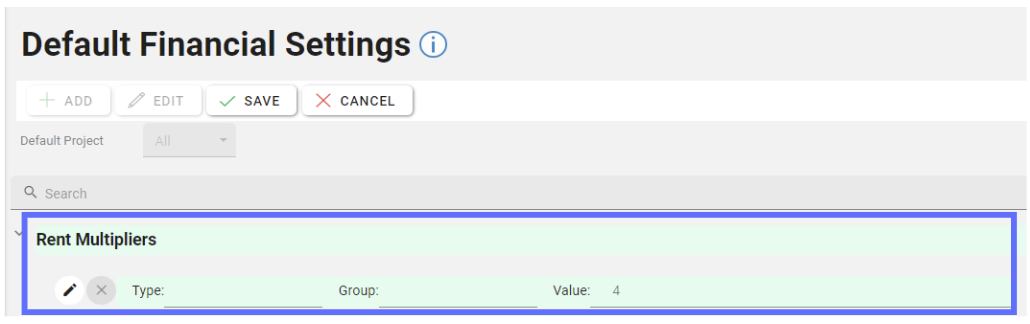
New Default Financial Settings will be added to list and have a green background to denote that they are newly added.
Click on the “Save” button to persist the changes to the database or click on “Cancel” to undo any unsaved rows.
Edit a Default Financial Setting
Choose a Default Project from the dropdown list of Projects at the top of the screen.
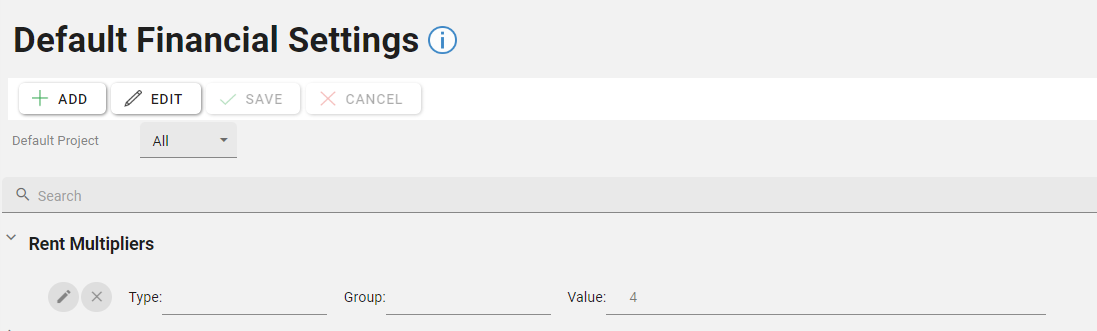
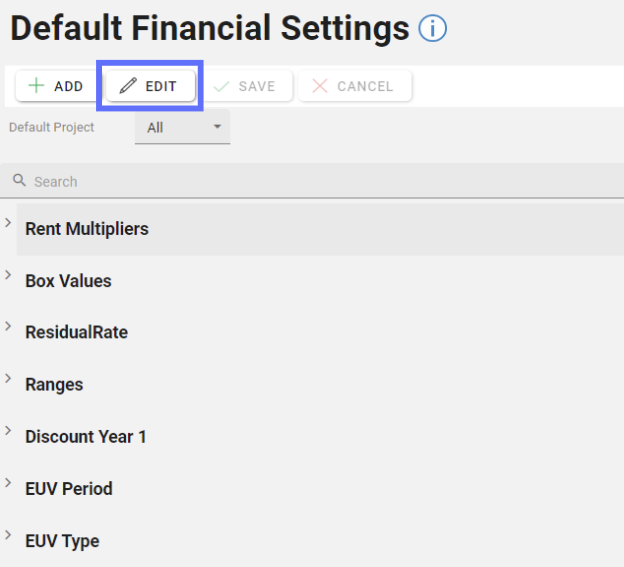
Click on the “Edit” button from the toolbar to enter “editing” mode.
In “Editing” mode, previously greyed out pencil buttons will now be available to click per setting:
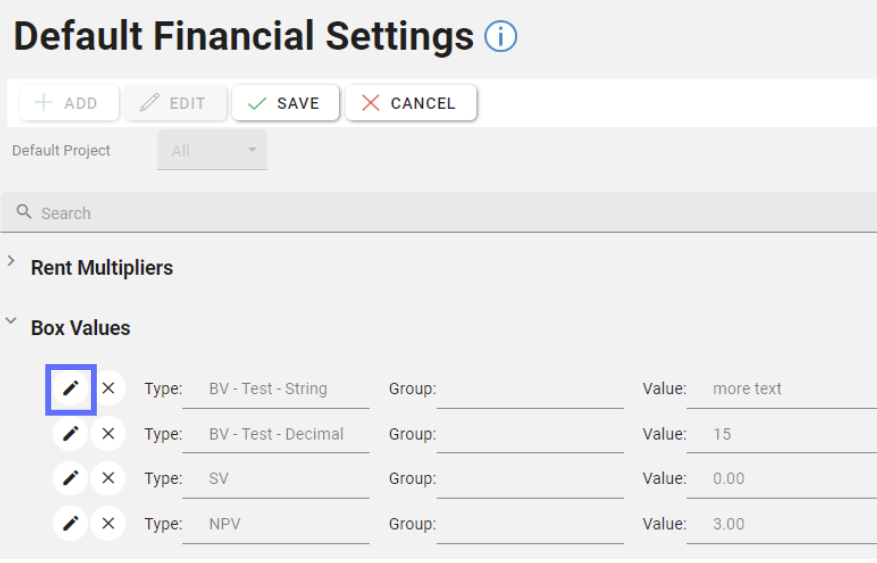
Clicking on a pencil button next to a setting will open up the “Edit Default Financial Setting” dialogue allowing you to edit the Type, Group and Value.
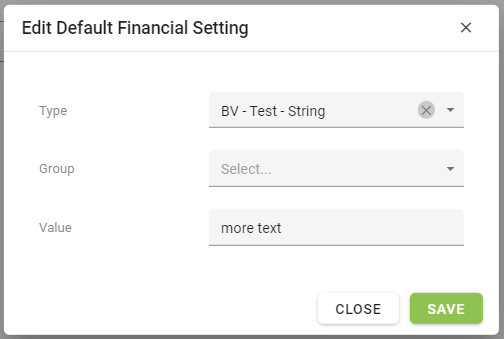
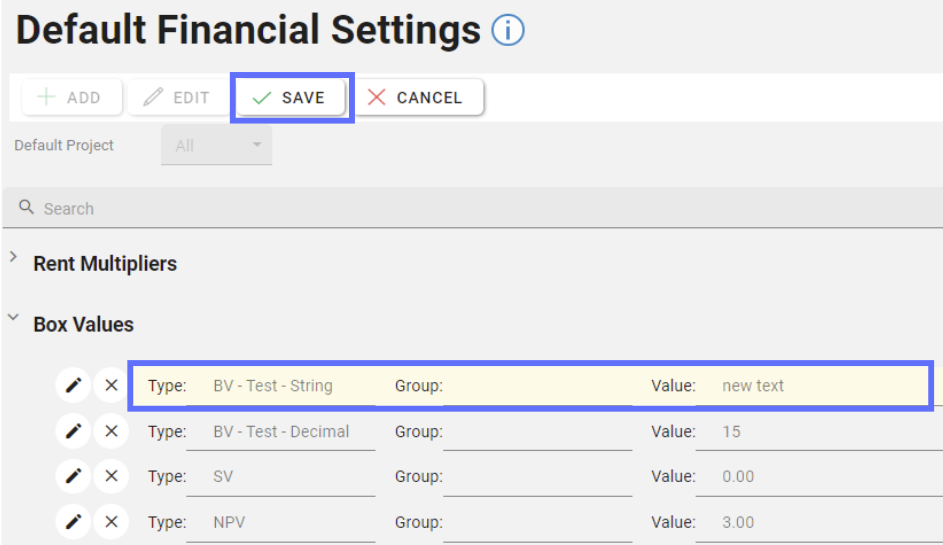
When the changes have been made click on the “Save” button and you will be returned to the list of Default Financial Settings.
The amended setting will have a yellow background to denote that the have been edits.
You can either click on the “Save” button to accept the changes and persist to the database or click on the “Cancel” button to undo any unsaved changes.
Delete a Financial Setting
Deleting a Default Financial Setting will permanently remove it from the database!
Choose a Default Project from the dropdown list of Projects at the top of the screen.
Click on the “Edit” button from the toolbar to enter “editing” mode.
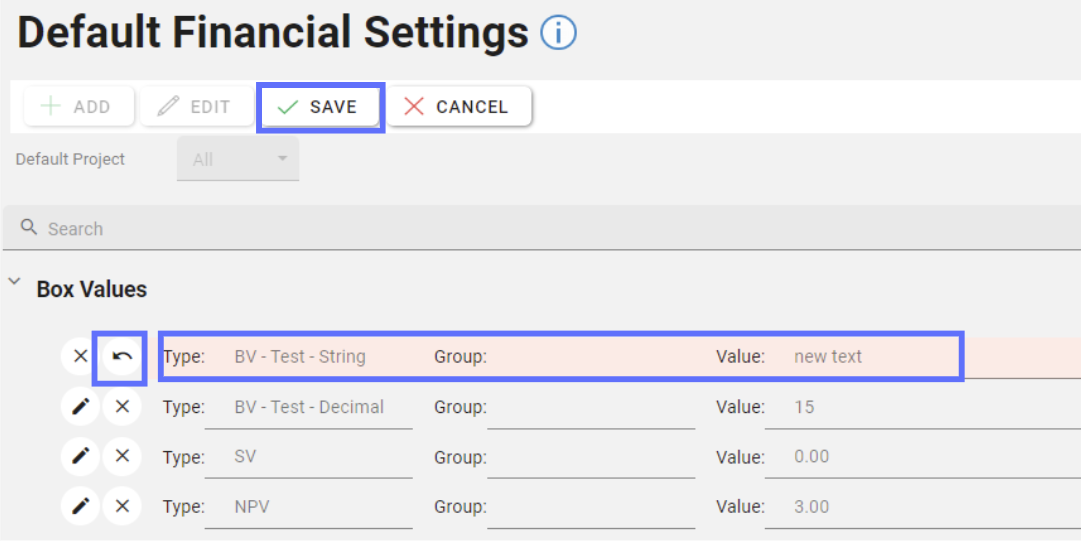
In “Editing” mode, previously greyed out delete “X” buttons will now be available to click per setting:
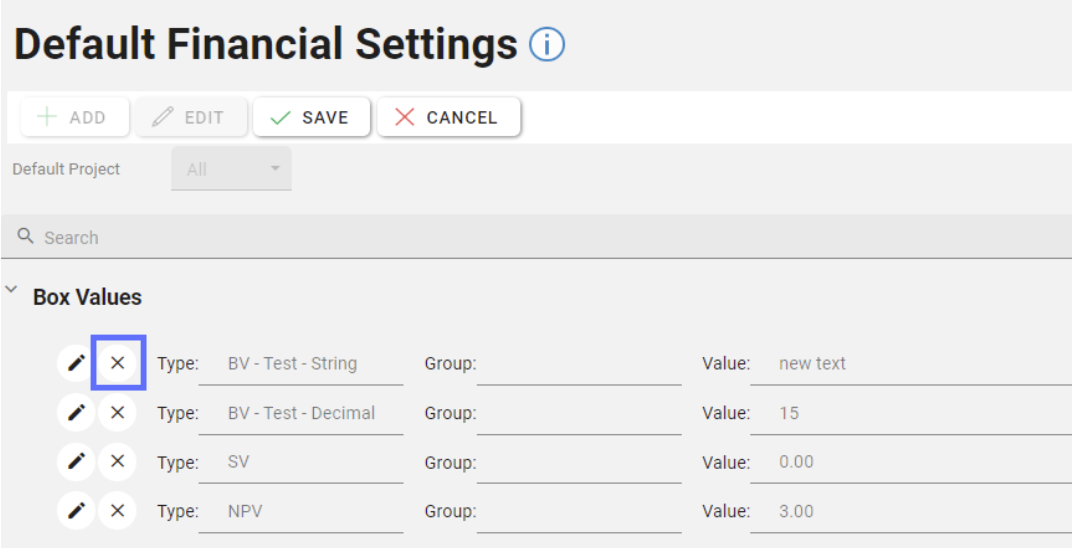
Clicking on the delete “X” button will mark the row for deletion by changing the background colour of the setting and displaying an “undo” arrow.
If you click on the “undo” arrow next to the setting, it will revert the setting so that it’s not marked for deletion.
If you still want to proceed with the deletion of the setting, click on the “Save” button and the setting will be removed from the database.