
Appraisal Asset Synopsis
General Details Tab
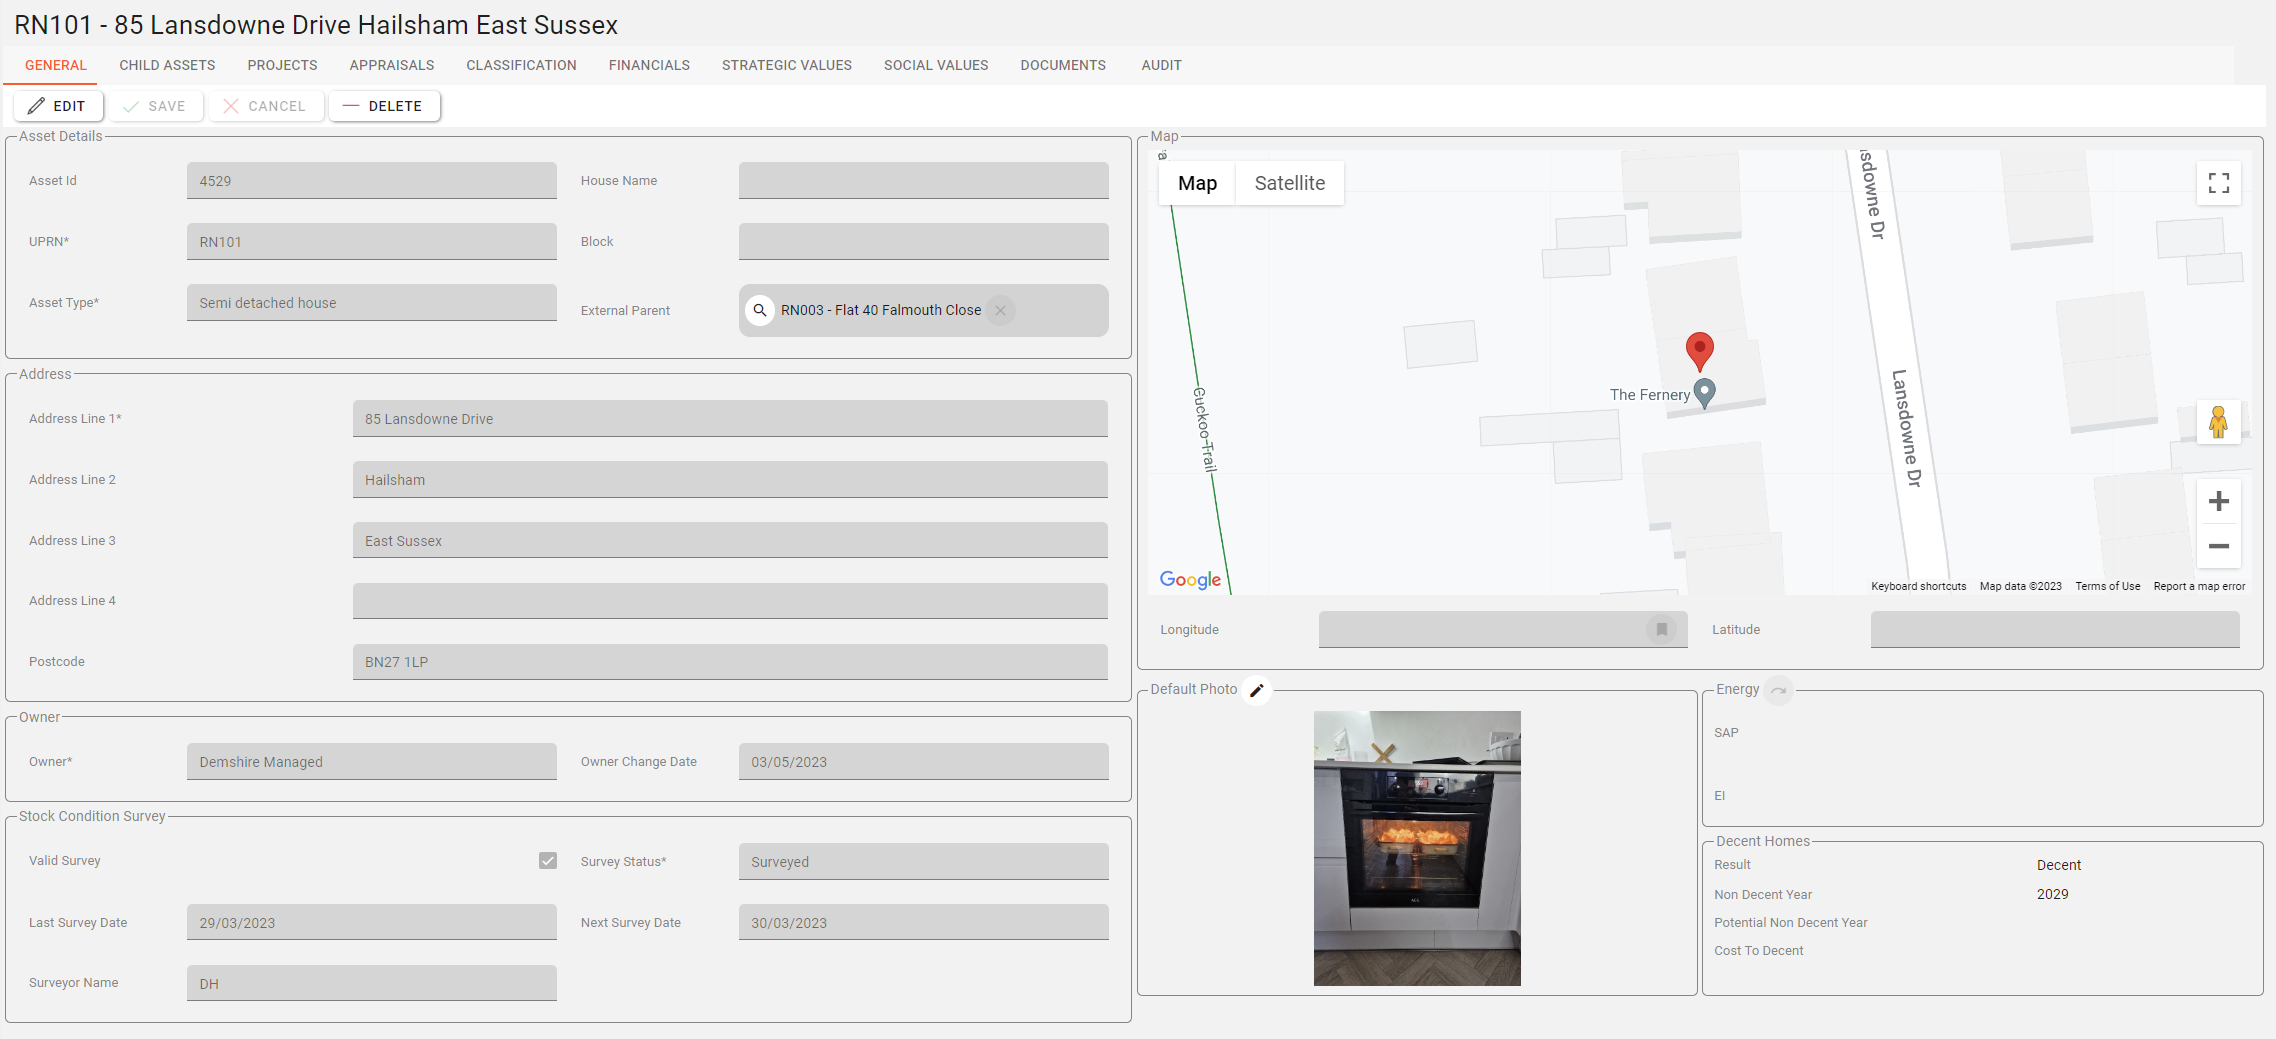
The General Details tab provides an overview of the asset. it provides key information about the asset such as its address, the ownership, stock condition status, energy, housing quality any images and a map.
Editing asset details
You will require the following permission to edit asset details.
AA_Appraisal_Appraisals_Asset_Edit
AA_Appraisal_Appraisals_Asset_Update
Please speak with your internal administrator to grant the relevant permissions.
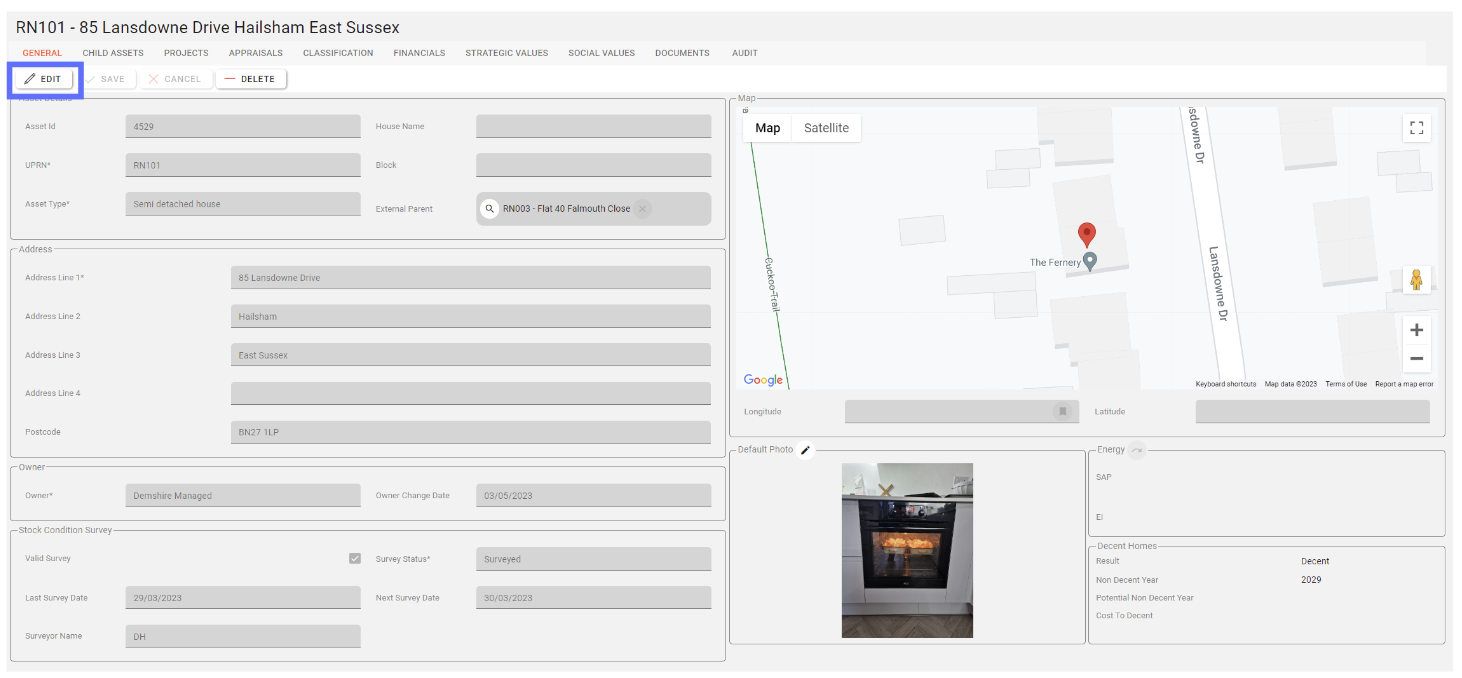
To edit the asset details click the “Edit” button located at the top left-hand corner of the page. Once clicked, the page will allow all editable fields to be amended and the edit button will become greyed out and cannot be clicked again.
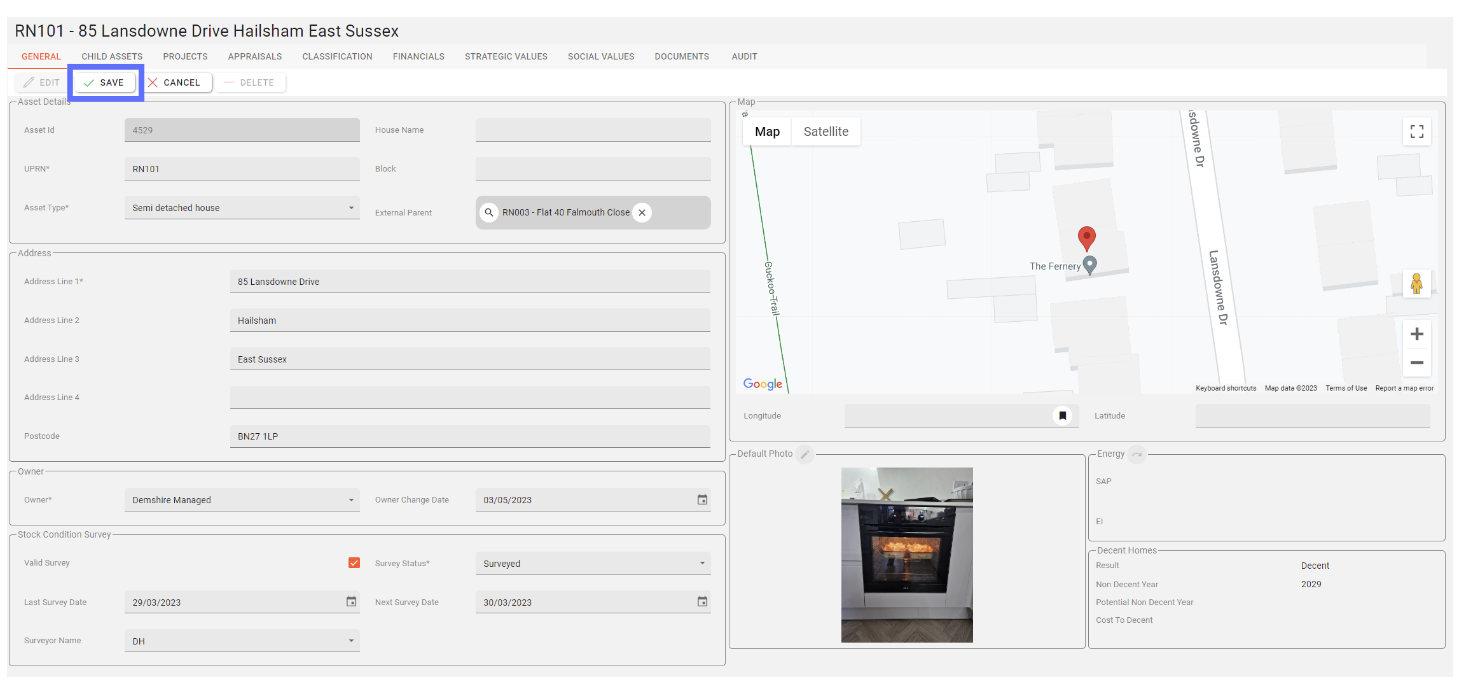
Once the changes have been made, click the “Save” button to commit the changes and update the asset details, or click the “Cancel“ button to undo any changes made.
Deleting asset details
You will require the following permission to delete asset details.
AA_Appraisal_Appraisals_Asset_Delete
Please speak with your internal administrator to grant the relevant permissions.
To delete an asset, click the “Delete” button located at the top left-hand corner of the page.
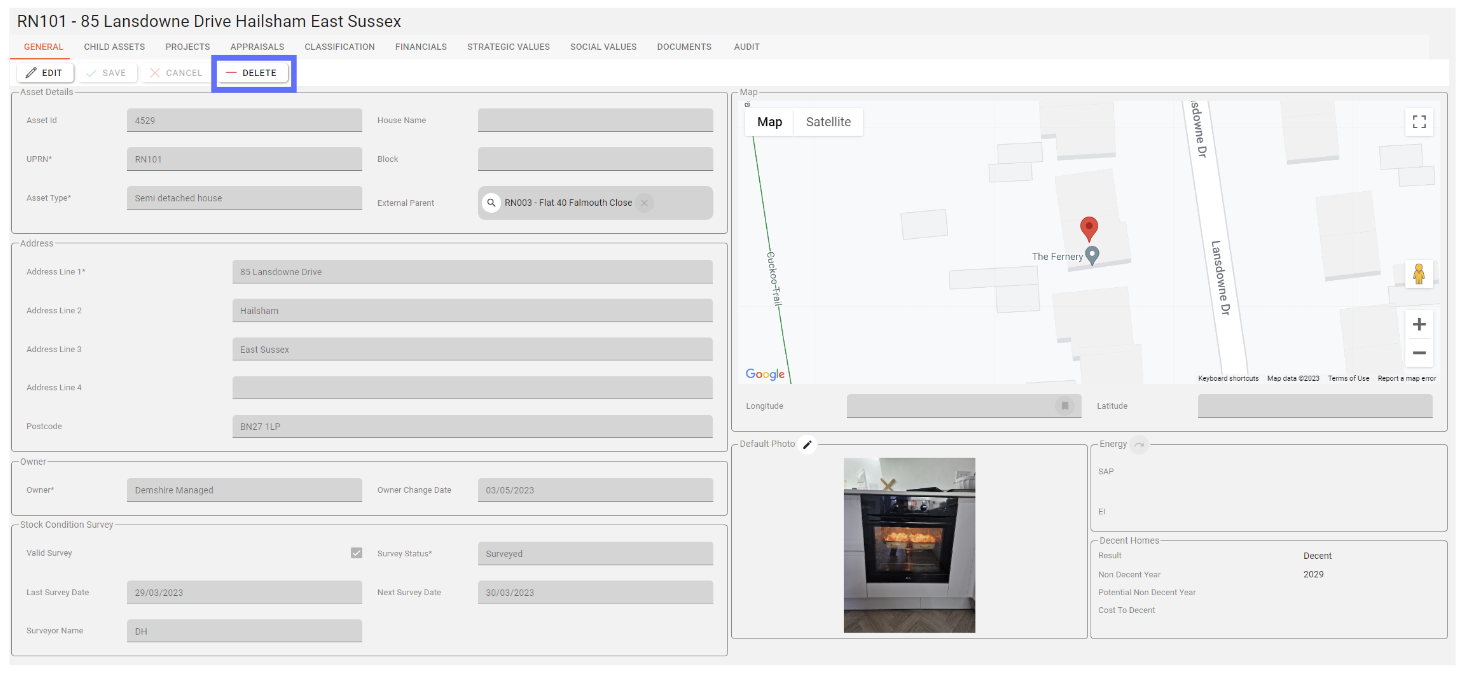
Once you’ve clicked the “Delete” button, a confirmation dialogue box will appear for you to confirm the deletion. Click “YES” to confirm the deletion or “NO” to dismiss the dialogue box and halt the deletion.
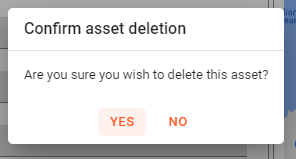
Once you delete an asset it is permanently deleted from the database!
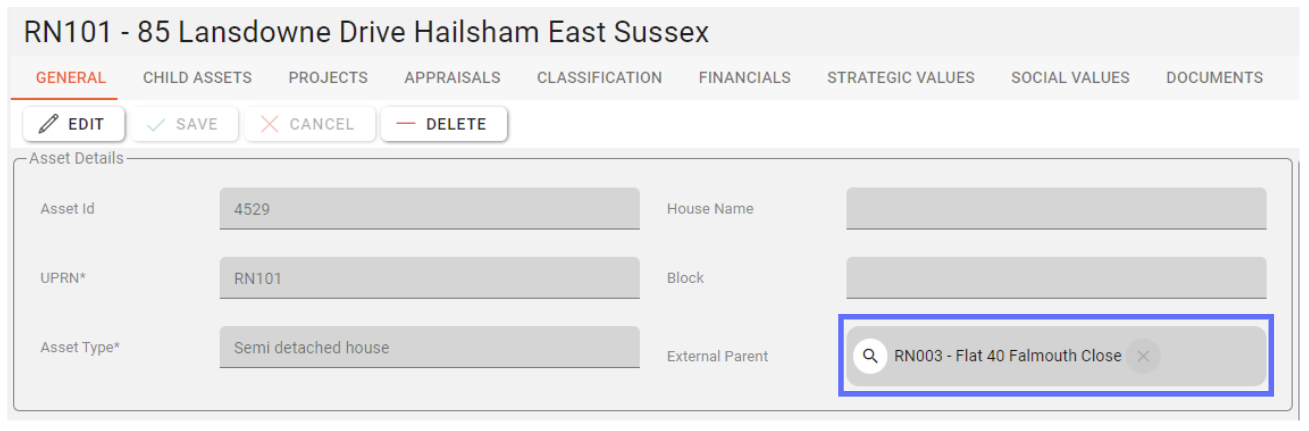
External Parent
In the “General Details” tab you can indicate whether the current asset is a child asset of another, by choosing from existing assets in the system using the “External Parent” drop-down list.
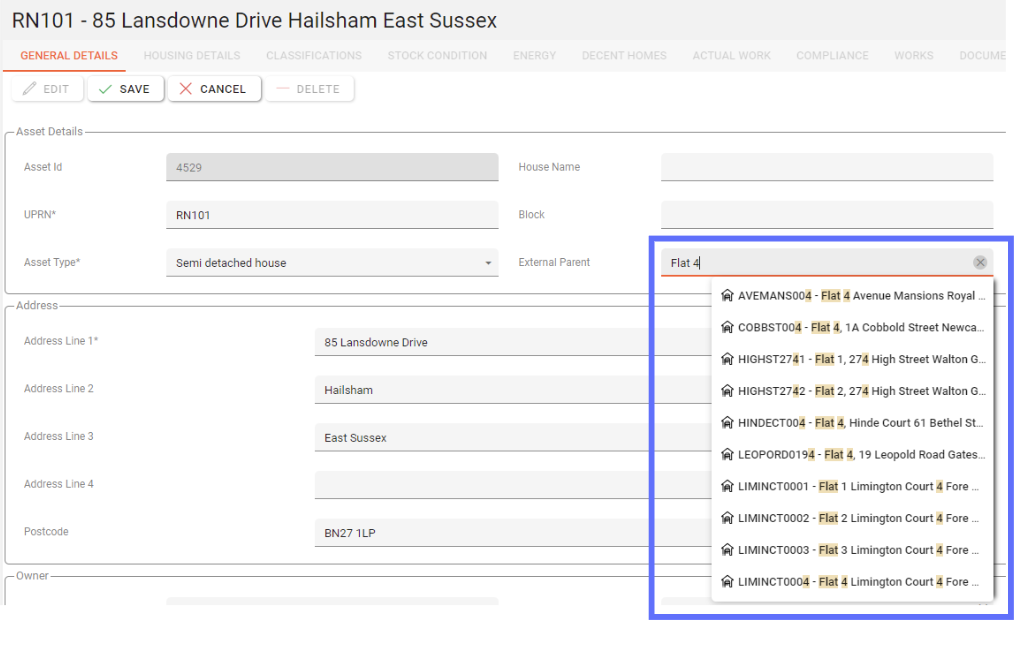
Remember to click the “Save” button to commit changes to the database.
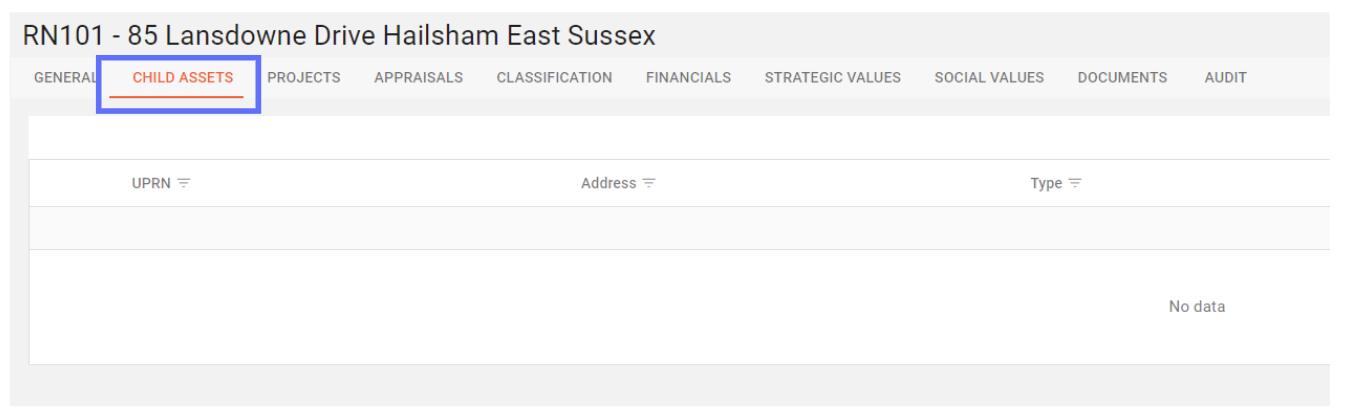
Child Assets Tab
If the current asset has been marked as an external parent asset (see above), the “Child Assets” tab will be shown next to the other tabs in the asset synopsis screen.
The “Child Assets” tab allows you to drill into each child asset using the corresponding magnifying glass button on the lefthand side of the screen.
Projects Tab
The Projects Tab show the Projects that the Appraisal Asset currently belongs to.

The current Asset can be removed from certain Projects by selecting the relevant Projects on the left-hand side of the screen using the checkboxes provided.
Then clicking on the “Remove From Projects” button.
Only unlocked Projects can have their Assets removed.

Appraisals Tab
The Appraisals Tab show the Appraisal that the Asset currently belongs to:

The current Asset can be removed from certain Appraisals by selecting the relevant Appraisals on the left-hand side of the screen using the checkboxes provided.
Then clicking on the “Remove From Appraisals” button.
Only unlocked Appraisals can have their Assets removed.

Classification Tab
The Classifications tab of the Asset synopsis shows all the reporting classifications stored for the selected asset. These are custom classifications that can be configured on the classifications configuration page. The default view is to view these and they are grouped by the classification groups.
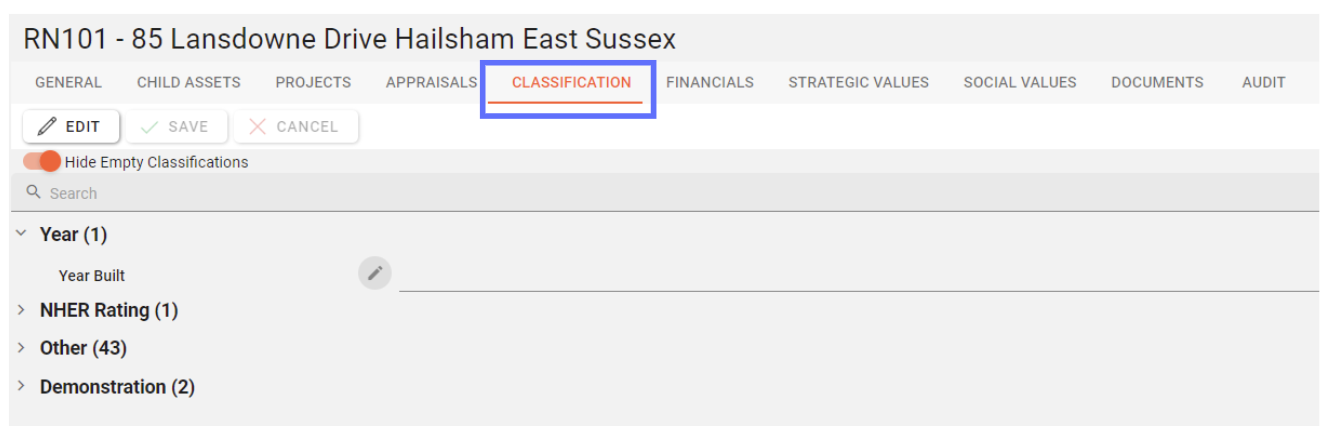
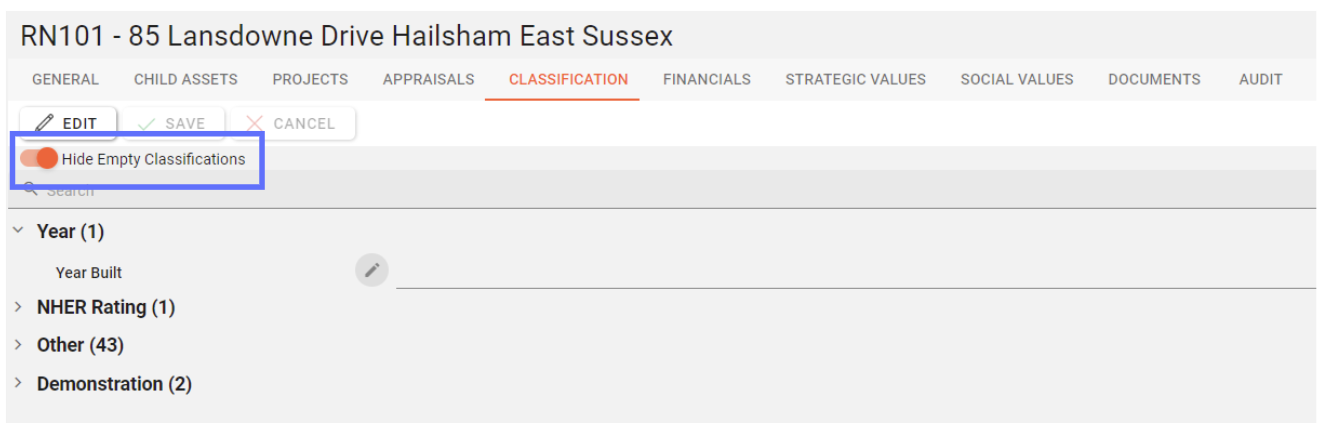
Hiding / Showing Empty Classifications
The toggle switch on the top lefthand-side of the Classifications tab, hides empty classifications so that it’s easier to focus on the ones that have been filled out. A breakdown is added per classification group to indicate how many there are in total, how many are shown and how many have been hidden from view.
Changing the toggle switch back will show both empty and filled out classifications.
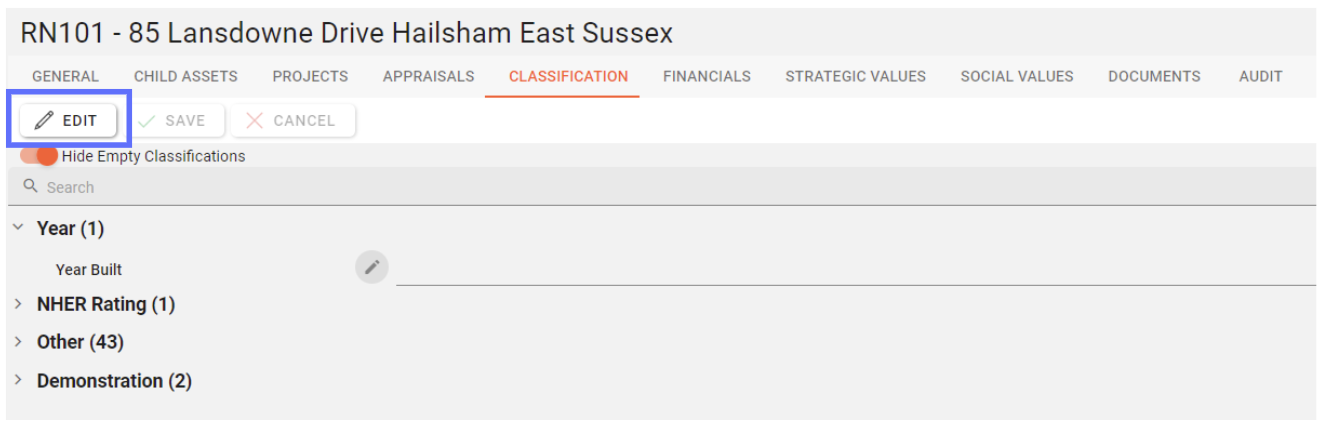
Editing Asset Classifications
You will require the following permission to edit Asset Classification details.
AA_Appraisal_Assets_Update
Please speak with your internal administrator to grant the relevant permissions.
To edit Classification data held in Asprey Assets, click the edit button. Once clicked, the page will allow all editable fields to be amended and the edit button will become greyed out and cannot be clicked again. Once the changes have been made, click the “save” button to commit the changes and update the classification data, or click the “Cancel“ button to undo any changes made.
In edit mode, click on the pencil button next to the classification to be amended, and a dialogue box will appear where the Classification can be edited or added.
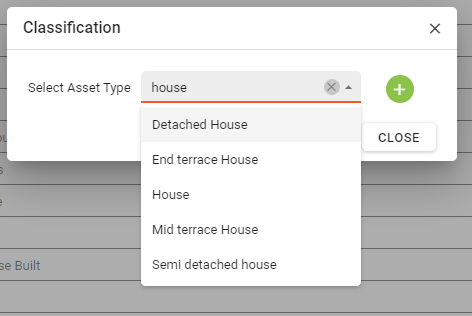
Select the response from the drop-down list and click the “Update” button once you have added or amended the response. Continue to make changes and when finished, click the “Save” button.
Within the response area, you can begin to type your response and the drop-down will filter with existing responses that match your search criteria.
If the response you want to assign is not present, click the green “Plus” button and enter the free-text response. Once entered, click the “Update” button.
Ensure the new response follows the format your organisation adheres to as this will be widely available. This can be configured in the Asset Types configuration.
Financials Tab
Coming Soon!
Strategic Values Tab
Coming Soon!
Social Values Tab
Coming Soon!
Documents Tab
You will require permission to manage documents.
AA_Asset_Upload_Documents
Please speak with your internal administrator to grant the relevant permissions.
The documents section within the Asset Synopsis allows for documents related to the asset to be stored and viewed.
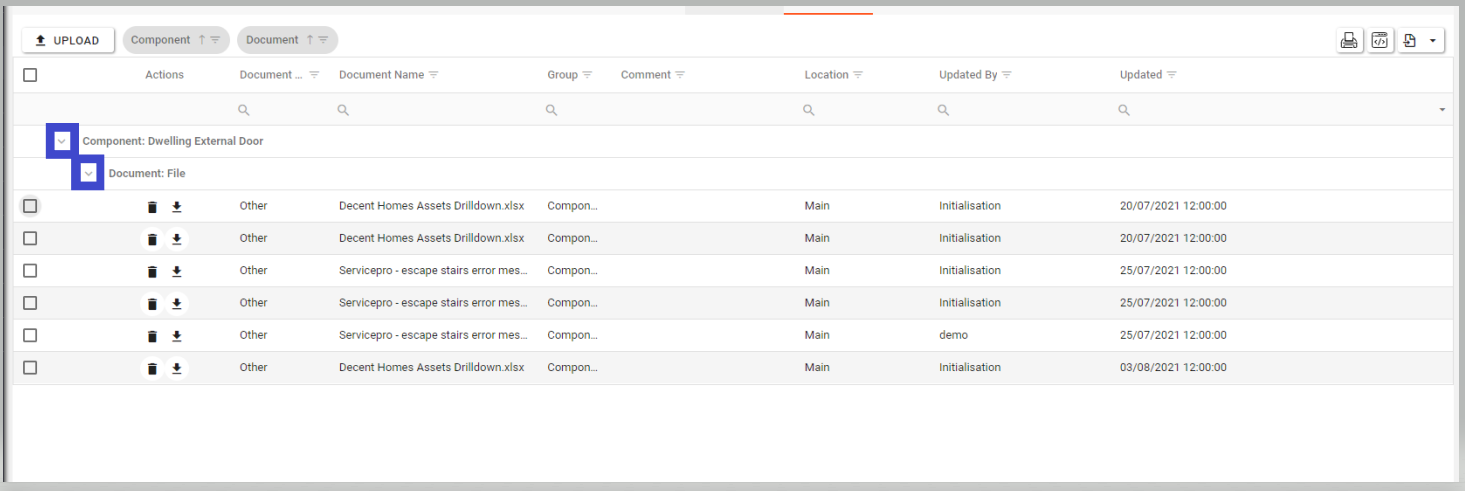
Use the expand arrows to see all the documents held against an asset. Once expanded, a file can be downloaded or deleted as required.
Uploading a photo in the asset synopsis
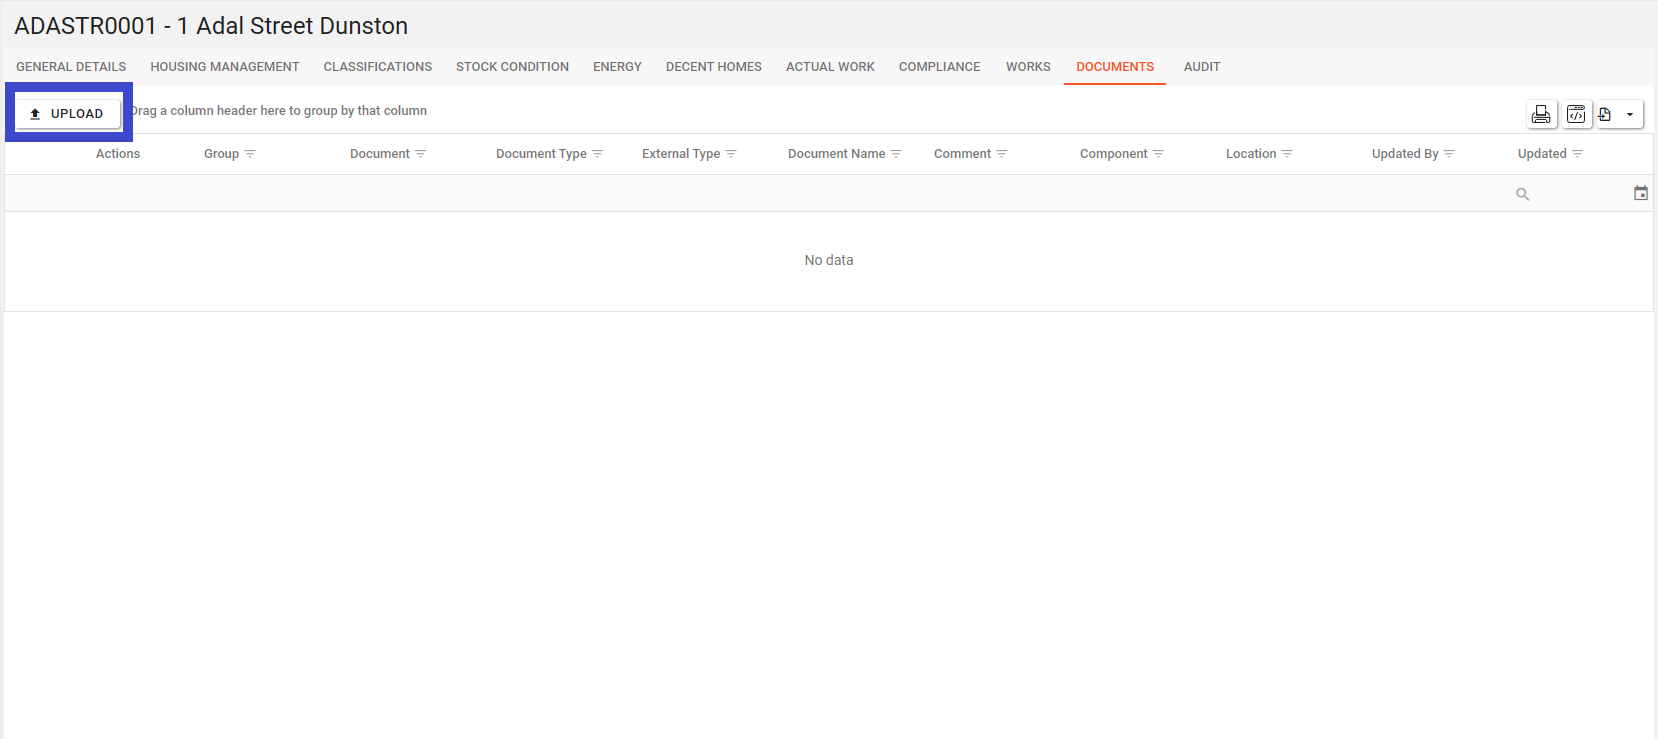
To upload a document, click on the “upload” button within the documents tab of the asset synopsis.
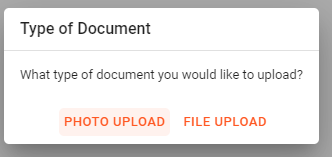
Select “Photo Upload”.
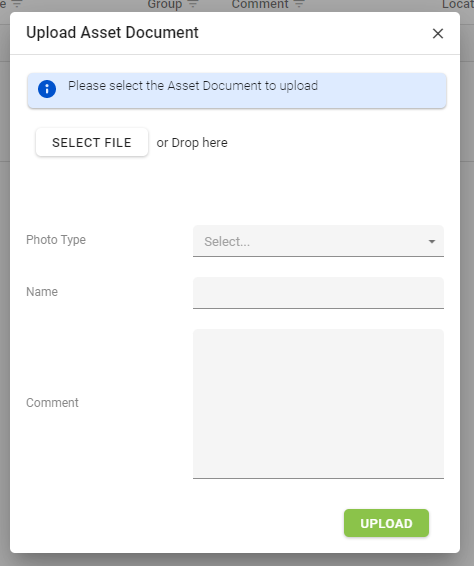
Click “Select File” to find the desired photograph or drag the photo into the space marked “drag here”. Continue to fill in the information by selecting the required photo type and providing a name and comment relating to the photo. Once complete, click the “upload” button to save the file.
Uploading a document in the asset synopsis

To upload a document, click on the “upload” button within the documents tab of the asset synopsis.
Select “File Upload”.
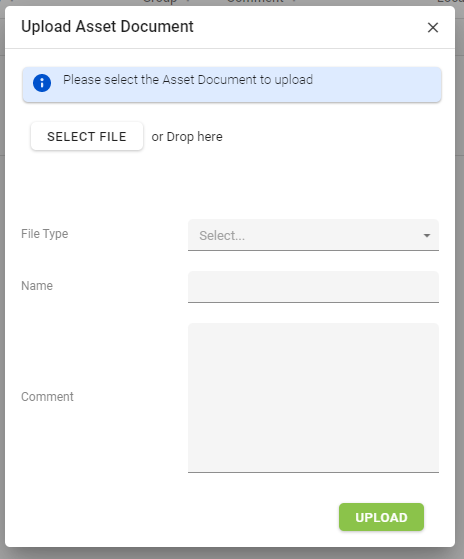
Click “Select File” to find the desired file or drag the file into the space marked “drag here”. Continue to fill in the information by selecting the required file type and providing a name and comment relating to the file. Once complete, click the “upload” button to save the file.
Audit Tab
The Audit facility within the Asset Synopsis allows for detailed tracking of changes made to an asset.
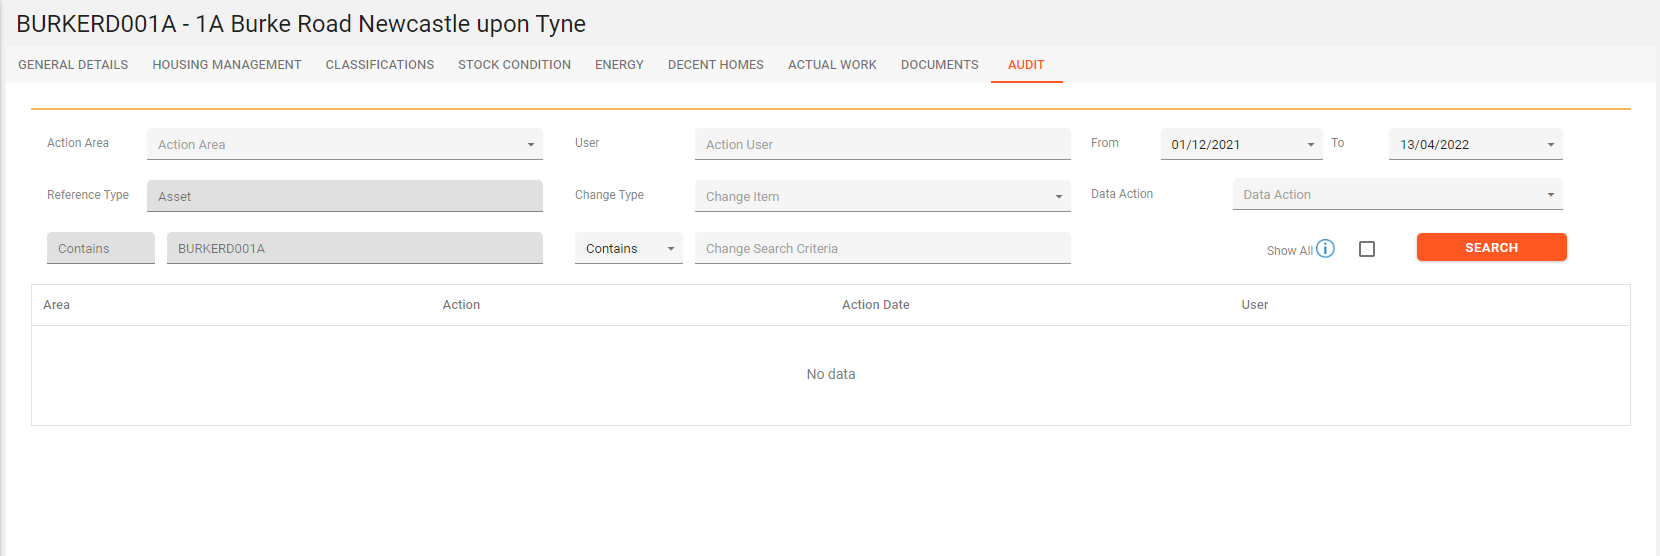
This can be filtered by the action type, the user, between specific dates, the change type and the action along with text search. Once the parameters of the search have been completed, click the “search” button. The Select All button allows for all results to be returned, however, this has a limit of 200 records.
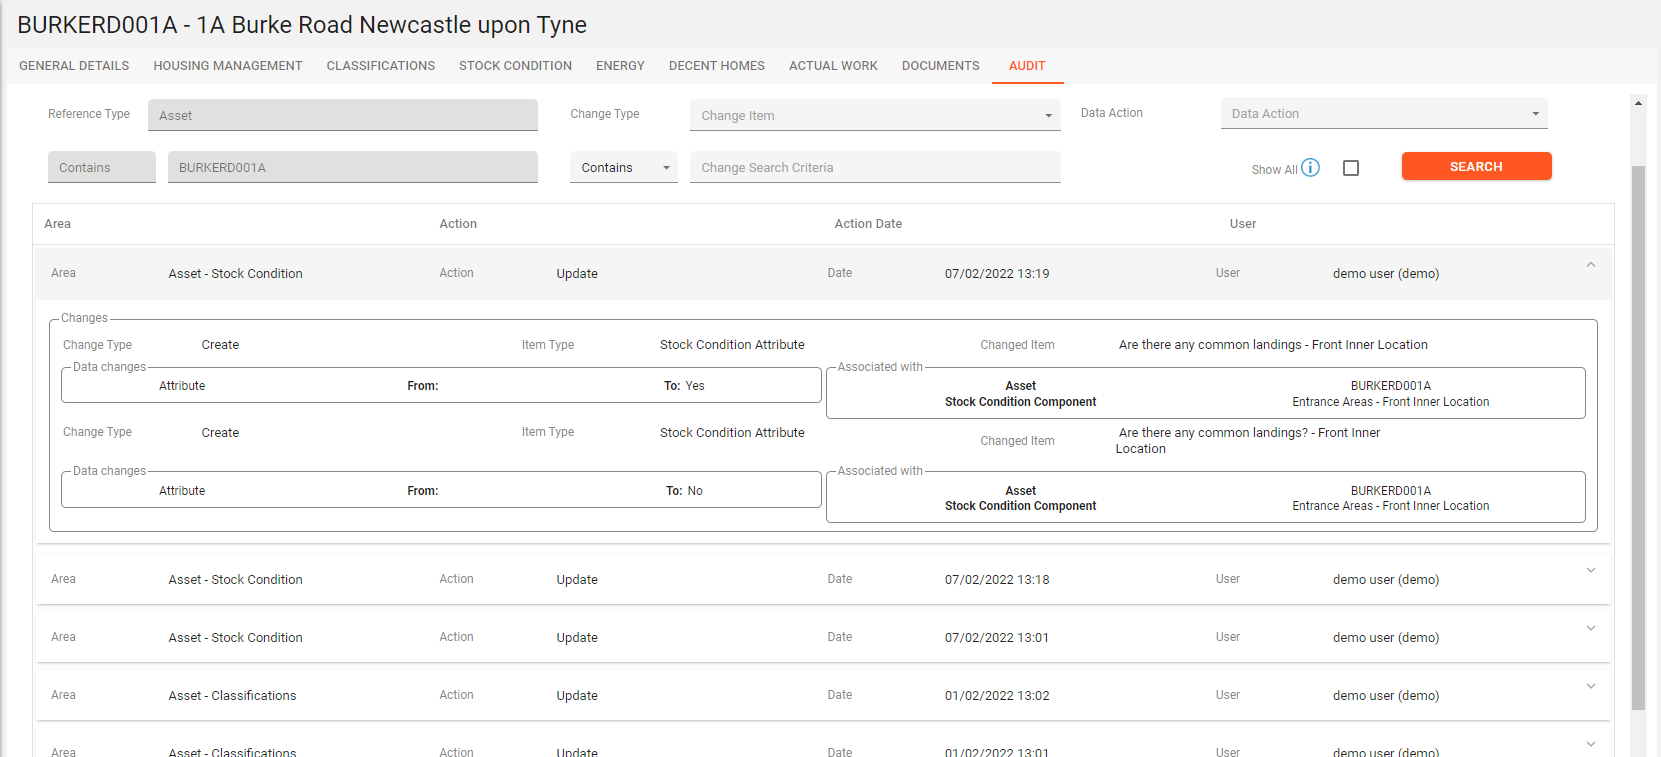
Once the search has been completed, the lower grid will populate with all changes made to the current asset. Select any item to expand the details of the change. This then shows the details of what has been changed, what it was changed from and to, the user who made the change and when the change was made.