
Configure Classifications
The Classification configuration page enables users to edit the reporting Classifications within Asprey Assets and add new Responses.
Responses can also be added when Editing Classifications in the Asset Synopsis screen.
You will require the following permissions to access and edit this area.
AA_Configuration_Classification_Create
AA_Configuration_Classification_Delete
AA_Configuration_Classification_Update
AA_Configuration_Classification_View
Please speak to your internal administrator to grant the relevant permissions.
Creating a Classification
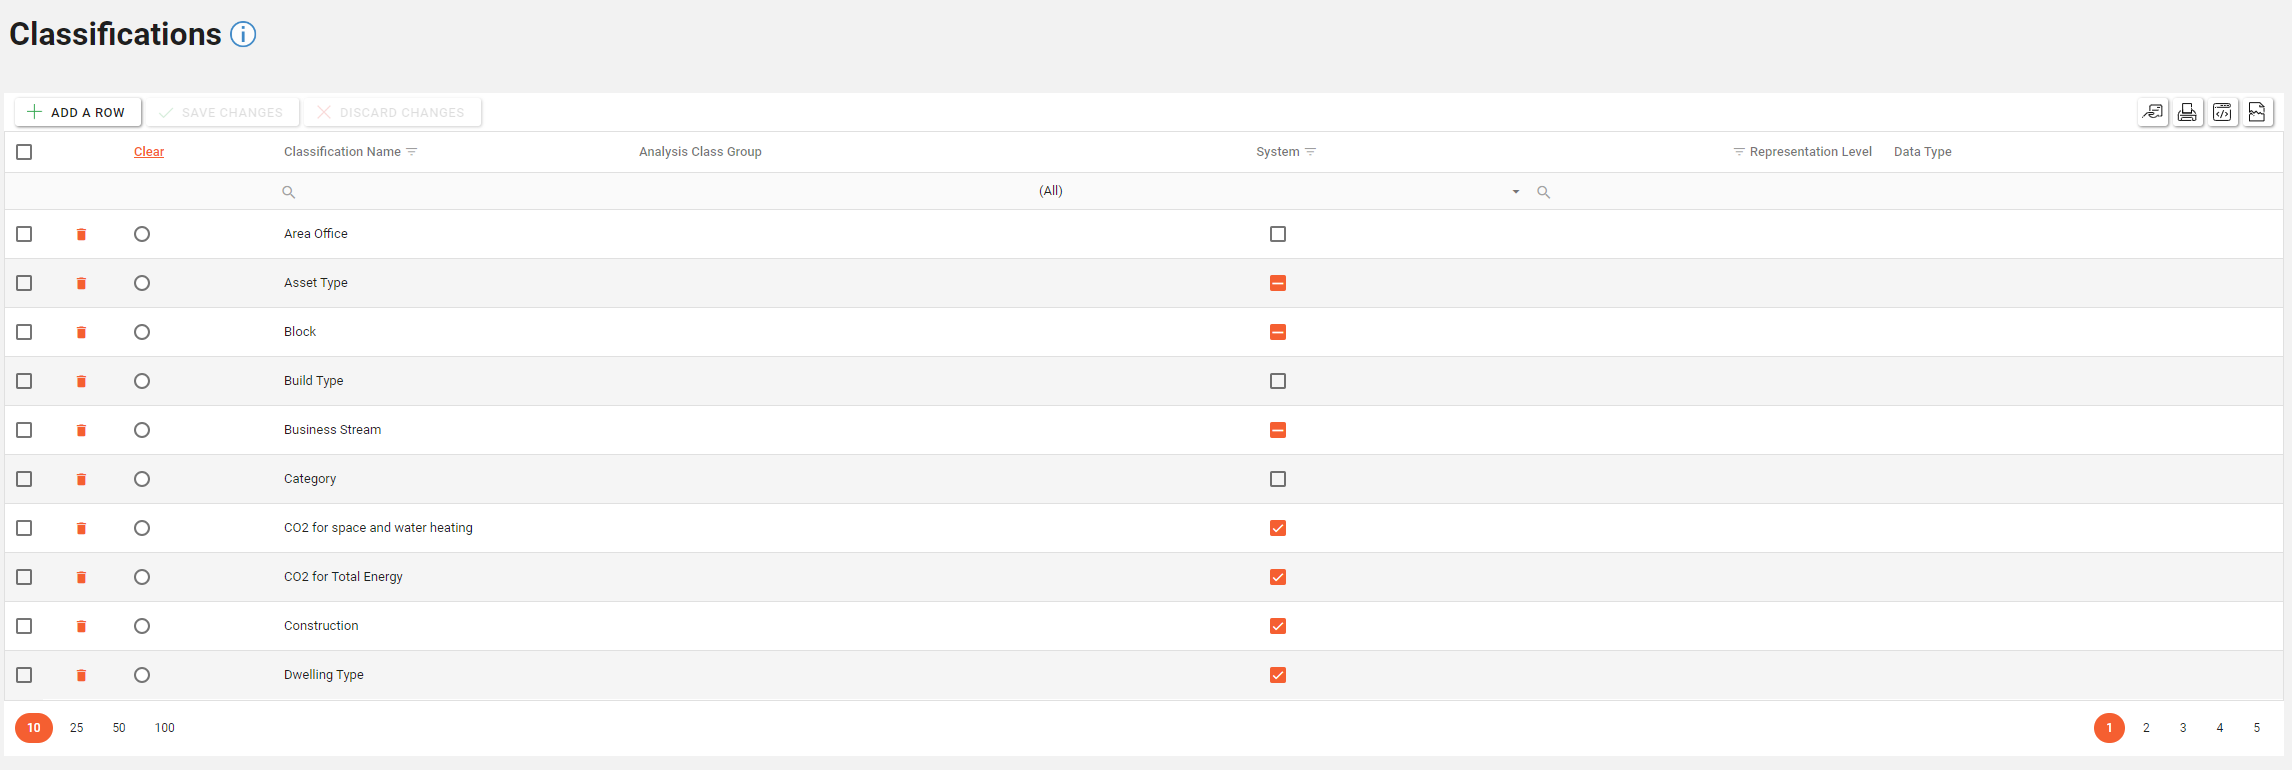
To add a new Classification, click the “Add a Row” button located at the top left-hand side of the Classifications page.
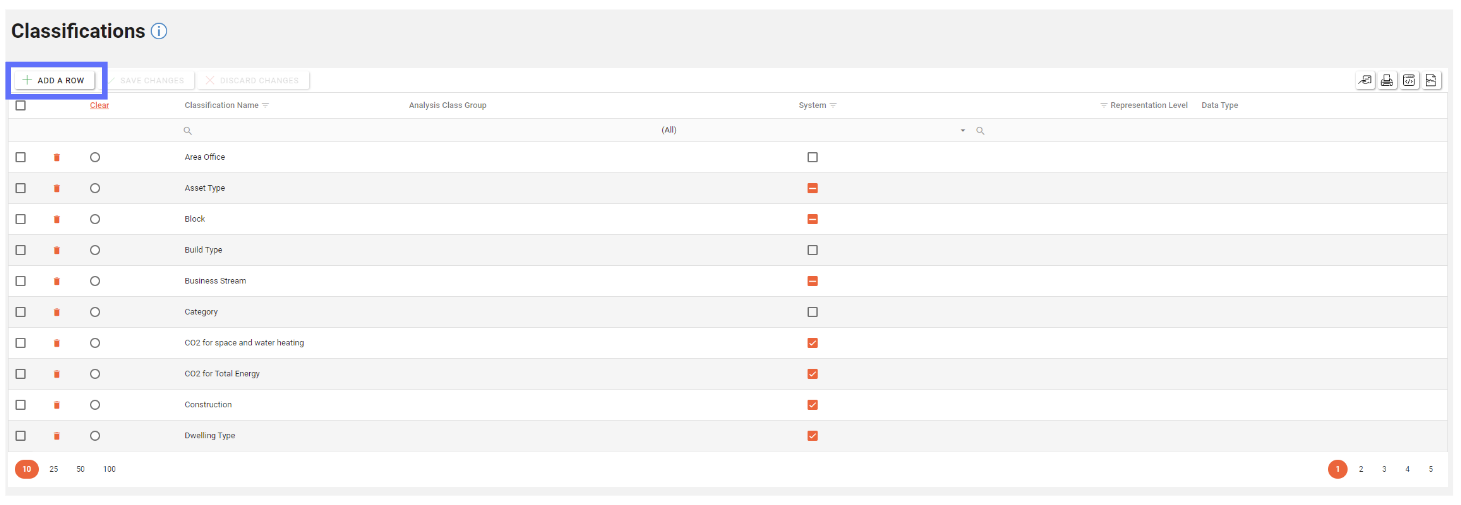
A new row will appear at the top of the Classifications grid. Enter the details of the new Classification here.
Once the required data has been entered, click the “Save Changes” button to save the new row.
Creating a Classification Type
First select the Classification that the Classification Type is to be associated with from the top grid.
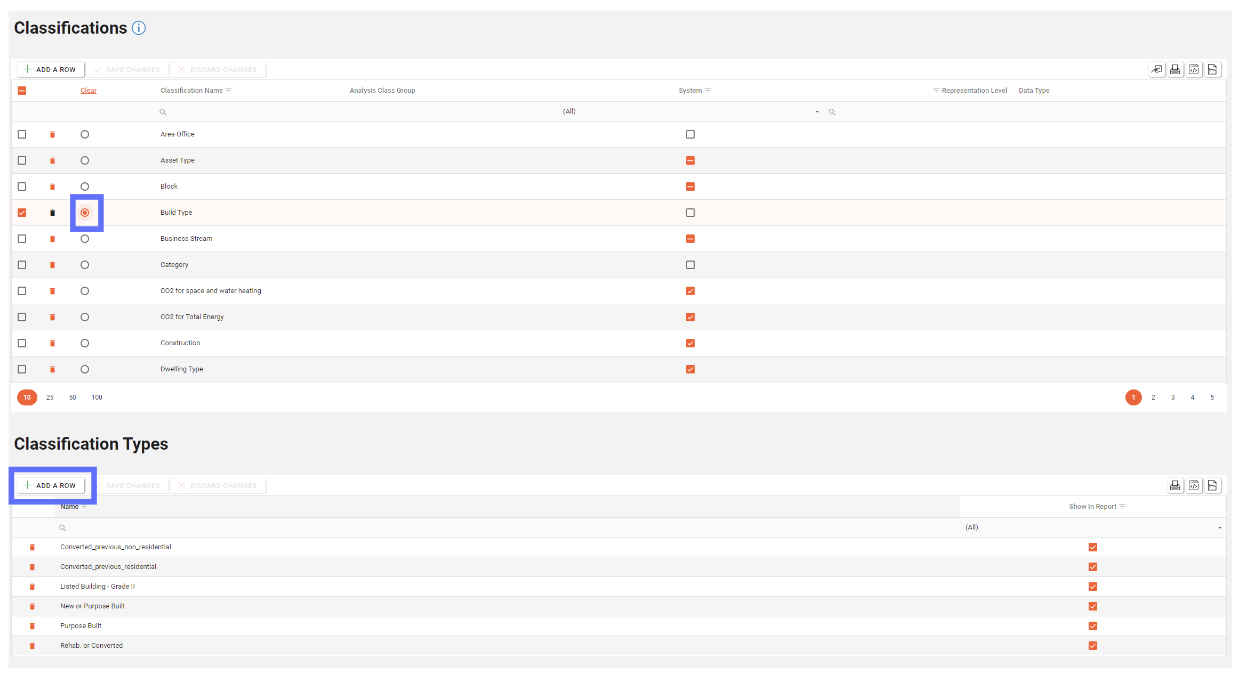
The Classification Type grid will appear in the lower grid.
Click the “Add a Row” button in the lower grid.
Once the required data has been entered, click the “Save Changes” button in the lower grid to save the changes.

Editing a Classification
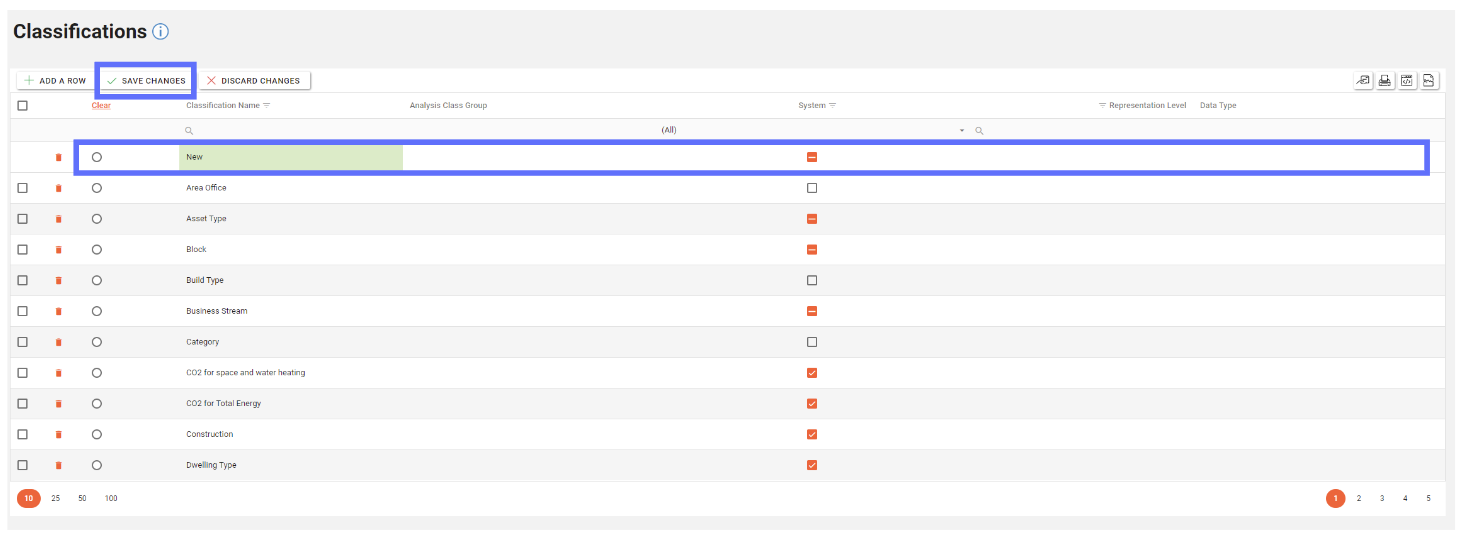
To edit an existing Classification, select the row you wish to edit and then select the field to be edited and overwrite the existing data present. Once all changes are made to the relevant columns, click the “Save Changes” button.

If you want to undo any unsaved changes, click the “Discard Changes” button.
Editing a Classification Type
Select the Classification that the Classification Type is associated with from the top grid.
The lower grid will appear with all relevant Classification types for the selected Classification.
Select the Classification Type to be edited and make any relevant changes.

When the changes have been made the “Save Changes” button will illuminate.
Once all the changes have been made, click on the “Save Changes” button.
To undo any unsaved, click on the “Discard Changes” button.
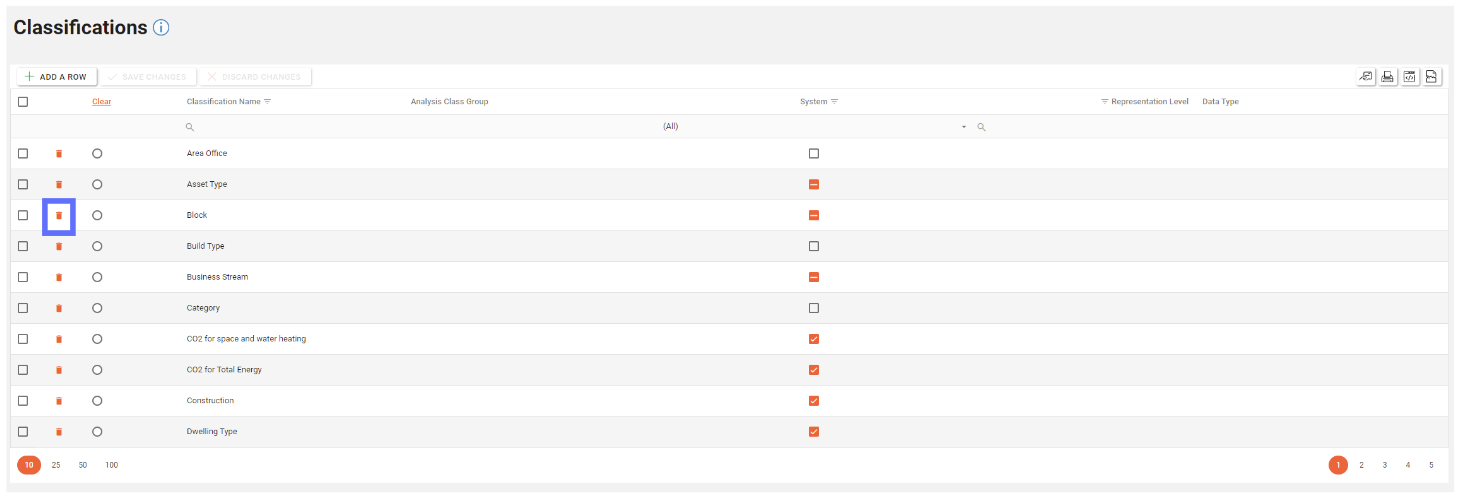
Deleting a Classification
Deleting a Classification will permanently remove it and any linked Classification Types from the database!
You won’t be permitted to delete a Classification if it’s been used on the Asset Synopsis screen.
To delete an existing Classification click the trash can button in the row of the Classification you wish to delete from Asprey Assets.
This will then update the screen to show an “undo” arrow in place of the trash can and the save changes/discard changes buttons are illuminated indicating a change has been made on the page.
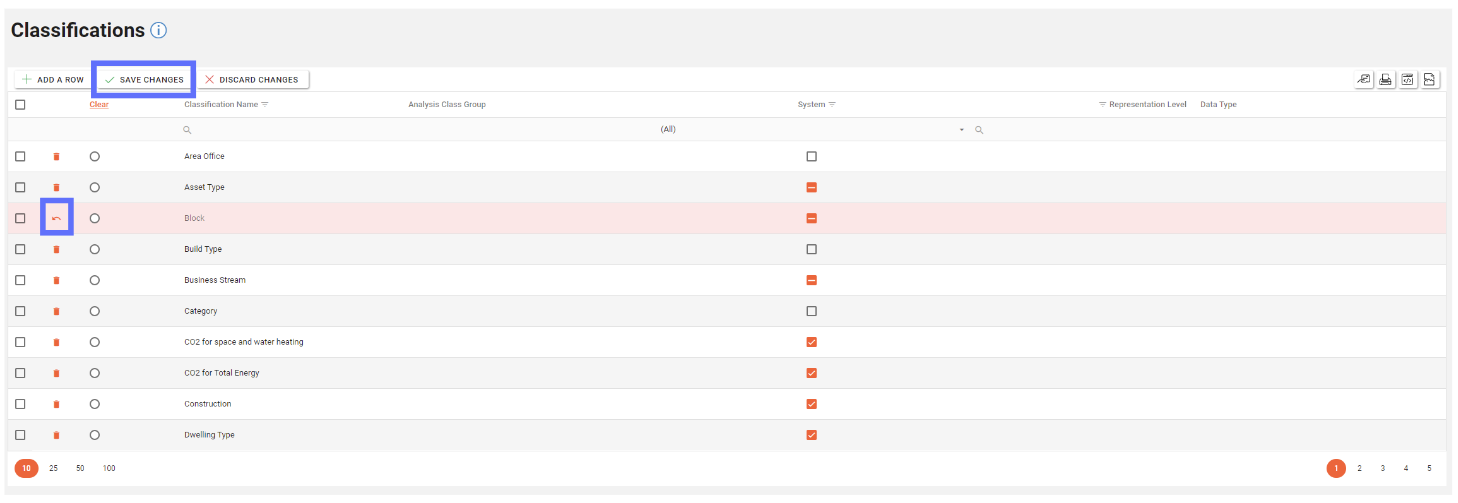
To confirm the deletion, click on the “Save Changes” button.
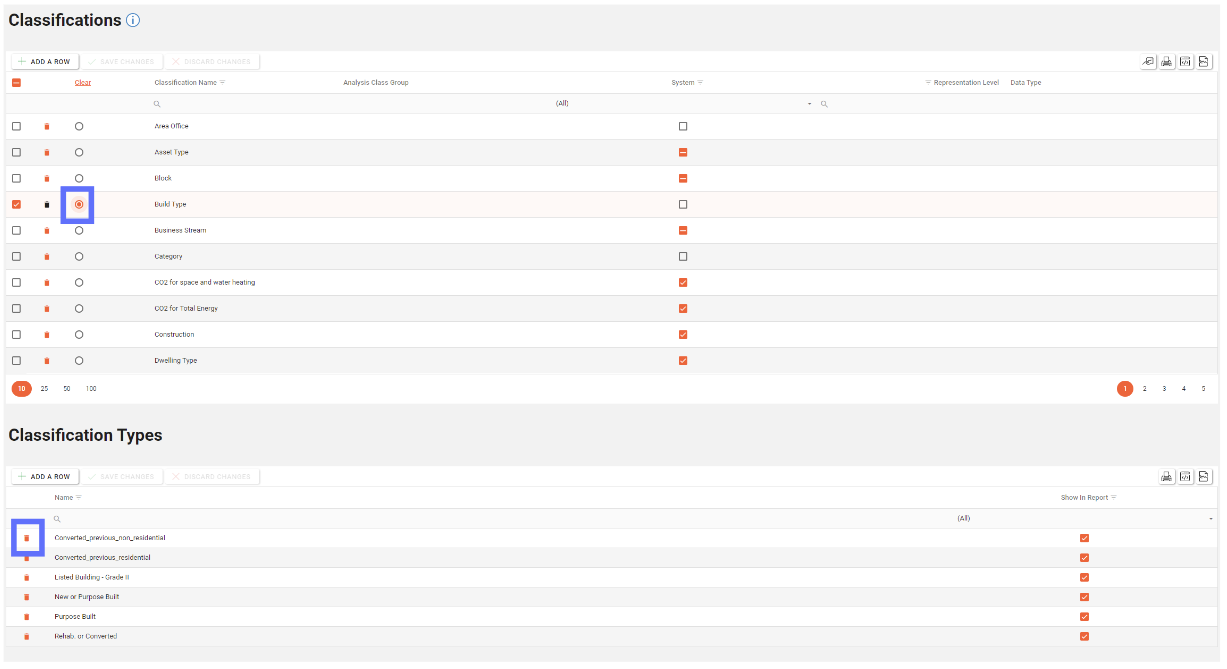
Deleting a Classification Type
Deleting a Classification Type will permanently remove it from the database!
You won’t be permitted to delete a Classification Type if it’s in use by an Asset.
To delete an existing Classification Type, select the Classification that the Classification Type is linked to in the top grid.
Then click the trash can button in the row of the classification type (in the lower grid) you wish to delete from Asprey Assets.
This will then update the screen to show an “undo” arrow in place of the trash can and the save changes/discard changes buttons are illuminated indicating a change has been made on the page.
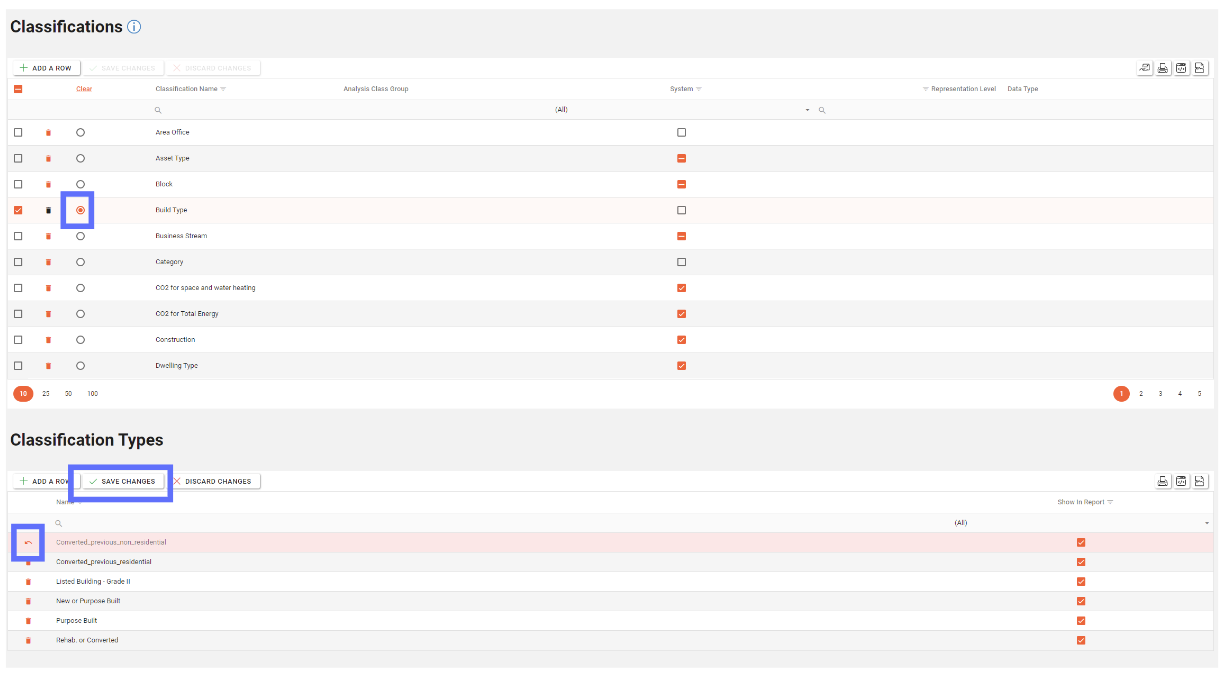
To confirm the deletion, click the “Save Changes” button.