
Works
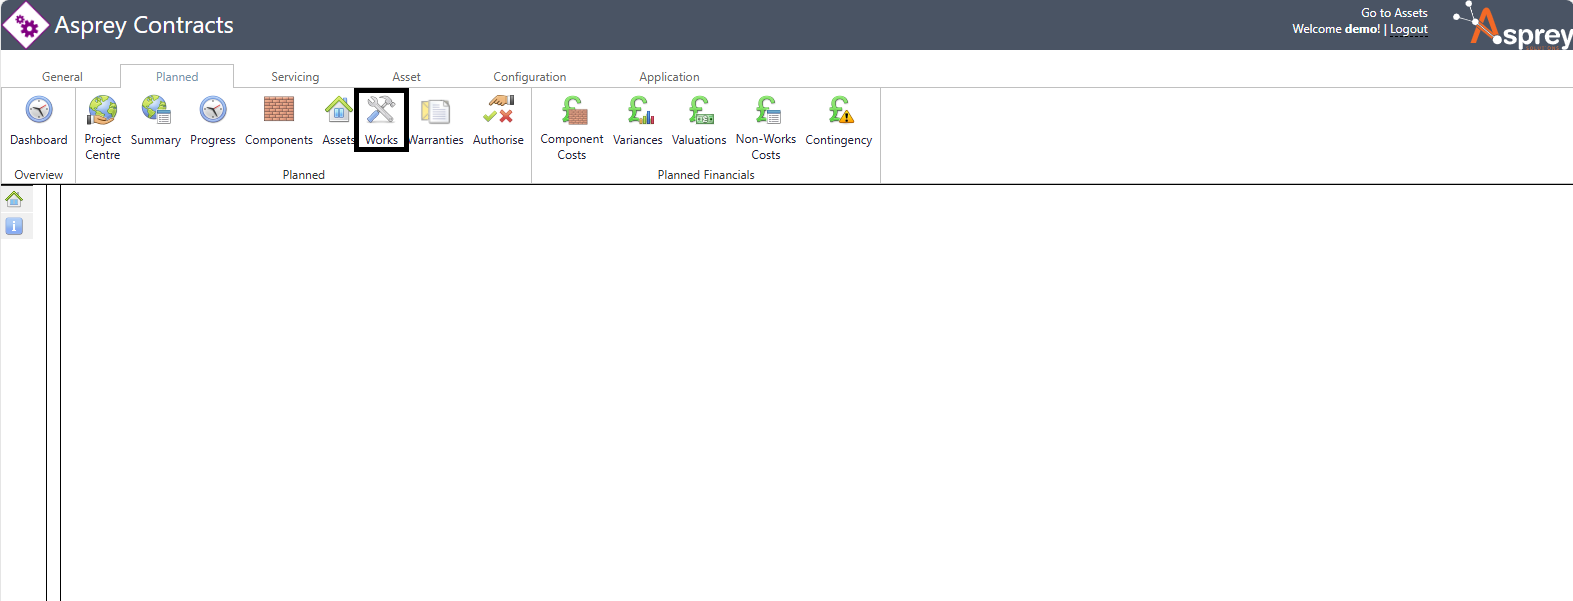
The Works section is access through the Planned Tab by clicking on the “Works” button once a project has been selected from the Project Centre.
The Works section comprises four tabs to manage the works:
Works
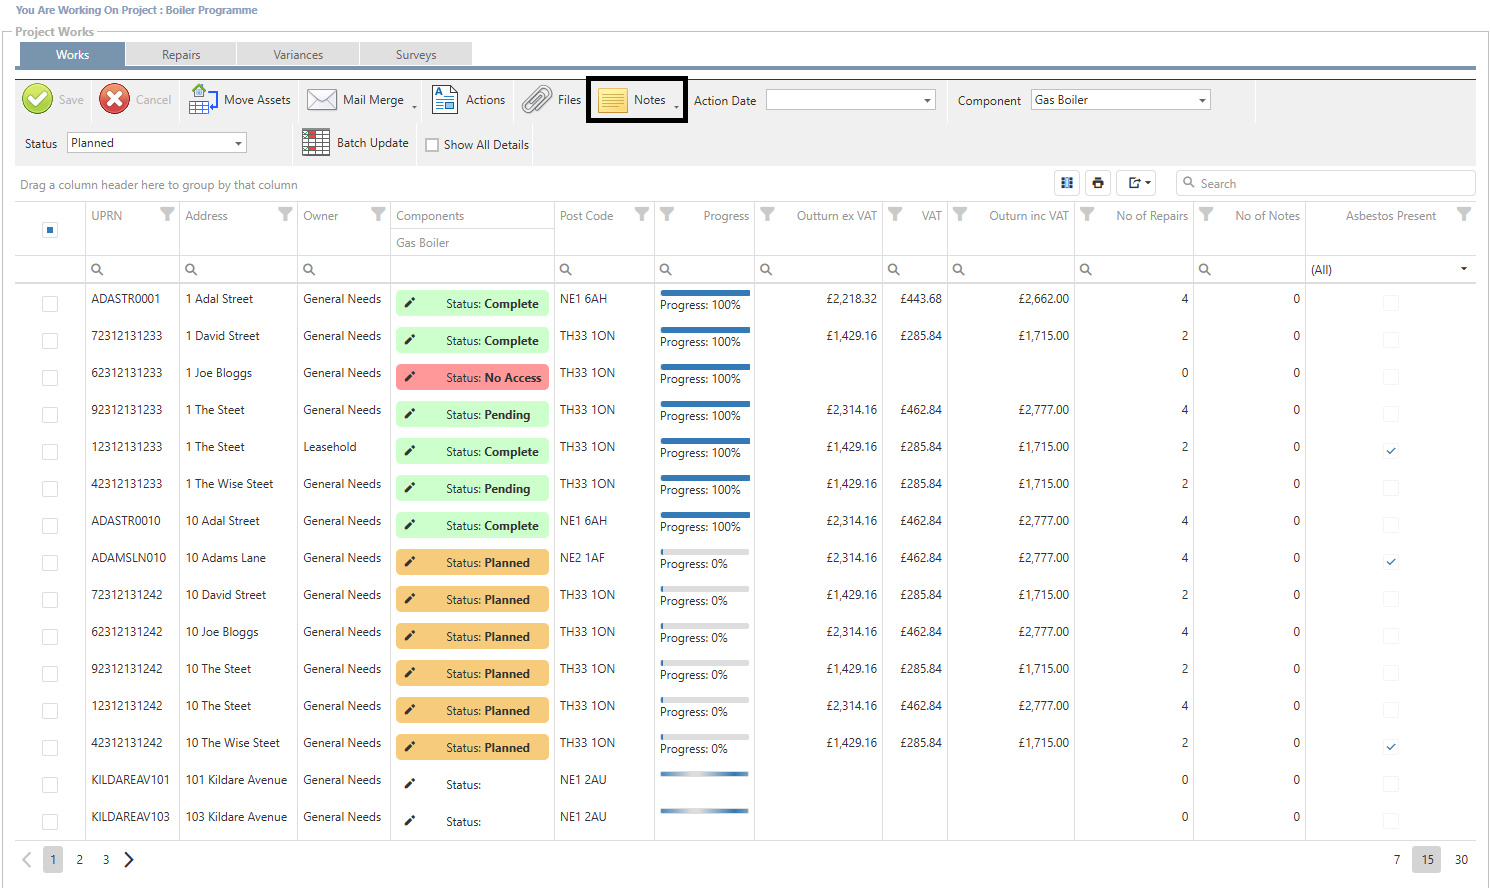
The Works section shows the works planned, completions, refusals and condition updates for the currently selected programme of works.
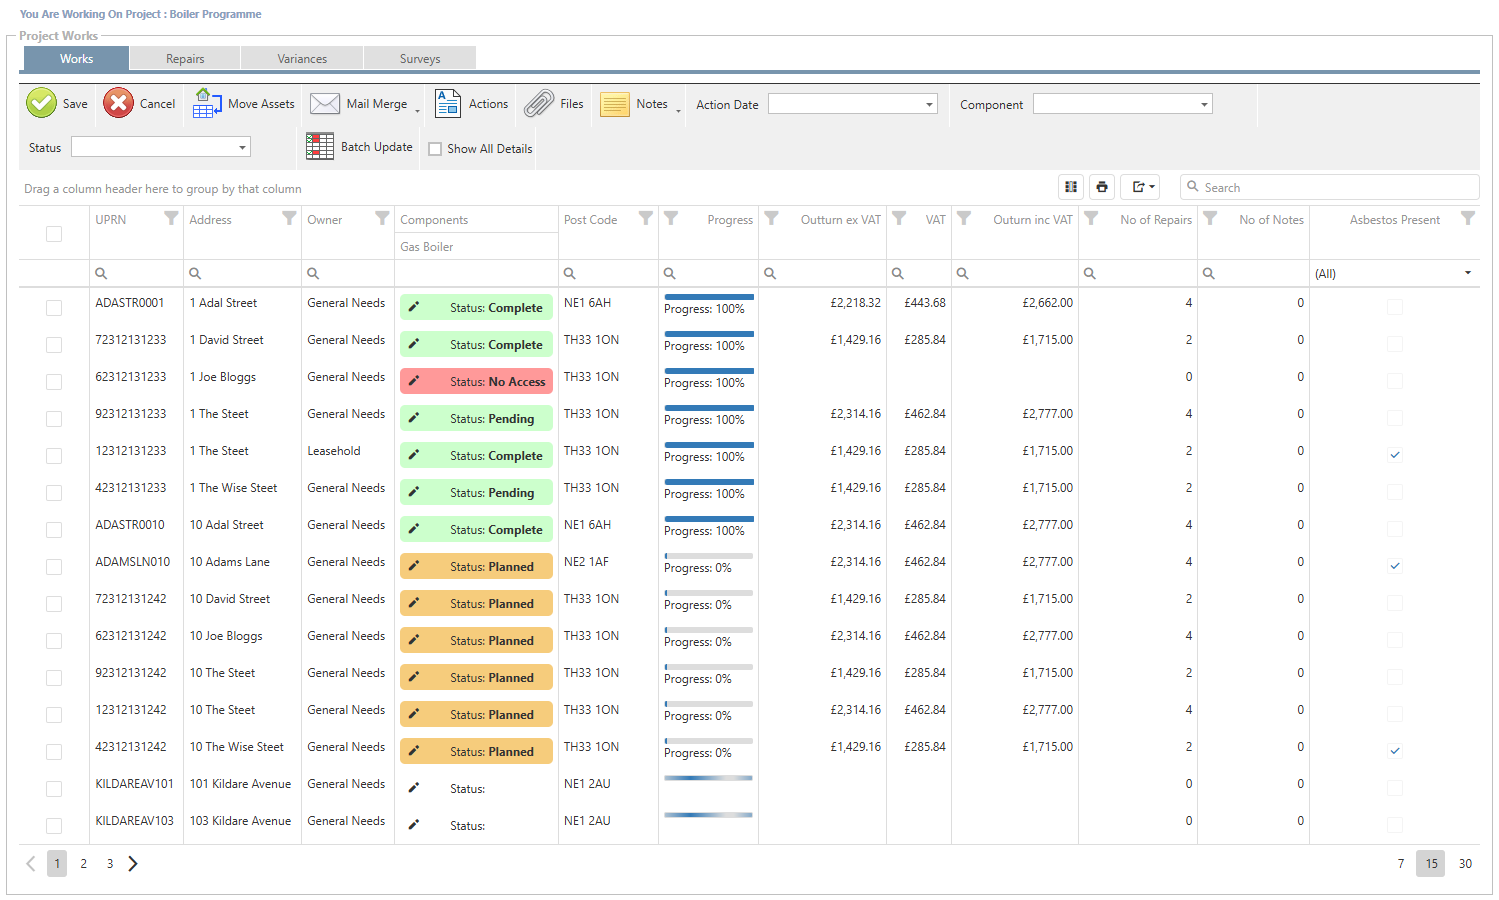
Grid Overview
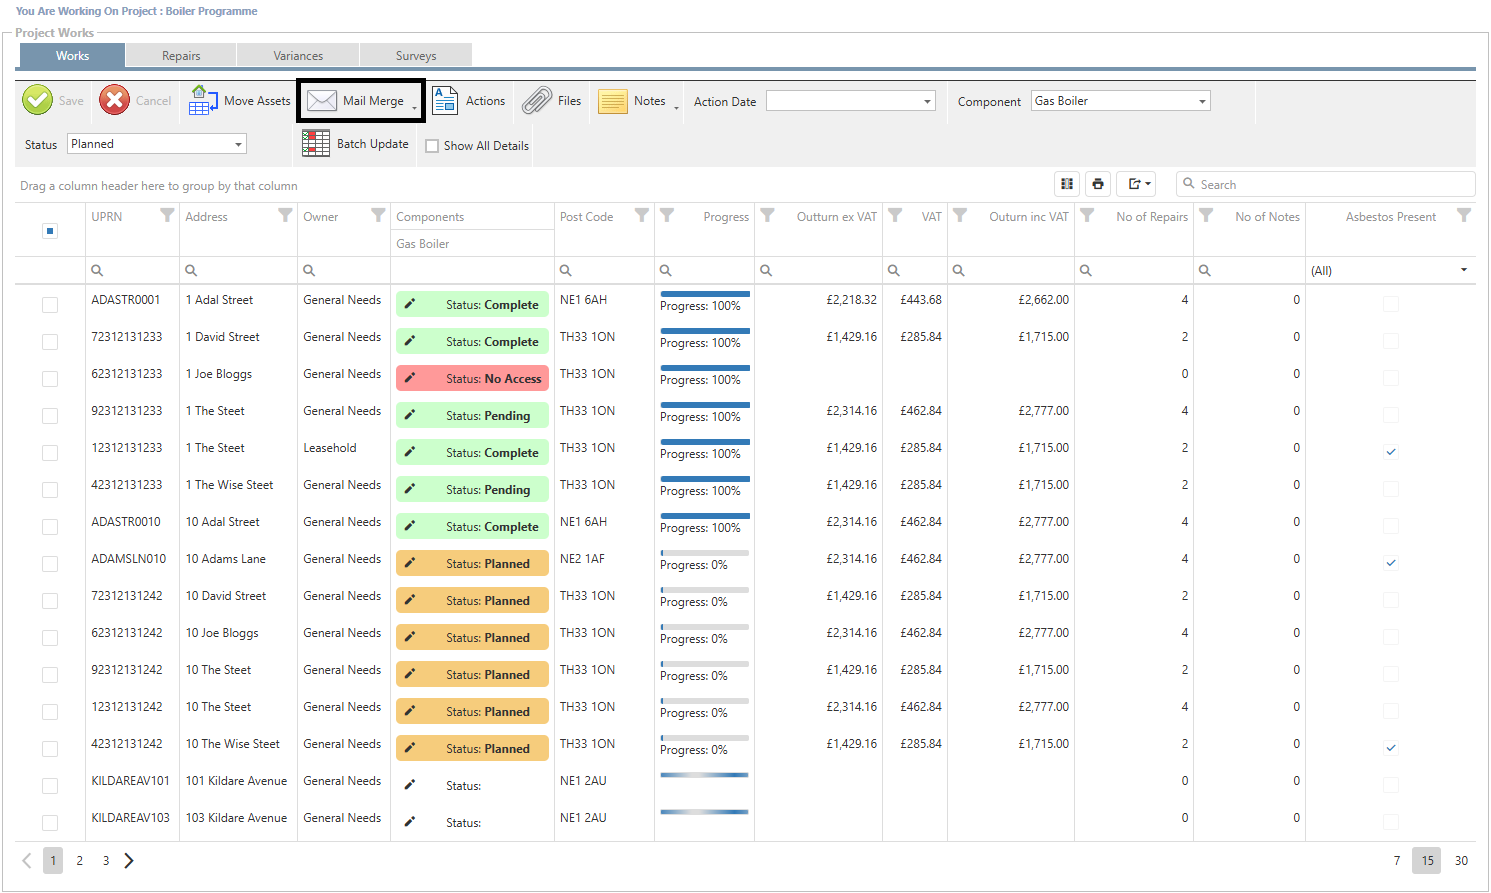
The grid within the works tab contains information pertaining to the works for the project. The summary table below shows what each column is detailing.
Column | Description |
|---|---|
UPRN | Property reference of the Asset. |
Address | The address for the asset linked to the UPRN. |
Owner | The Ownership type configured for the asset within Asprey Assets. |
Components | Directly below will show the component for the project and will show the status of the asset component below. See “editing status” part below for details. |
Post Code | Property Post code linked to the UPRN. |
Progress | Shows the progress of the asset component. |
Outturn Ex VAT | Shows the Outturn for the Asset before VAT. |
VAT | The Value Added Tax for each Asset. |
Outturn inc VAT | The sum of Outturn Ex VAT and the VAT Column. |
No of repairs | Shows the count of repairs against the asset. |
No of Notes | Shows the count of notes for the asset in the project. |
Asbestos present | A marker against the asset to indicate if asbestos is present - linked to data in Asprey Assets and Compliance. |
Editing Component Status
To edit a component status, click the pencil icon in the row you wish to update. A pop-up box will appear with the options of amending the status.
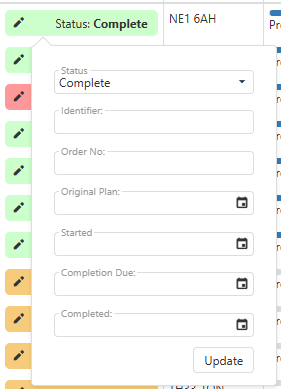
Complete the required information and click “update” to save the changes.
Move Assets
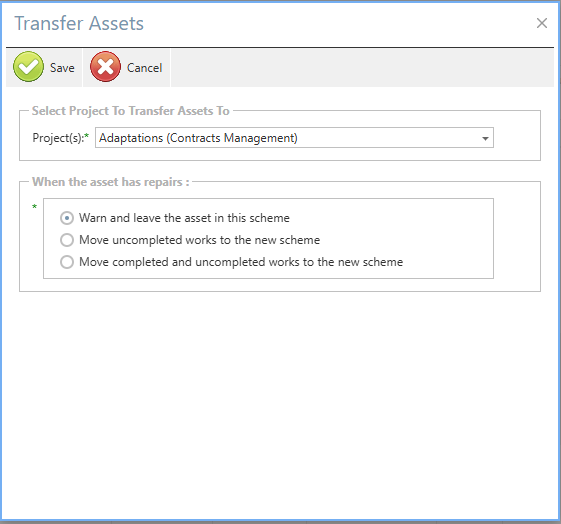
There may be occasion where an asset needs to be moved to another project. To do so, select the desired assets and click the “Move Assets” button.
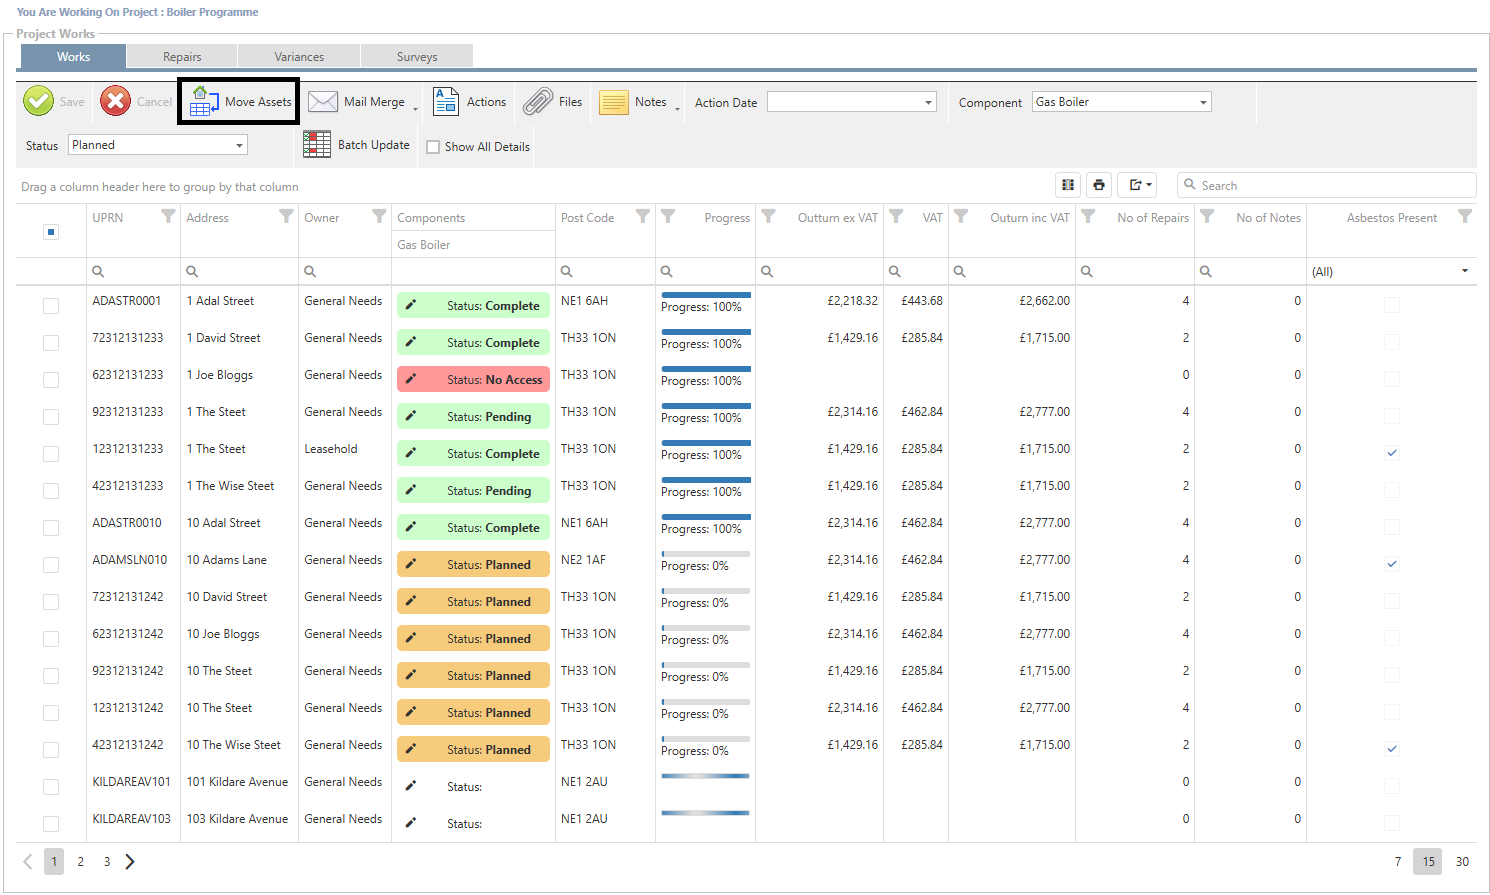
A pop-up box will appear. Select the project the assets are to be moved to and configure how the system will handle any repairs associated with them. Once satisfied, click “save” to move the assets.
Mail Merge
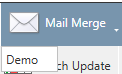
To utilise a mail merge within the project, select the assets to be part of the mail merge and click the Mail Merge button’s drop-down arrow and select the desired mail merge template. To configure a mail merge template, see the section on mail merge for more details.
A pop-up box will appear. From here, select if you would like the mail merge to be in a single file or multiple files.
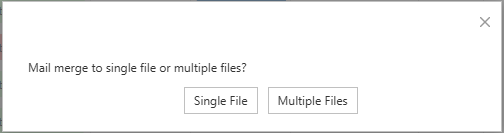
It will then export the mail merge to pdf ready for download.
Actions
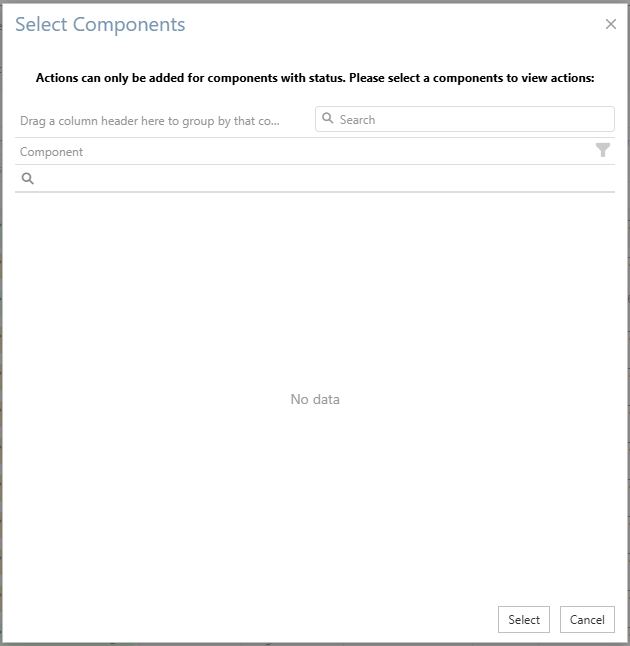
To view any actions associated with the selected asset, click the “actions” icon in the grid after making an asset selection.
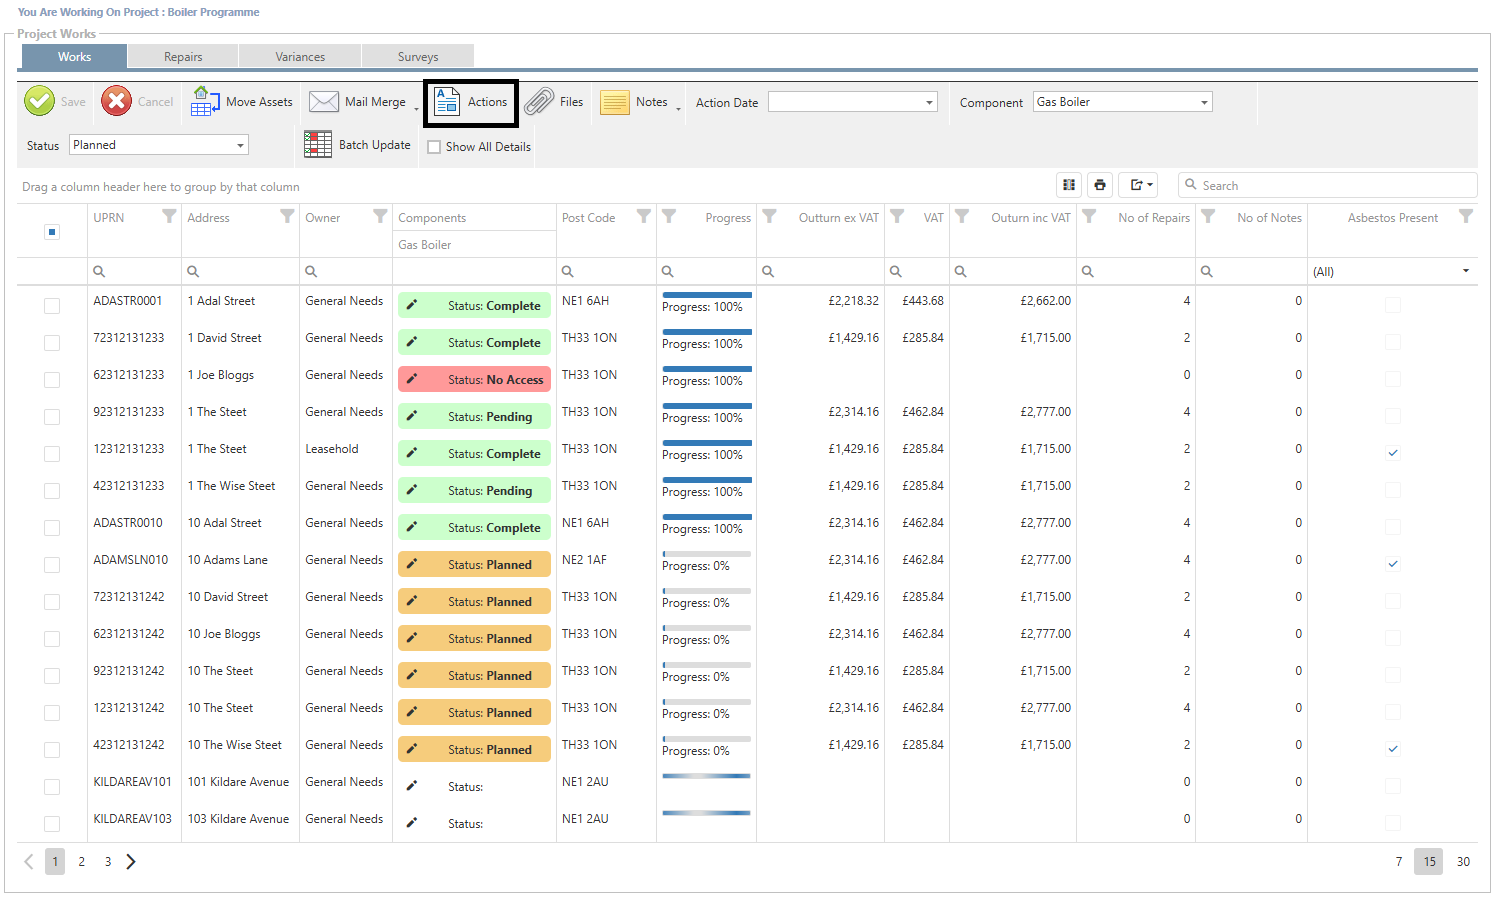
If there are any actions for the selected asset, they will show in the list.
Files
To view any files for an asset, click the “Files” icon in the grid after making an asset selection.
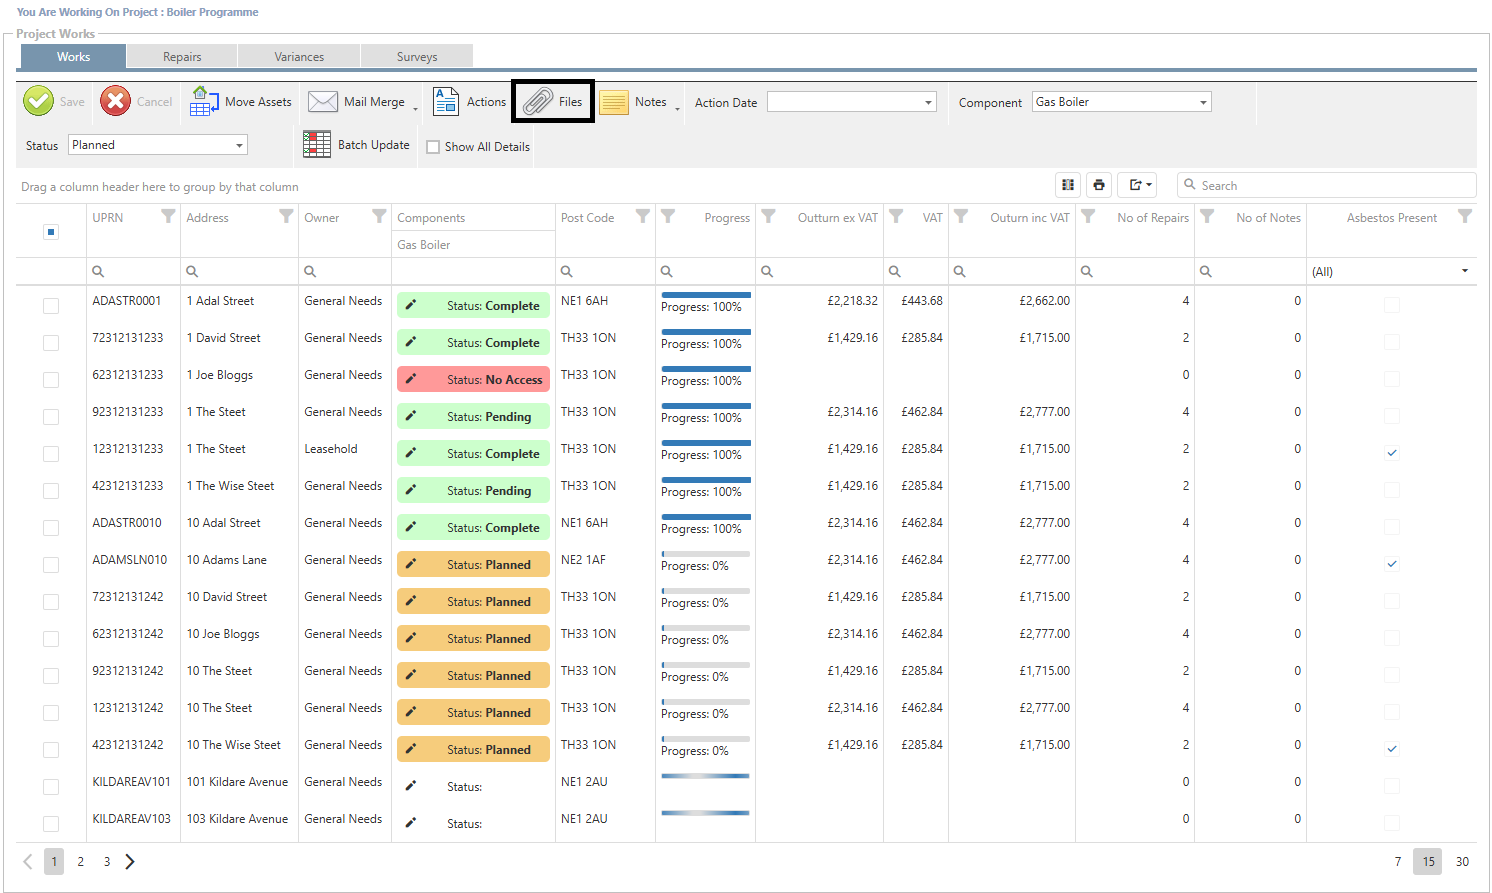
A pop-up box will appear to filter the components. Once filtered, click “select”
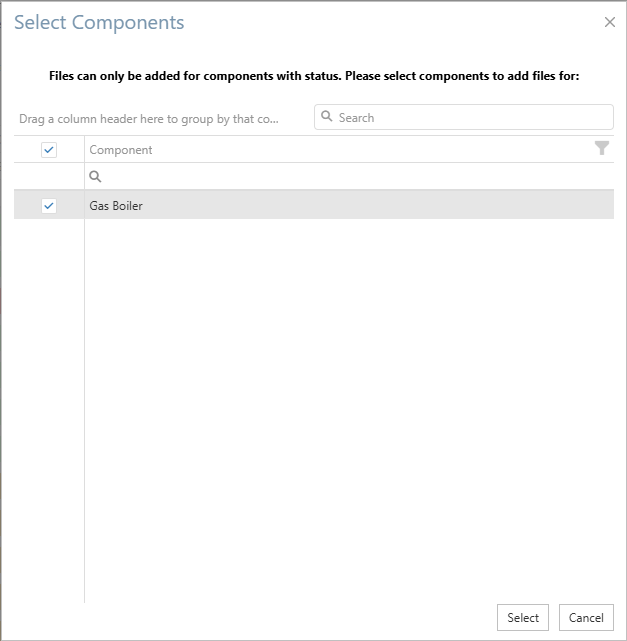
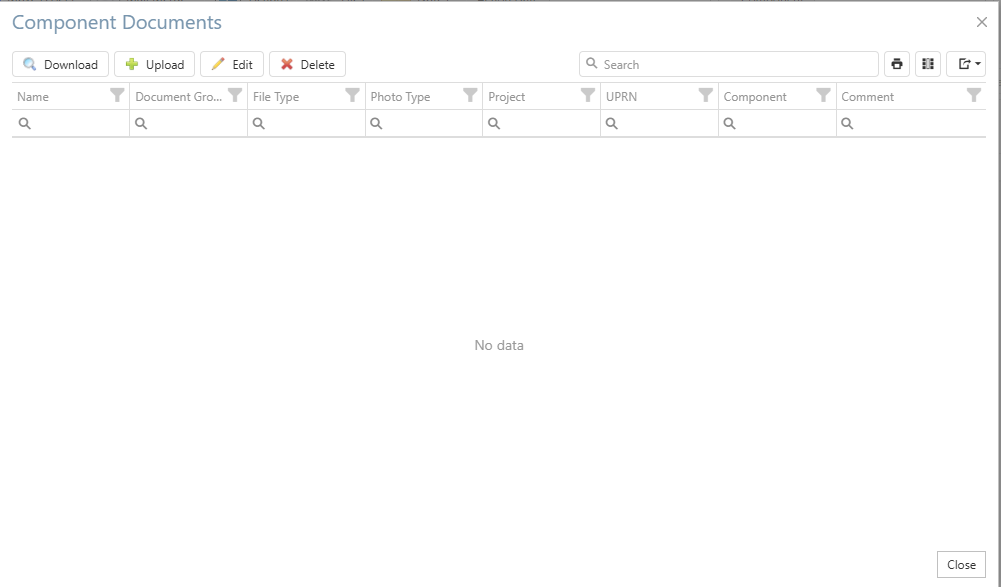
This will then show the component documents held for the asset.
Notes
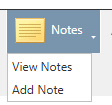
To view or add notes to an asset, select the asset in the list and click the drop-down arrow under “notes” in the grid.
Viewing a Note
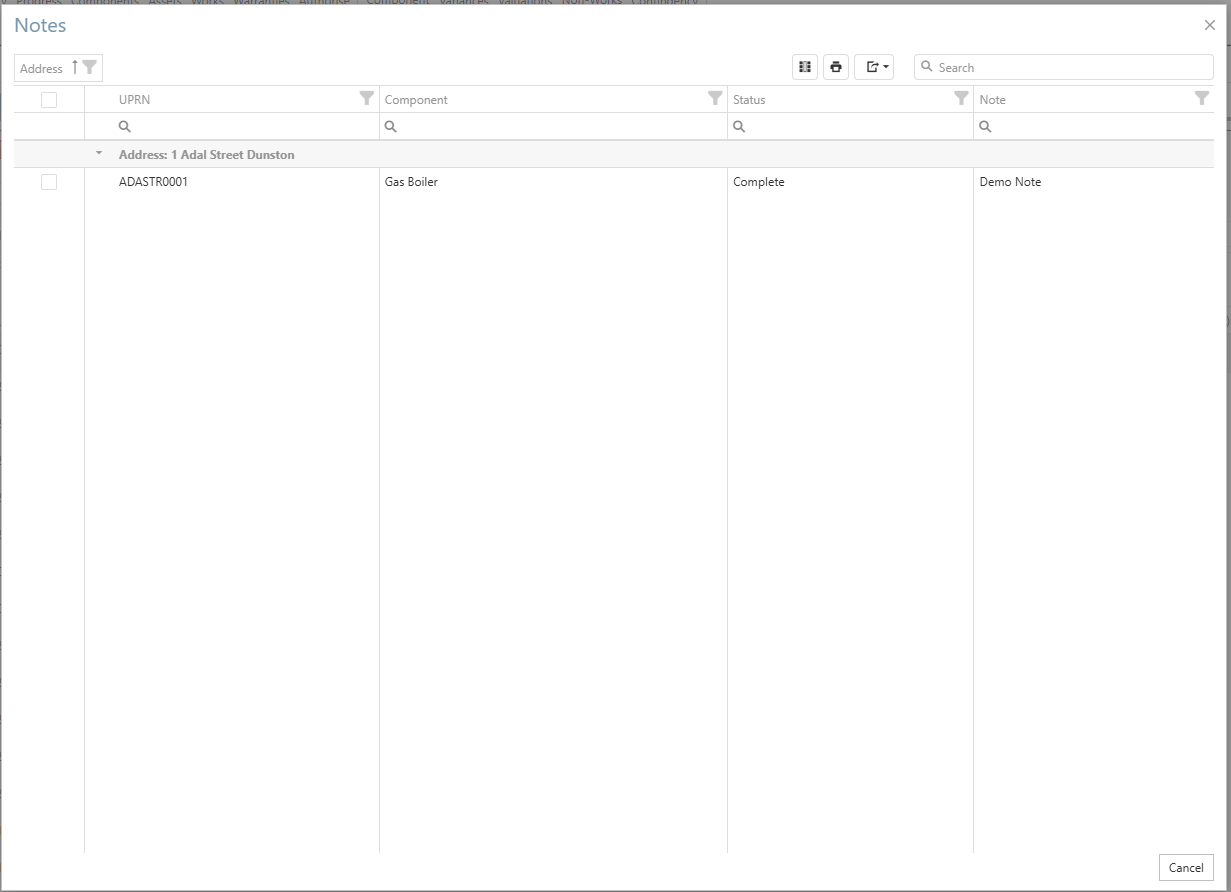
Any notes that are associated with the selected asset will be visible in the pop-up box that appears.
Adding a Note
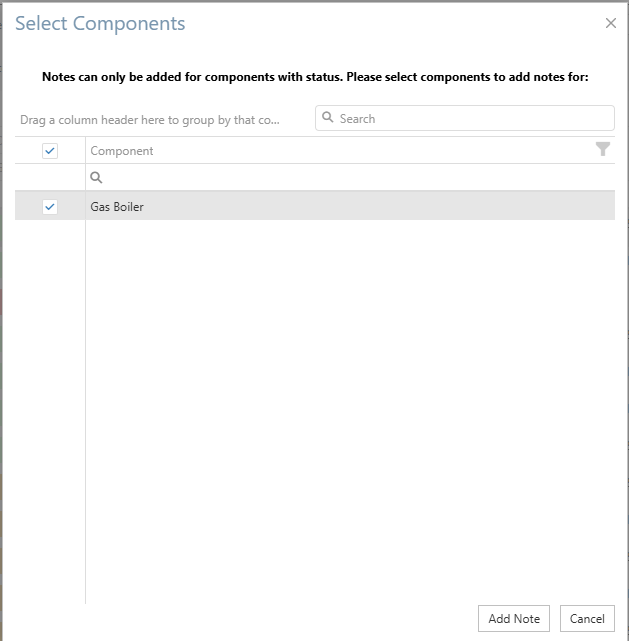
When adding a note in the Works tab, the note is added to the component. Once the “Add Note” button is clicked, a pop-up box appears. First, select the component the note is to be associated with and click “Add Note”.
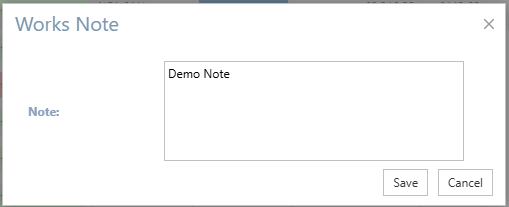
In the next screen, add the details for the note and then click “save”.
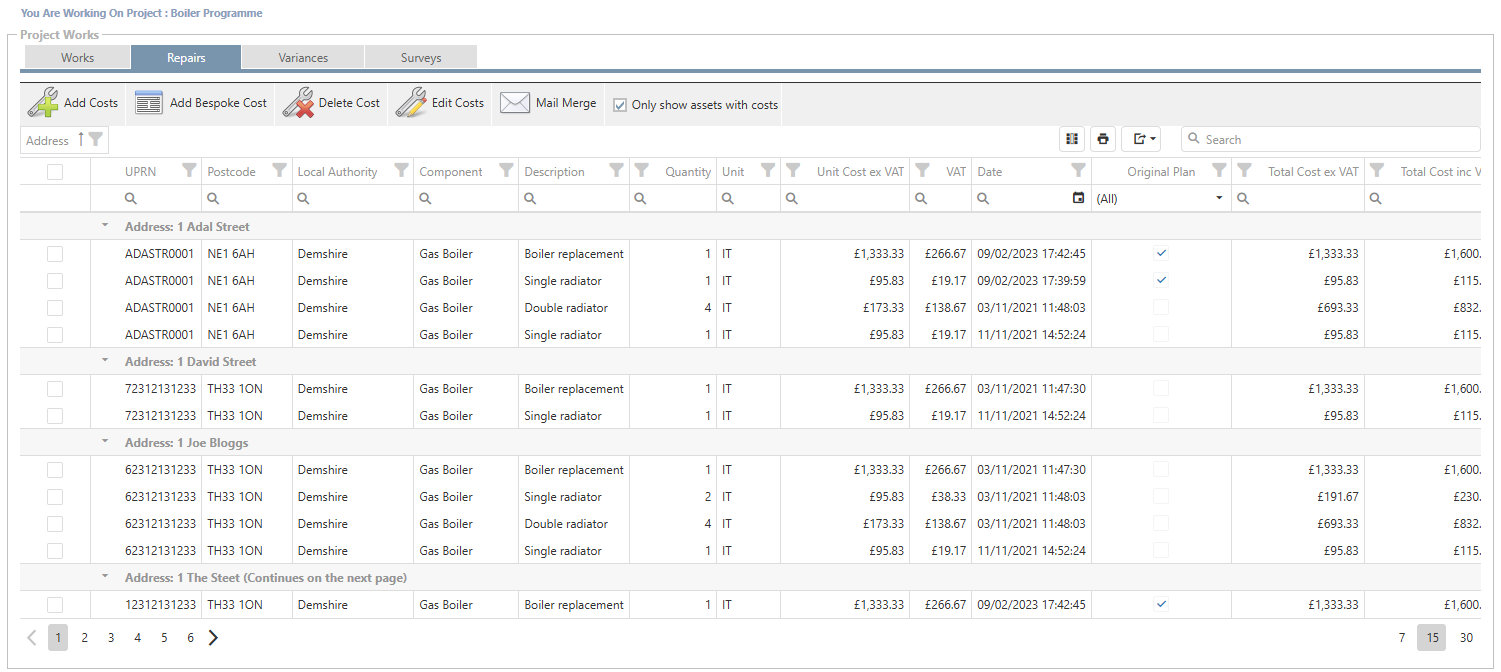
Repairs
The Repairs section allows users to add SOR and Bespoke costs to assets within the currently selected programme of works.
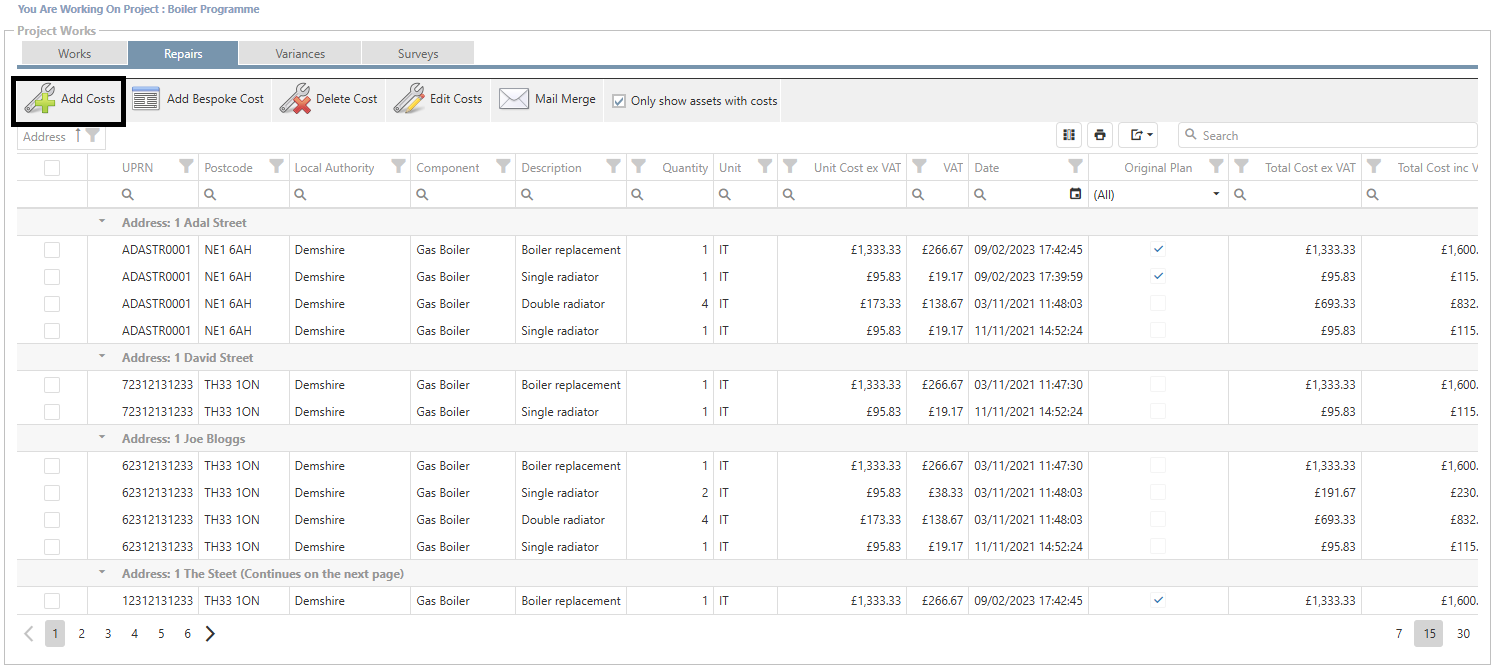
Add a Cost
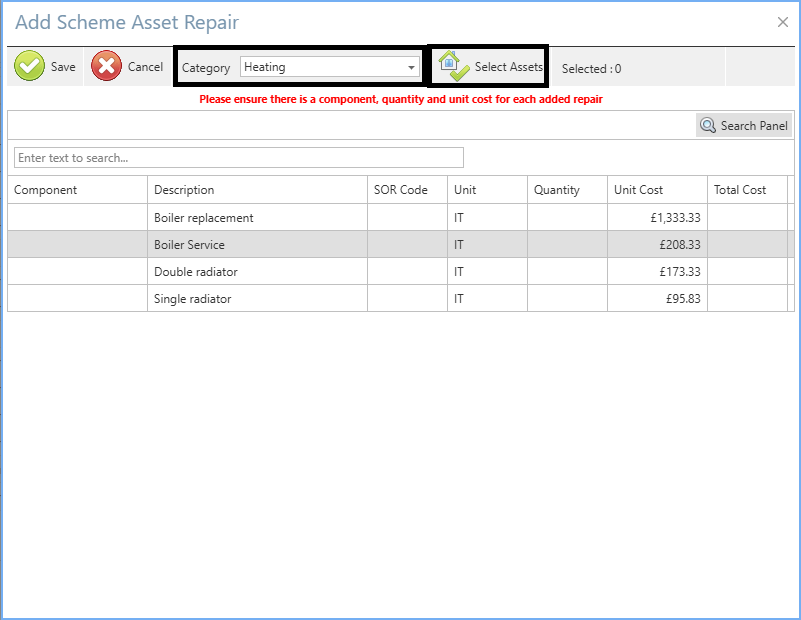
To add a cost to a programme, click the “Add Costs” button within the Repairs tab.
A pop-up box appears to add the relevant cost. Firstly, the Category must be selected and then the assets that the cost is to be added to.
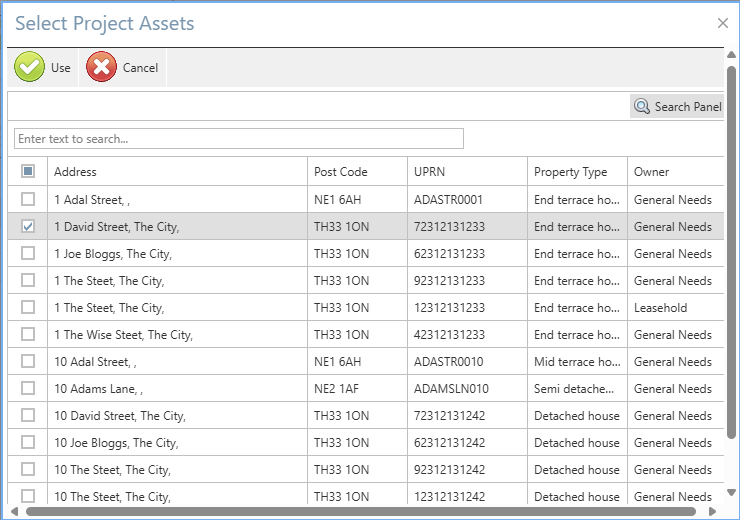
When the “Select Assets” button is clicked, a pop-up box appears with a list of the available assets in the project. Select the relevant assets and click “use”.
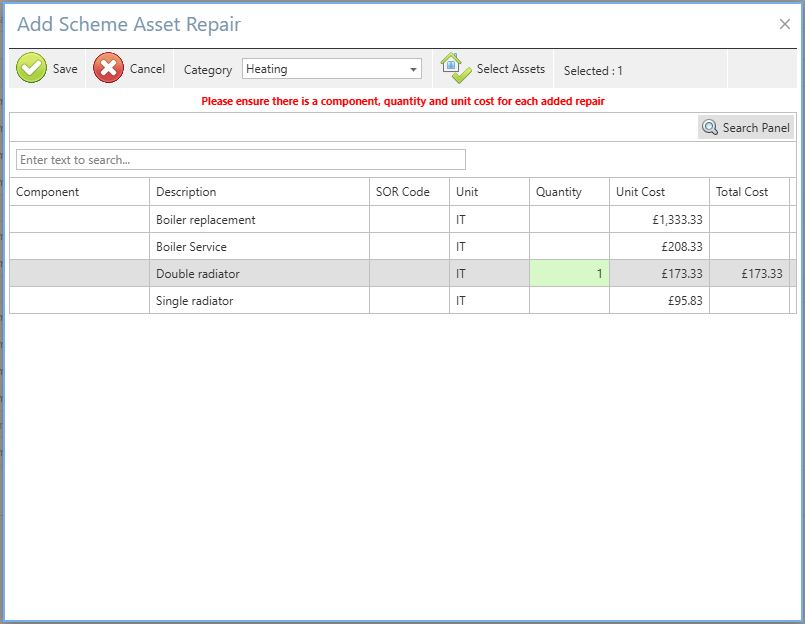
Then add the quantity of the component(s) that have been added in the quantity column and click “save when complete.
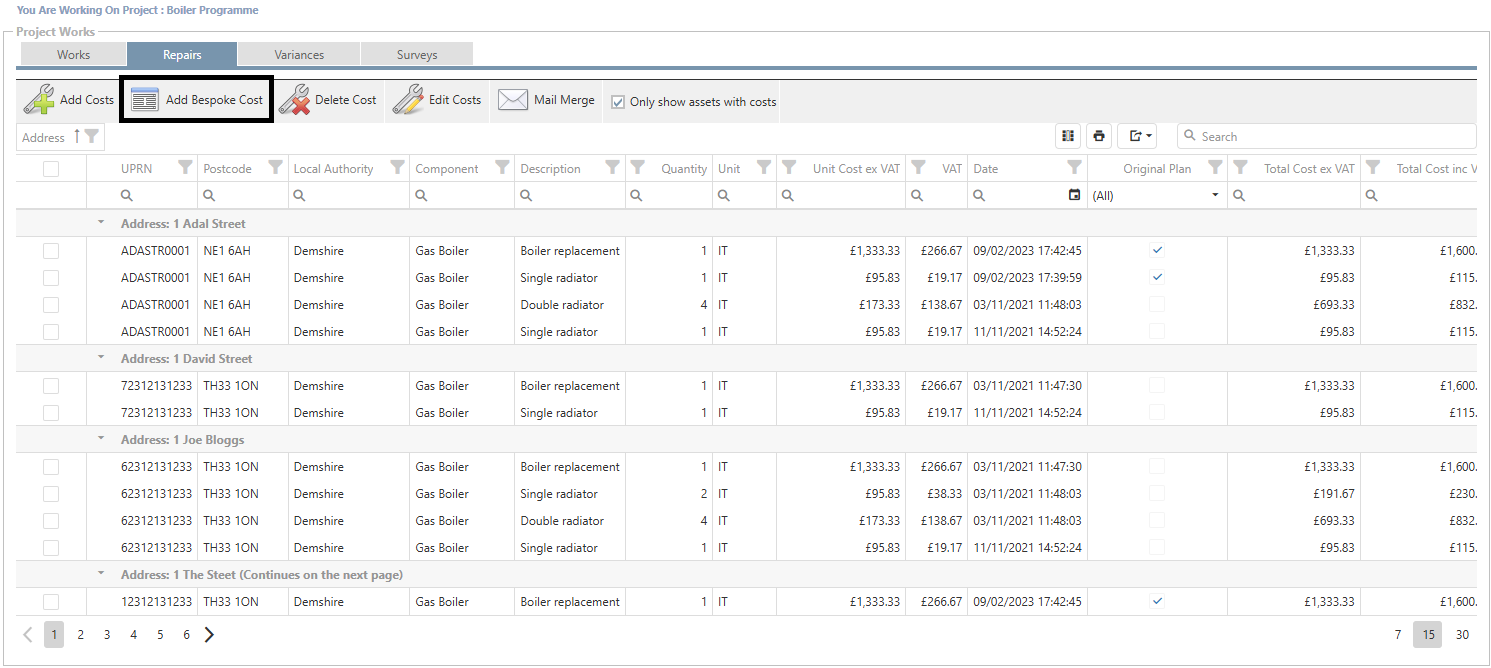
Add a Bespoke Cost
To Add a bespoke cost, click the “Add Bespoke Cost” button within the grid.
A pop-up box appears with the details to be completed regarding the bespoke cost.
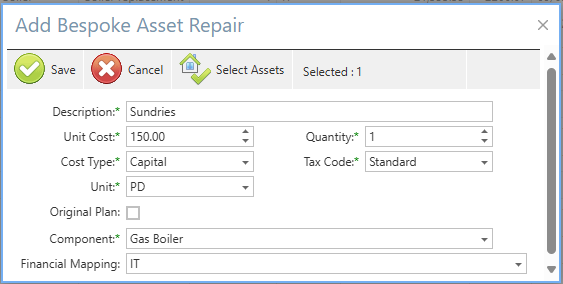
The Unit Cost value is EX-VAT value and the Tax Code field will apply the relevant rate of VAT.
When the “Select Assets” button is clicked, a pop-up box appears with a list of the available assets in the project. Select the relevant assets and click “use”.
Then click the “save” button to save the bespoke costs.
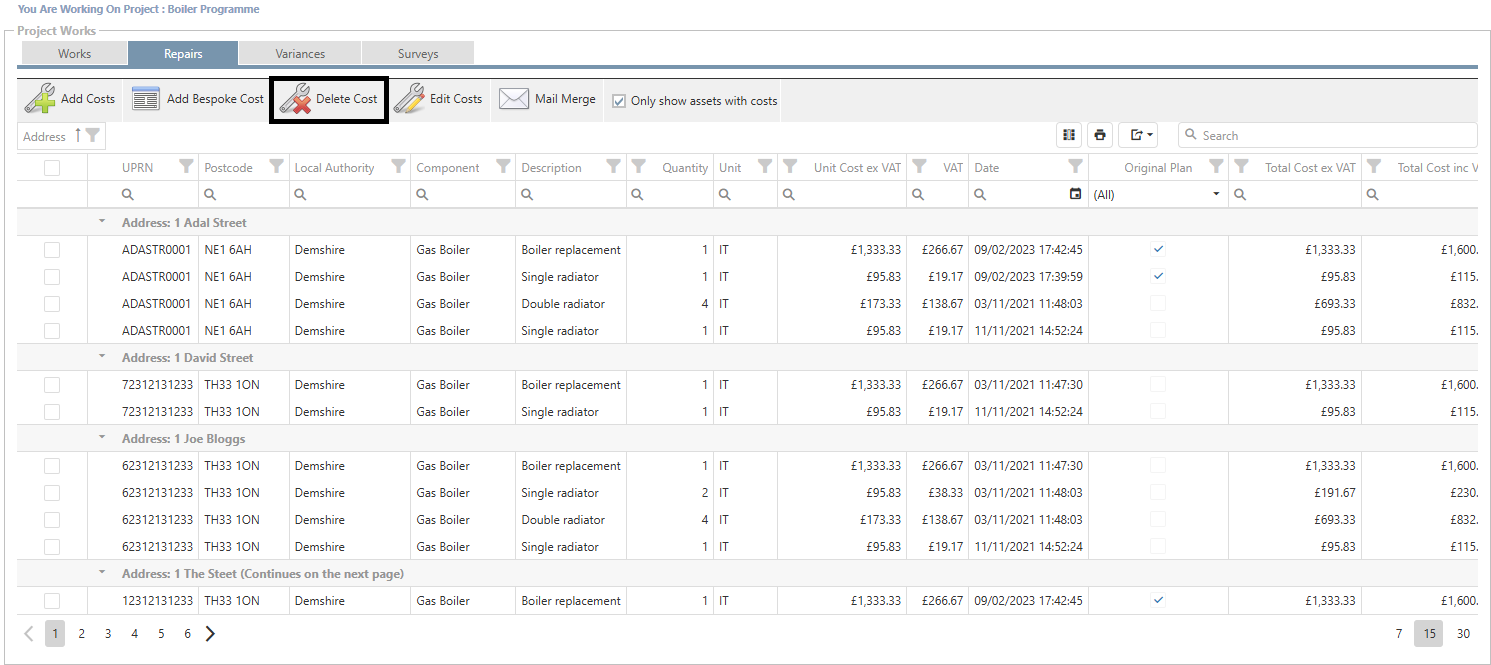
Delete a Cost
To delete a cost in the Repairs screen, select the cost rows in the grid, ensuring the checkbox is ticked and click the “Delete Cost” button in the grid. A Pop-up will appear to confirm the deletion. Once confirmed, the cost will be deleted.
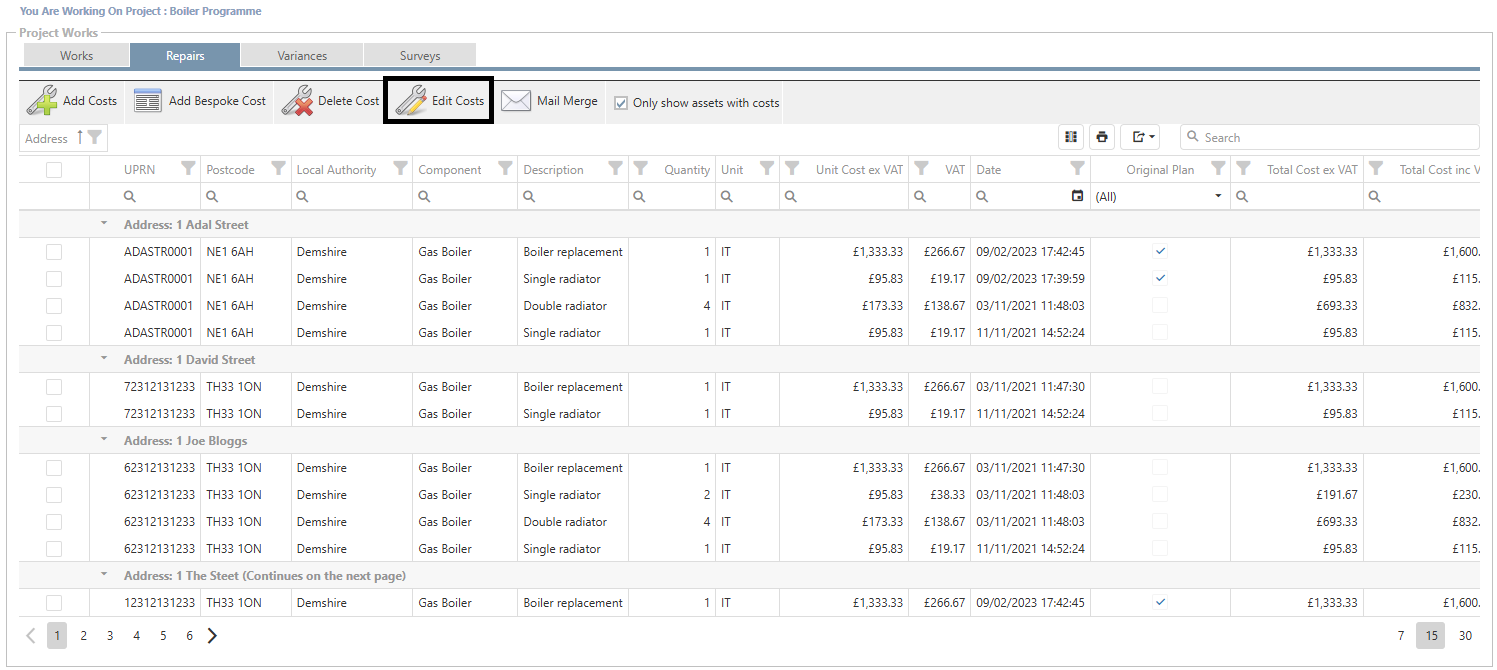
Edit a Cost
To edit a cost, select the cost rows in the grid, ensuring the checkbox is ticked and click the “Edit Cost” button in the grid.
A pop-up box will appear with the edit cost details. If a single record has been selected for edit, it will be prepopulated with the current quantity and unit cost. If multiple records are selected for edit, only the common values will be populated.
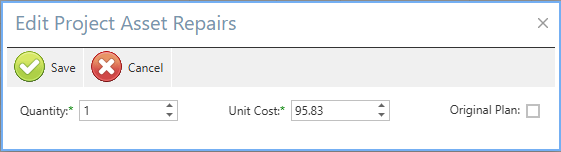
Once the changes have been made, click the save button to commit the changes.
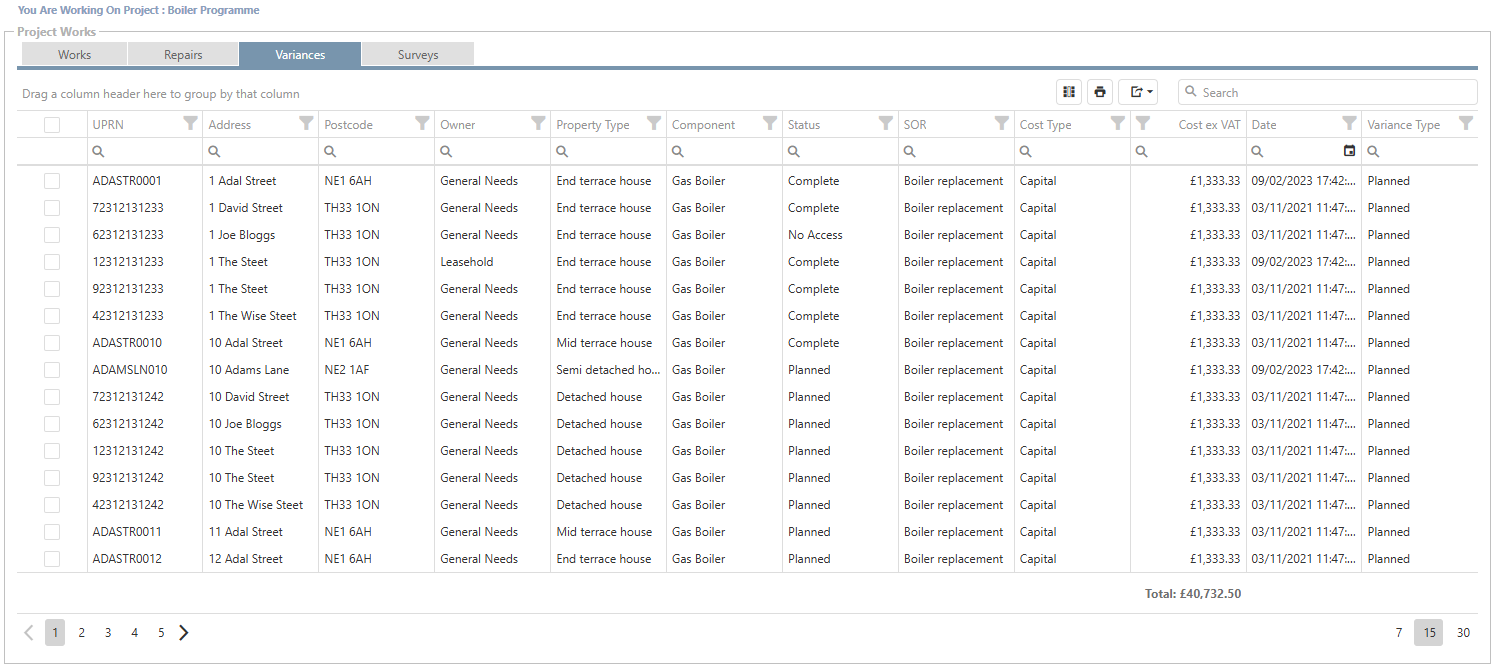
Variances
The Variances section shows all costs and variances within the selected programme of works.
Surveys
The Surveys tab comprises of three tabs to manage surveys.
Asset Survey
Component Survey
Repair Survey
Asset Survey
The Asset surveys allow survey questions pertaining to the asset to be answered. The Property type must be selected as different property types may have different survey questions.
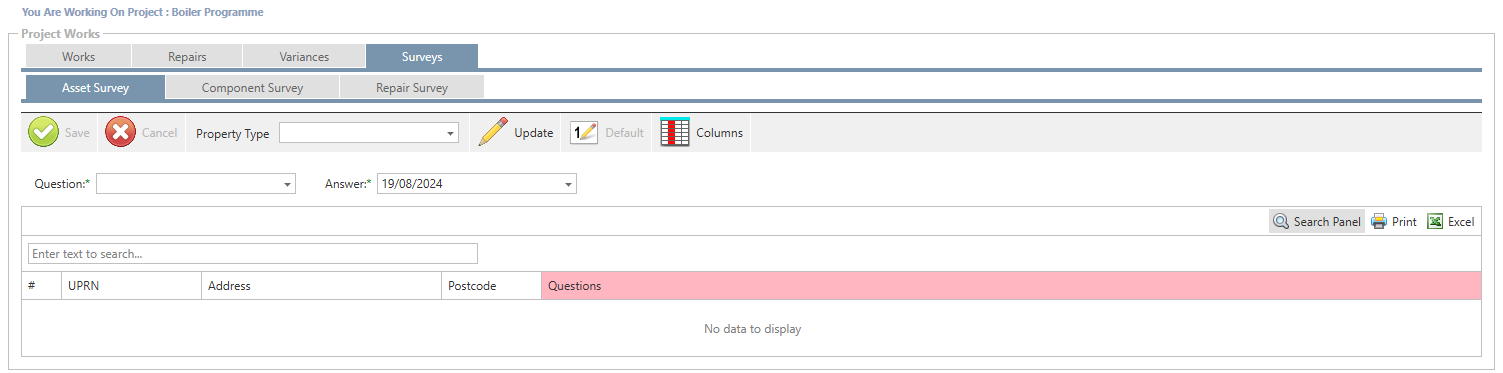
Once the property type has been selected, the assets that meet that criterion will populate in the grid below. Select the question from the drop-down list and then the Answer that you wish to update for the selected asset. Once set, click the “update” button to save the changes.
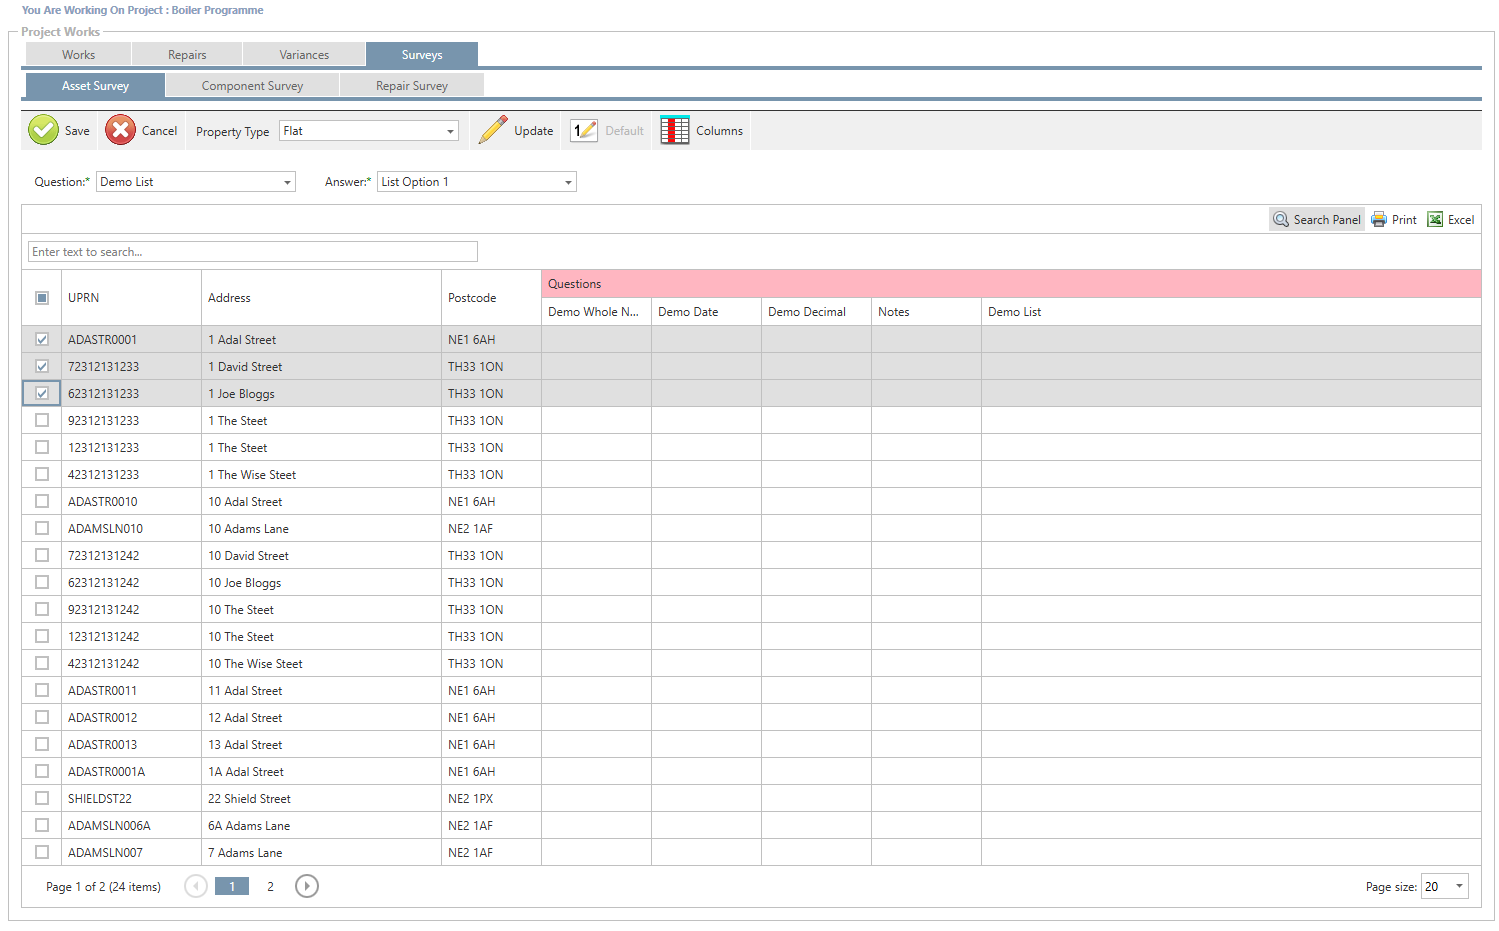
Alternatively, individual records can be updated within the grid by selecting the field and entering the new value.
Component Survey
The Component surveys allow survey questions pertaining to the asset component to be answered. The Component must be selected as different components may have different survey questions.
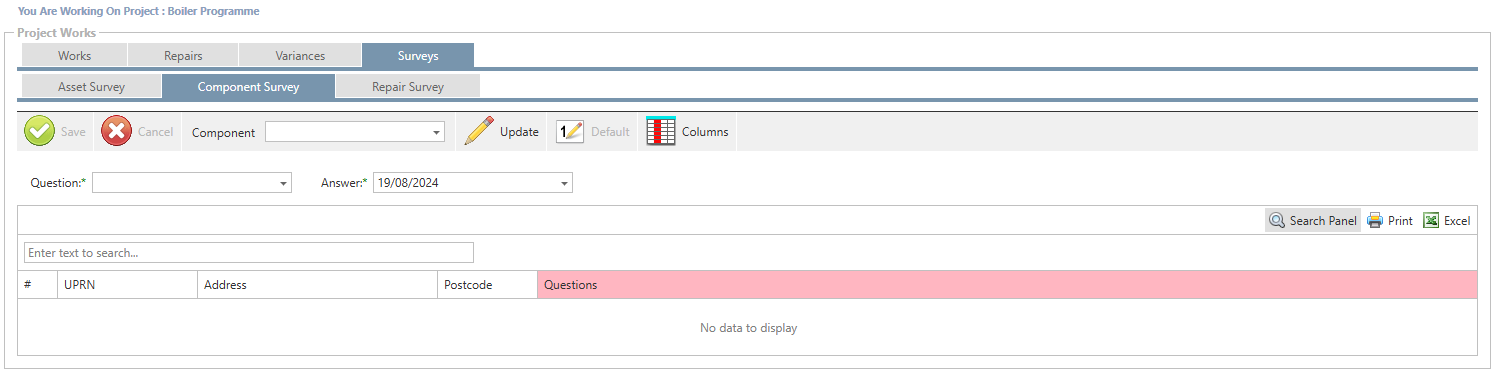
Once the Component has been selected, the assets that meet that criterion will populate in the grid below. Select the question from the drop-down list and then the Answer that you wish to update for the selected asset. Once set, click the “update” button to save the changes.

Alternatively, individual records can be updated within the grid by selecting the field and entering the new value.
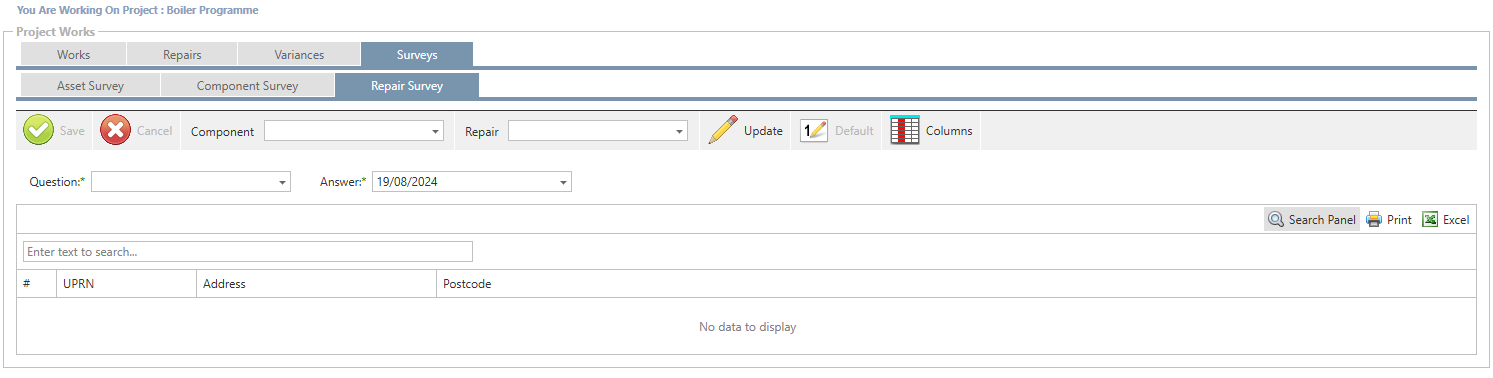
Repair Survey
The Repair surveys allow survey questions pertaining to the asset Repair to be answered. The Component and repair must be selected as different components may have different survey questions.
Once the Component and repair have been selected, the assets that meet that criterion will populate in the grid below. Select the question from the drop-down list and then the Answer that you wish to update for the selected asset. Once set, click the “update” button to save the changes.
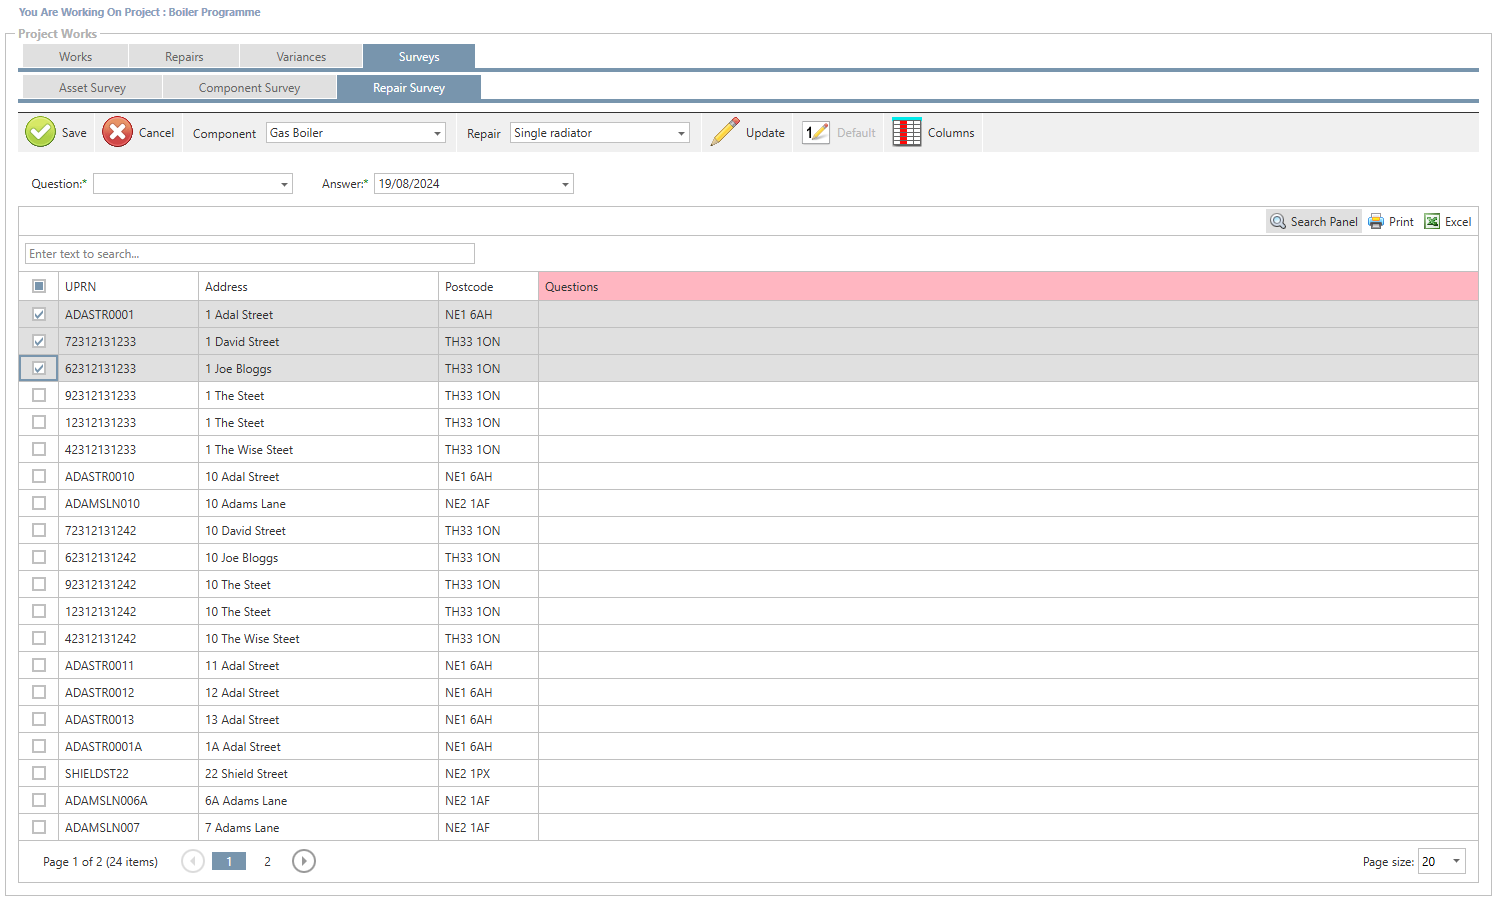
Alternatively, individual records can be updated within the grid by selecting the field and entering the new value.