Assets Tab
The assets section is accessed through the Planned Tab by clicking the “Assets” button once a project has been selected from the Project Centre.
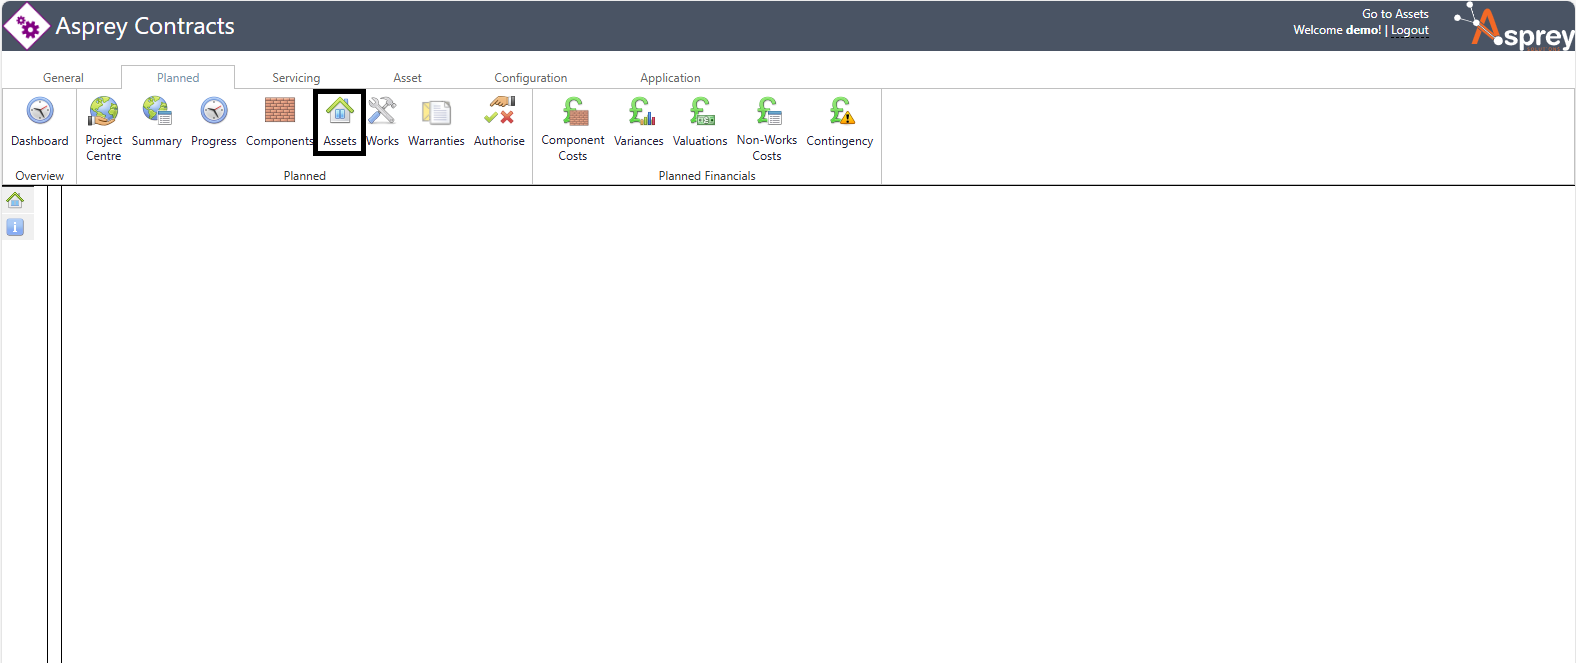
This section shows a list of all assets that form part of the currently selected programme of works.

Add an Asset to a programme
To add a new asset to a programme, click the “Add” button.
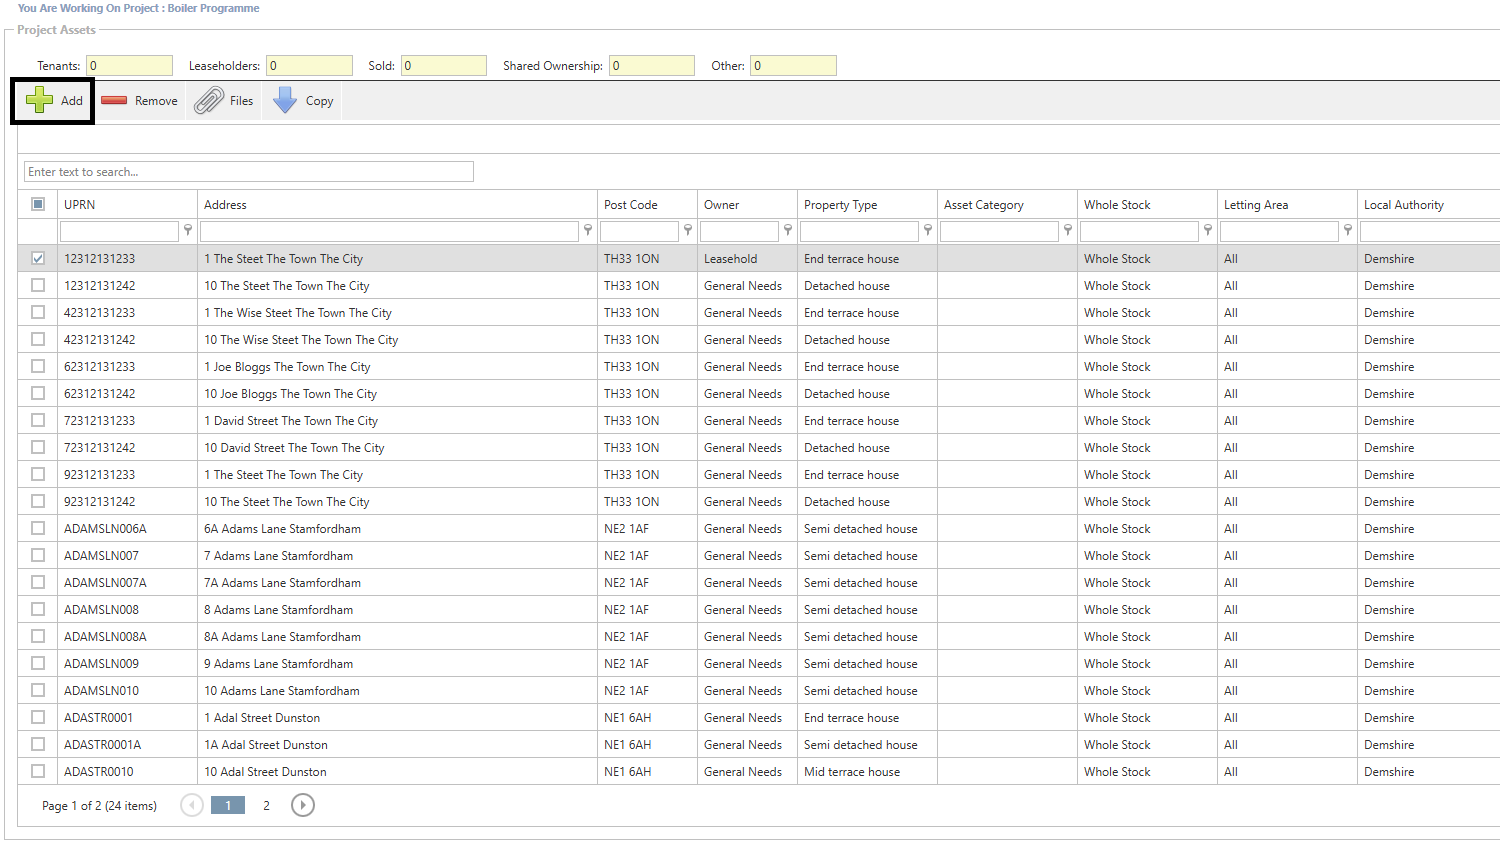
The Asset Explorer will appear to find the desired asset(s). Once found, select the assets and click the “use” button.
See the section on the Asset Explorer for more details on searching.

Remove an Asset from a programme
To remove an asset(s) from a programme, select the required asset(s) from the list and click the “remove” button.
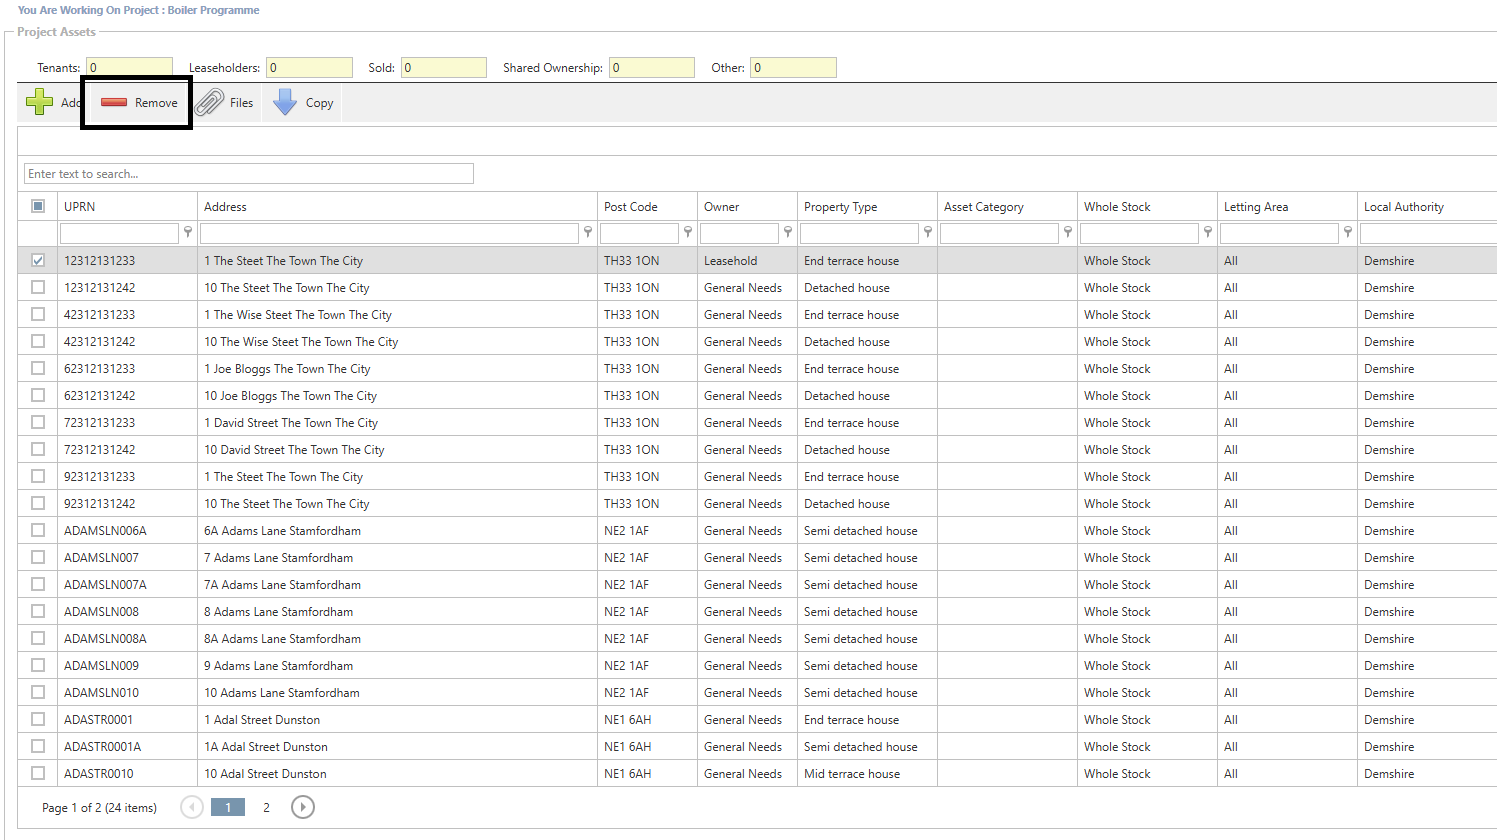
A confirmation box will appear which requires the user to confirm the action of removing the asset(s) from the programme.
Asset Files
To view the files associated with the Asset(s) in the programme, select the required assets from the list and click the “files” button in the grid.
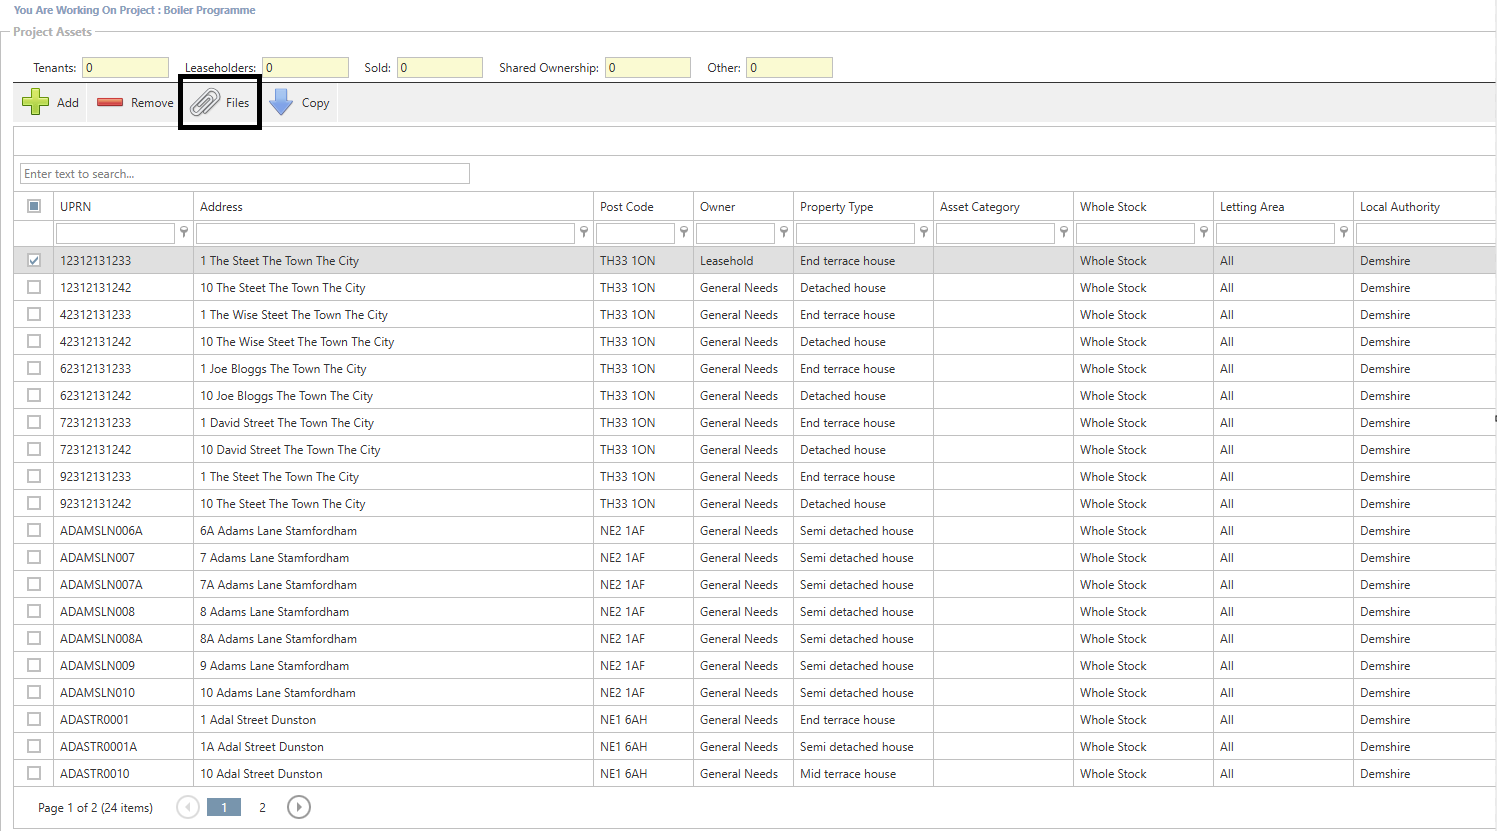
This will load a pop-up box with the associated files if present.
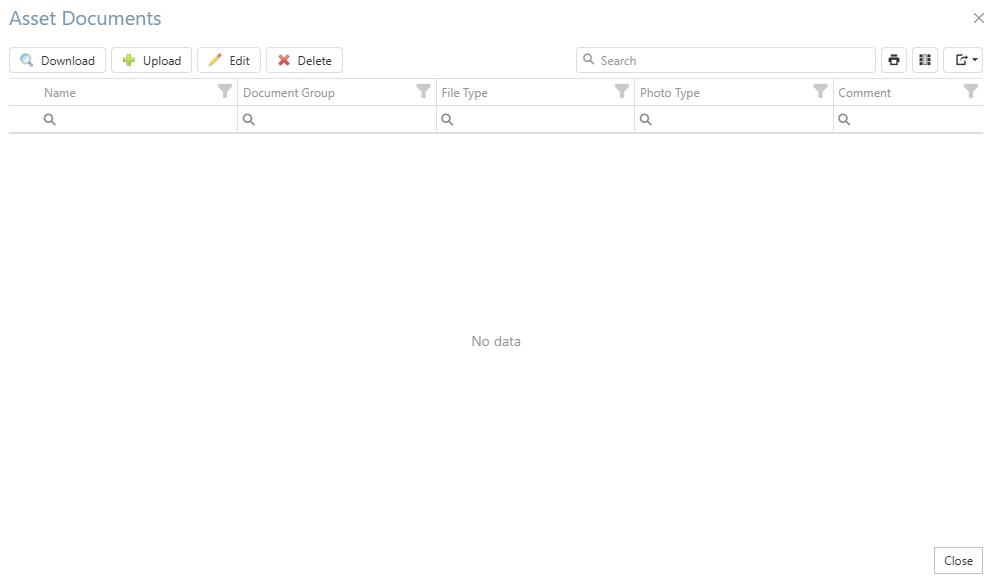
From here, files can be viewed, uploaded, edited or deleted depending on the permissions of the logged in user.
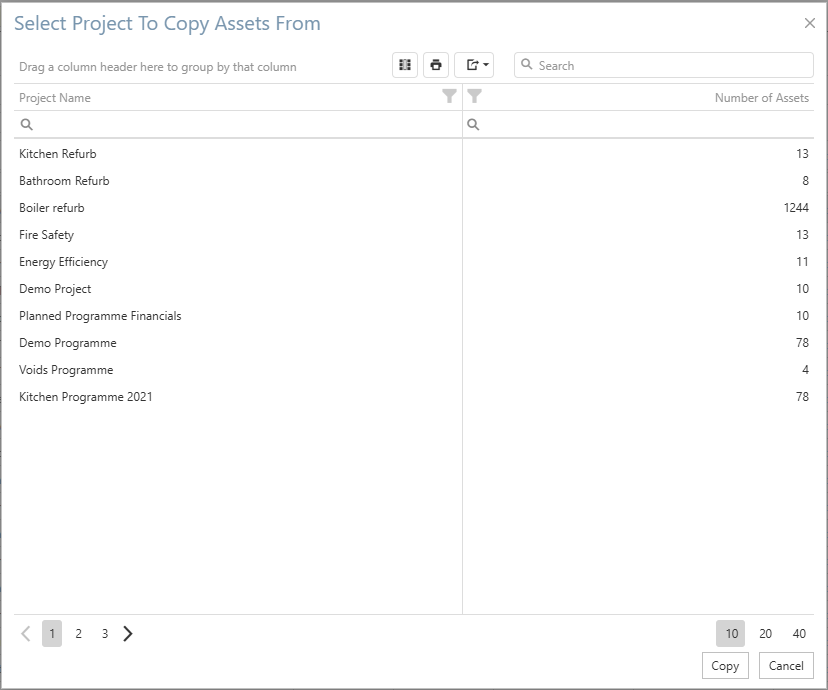
Copy Assets
It is possible to copy assets from one project to another within Asprey Contracts. To do so, click the “copy” button in the grid.
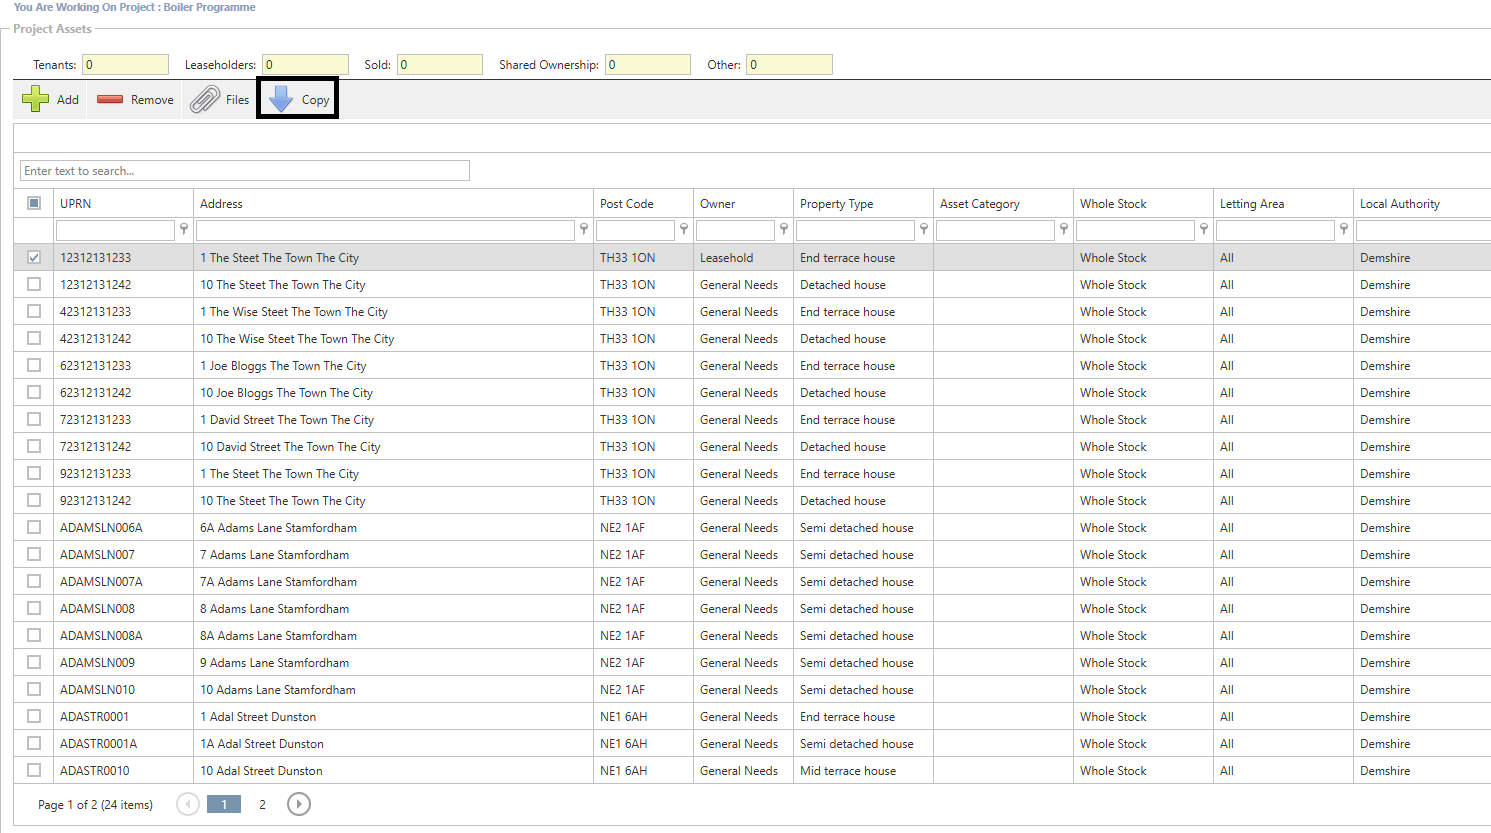
A pop-up box will appear with a list of all the projects within Asprey Contracts. Select the desired project to copy the asset from and click the “copy” button to copy all the assets into this project.