Asset Explorer
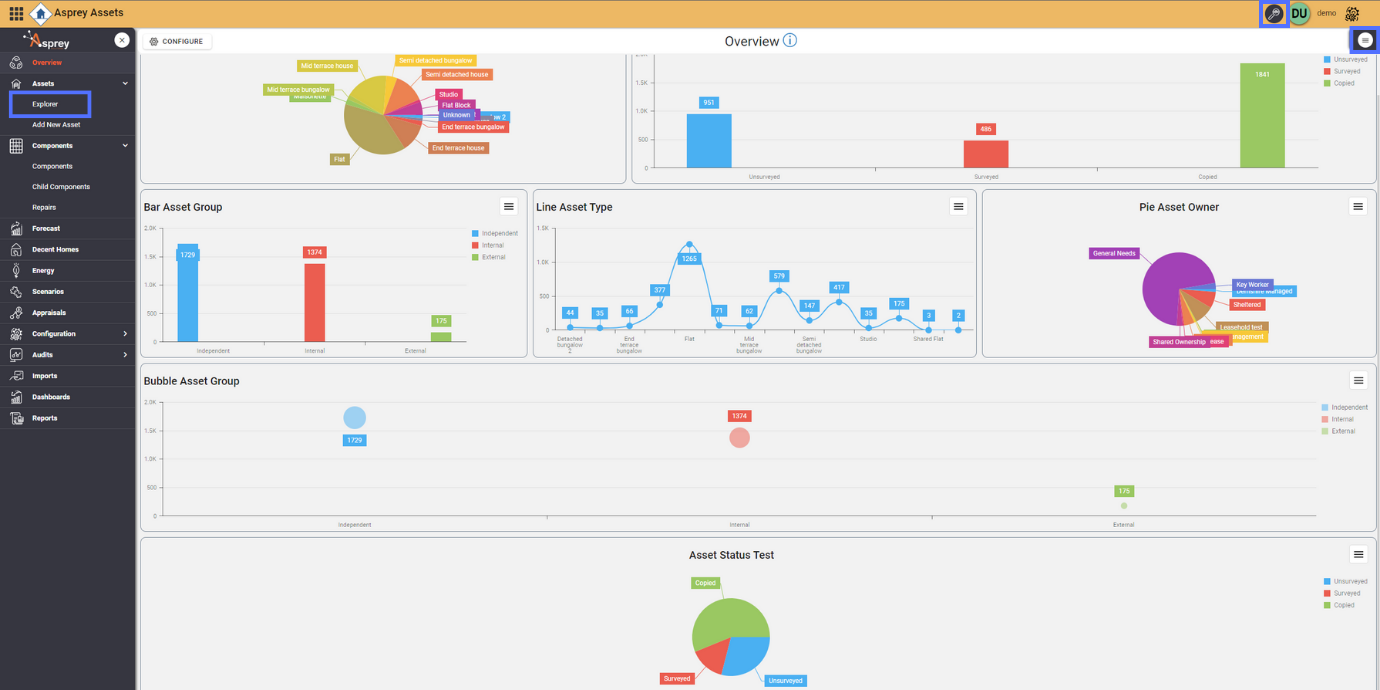
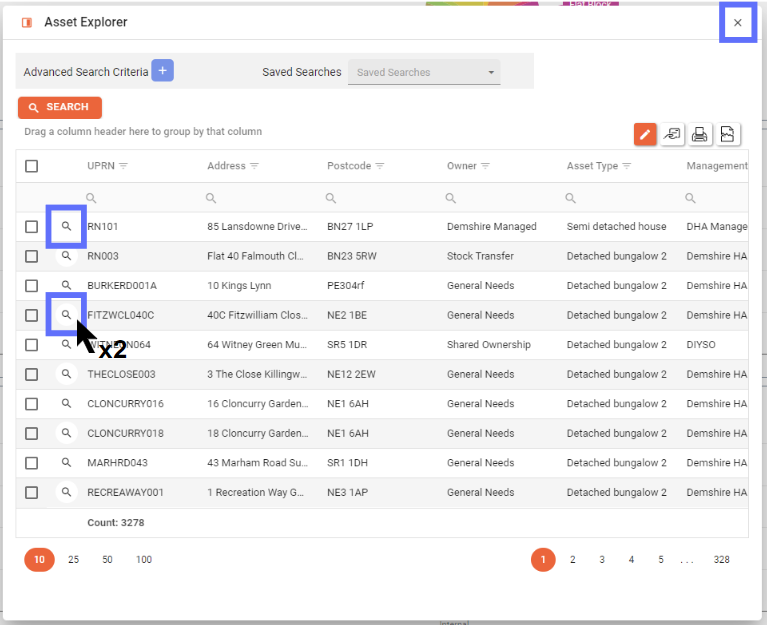
The Asset Explorer can be accessed from the side navigation bar via the ‘Explorer’ option under the 'Assets' section. Alternatively from the search bar at the top of Asprey Assets by clicking on the magnifying glass or from the docked icon on the righthand side of the screen. (see the blue boxes in the screenshot below to familiarise yourself where each are located)
The Asset explorer can be opened in two different modes ‘Popup’ & ‘Docked’. Both modes offer similar functionality however the docked version is obviously more condensed.
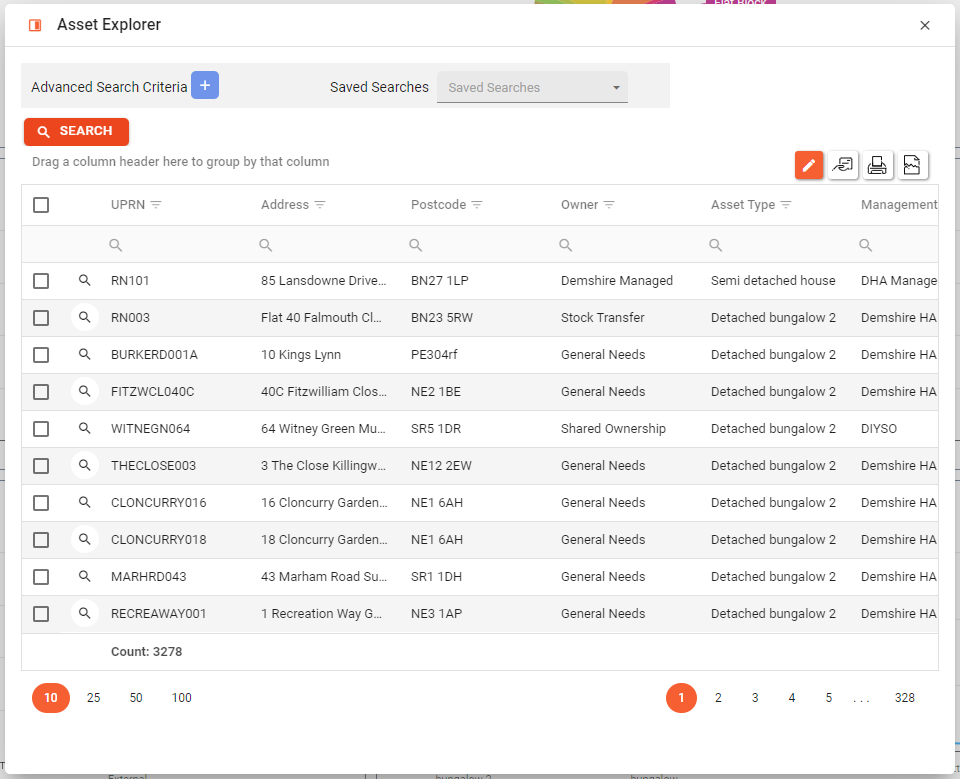
Popup Asset Explorer
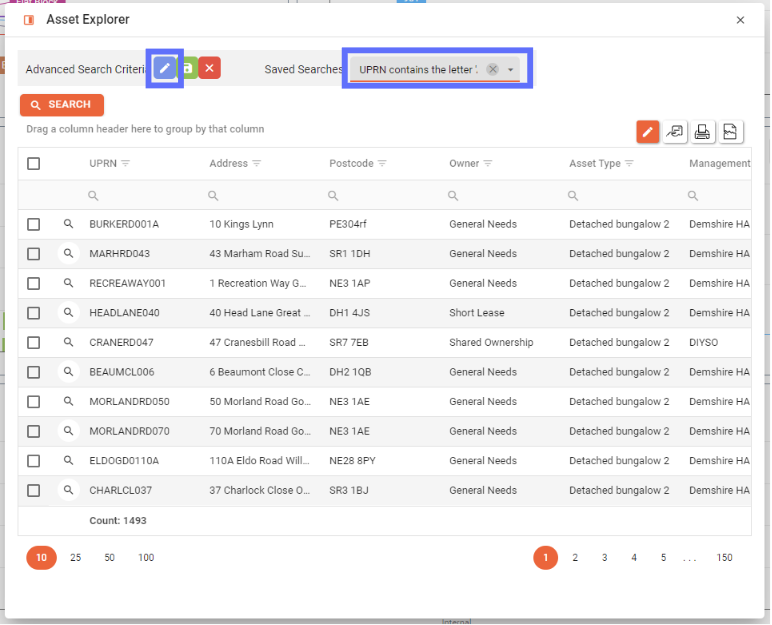
The ‘Popup’ Asset Explorer allows for more asset details to be shown as there’s more screen space but disappears from view upon navigating to an Asset. Typically UPRN, Address, Postcode, Owner, Asset Type & Management columns are visible, although the columns can be customised by using the ‘Add Additional Columns’ pencil icon.
Icon | Description |
|---|---|
 | This is the popup asset explorer mode toggle button. Clicking on the button will change the popup into a docked version, which will slide out from the righthand side of the screen. |
 | When hovering over the popup Asset Explorer toolbar, the move icon will replace mouse pointer. By clicking and holding; the popup Asset Explorer can be dragged around the screen to reveal details underneath. |
Docked Asset Explorer
When the Asset Explorer is in it’s ‘docked’ mode it is always present and allows quick navigation of Assets should you want to work through a list. (see the screenshot below)
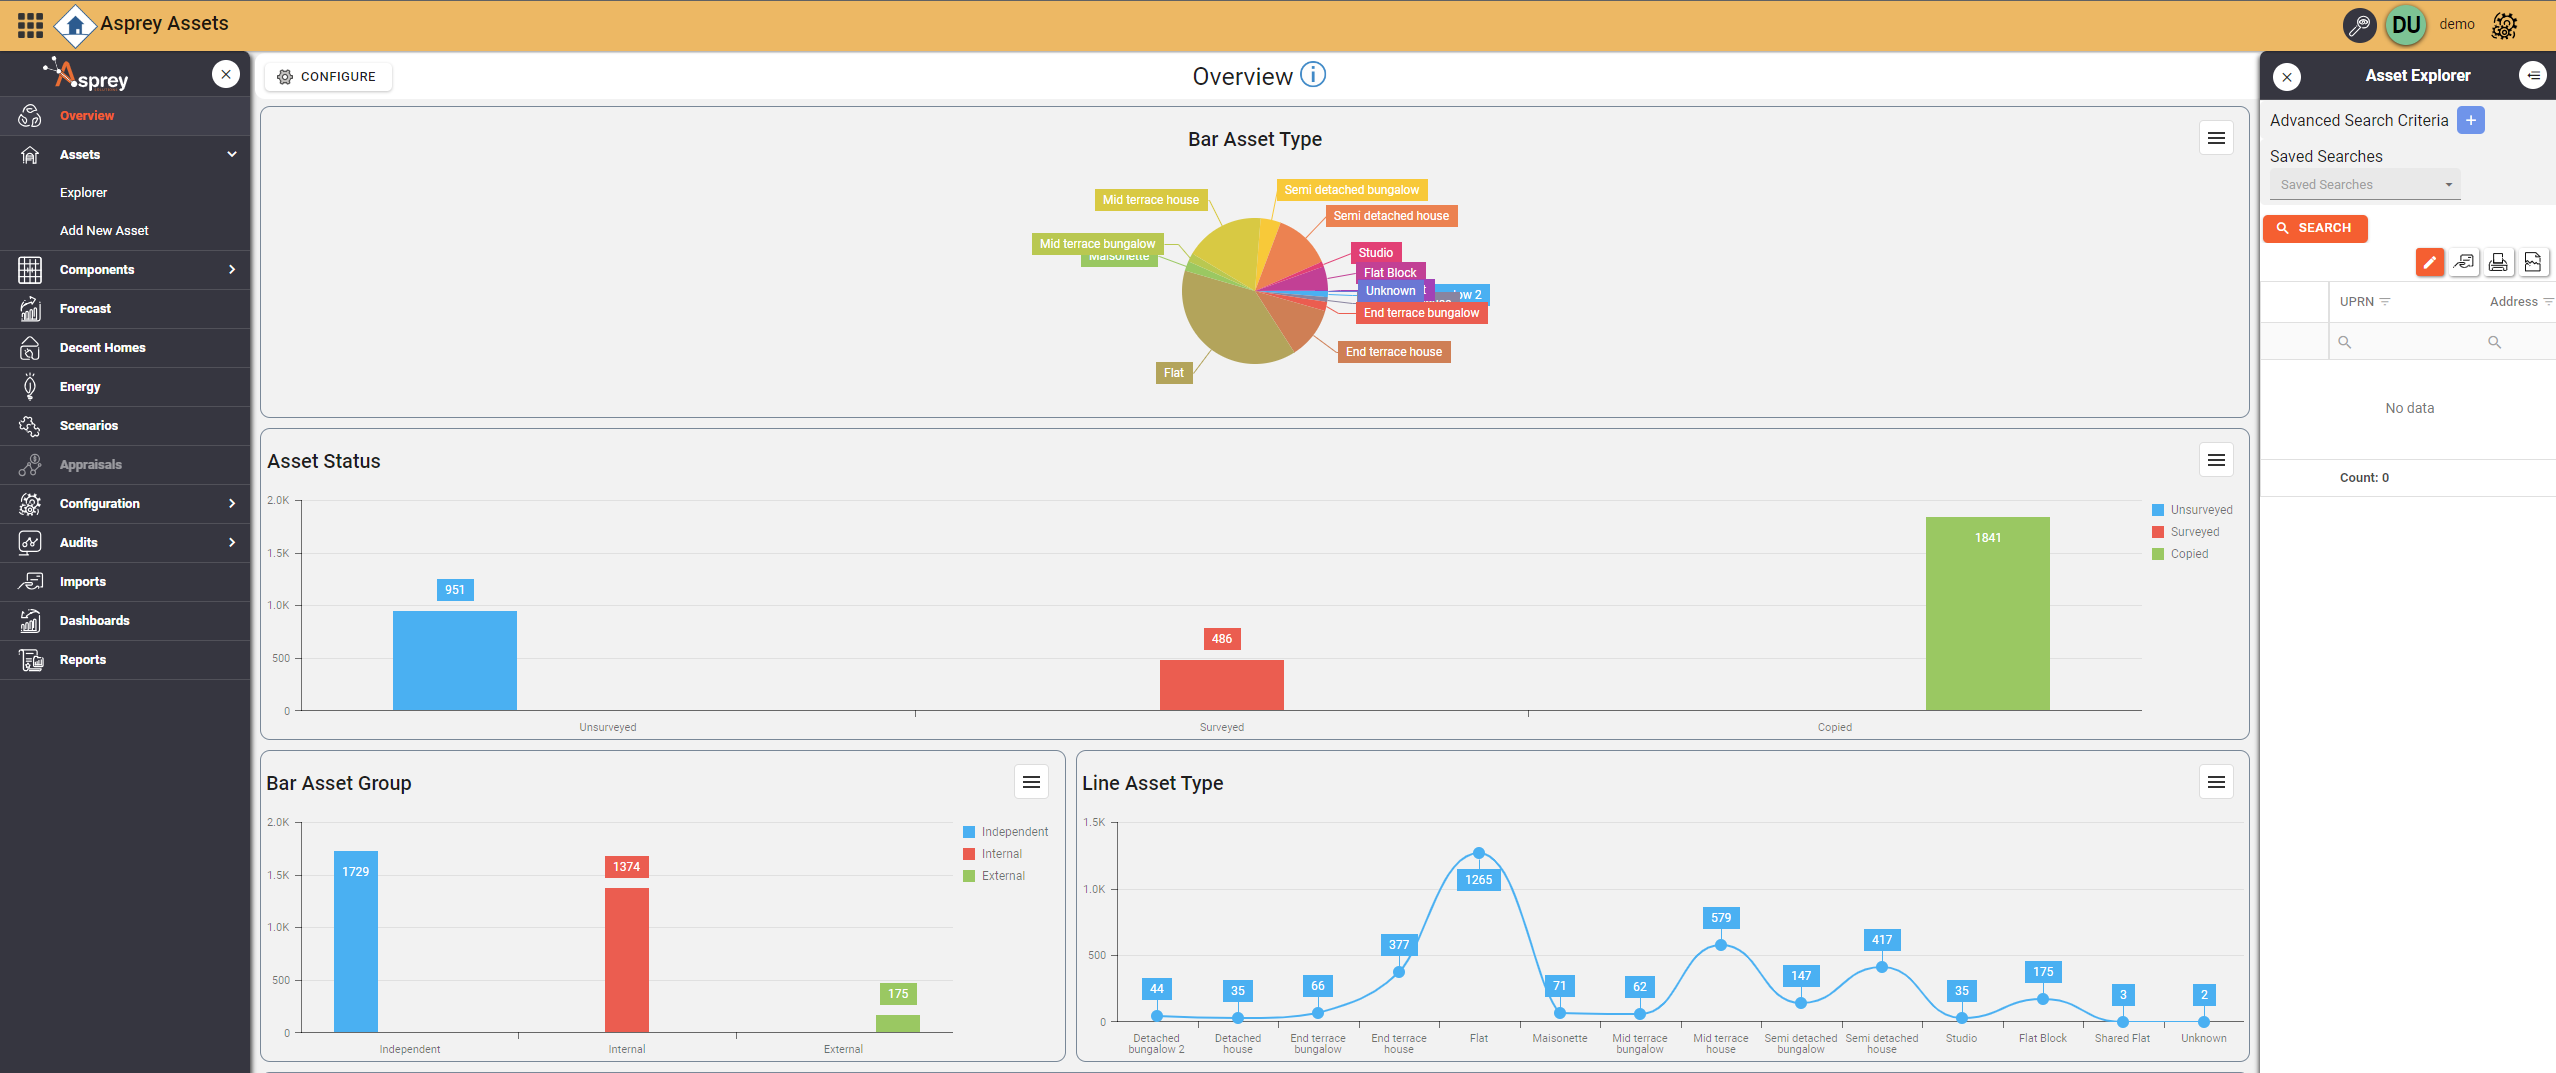
The ‘Docked’ Asset Explorer has all the common features of the ‘popup’ version and these additional buttons:
Icon | Description |
|---|---|
 | This is the close button. When clicked the docked Asset Explorer slides shut into the righthand side of the screen. |
 | This button opens the docked Asset Explorer. If this button isn't present on the top righthand side of the screen it either means the Asset Explorer is in ‘popup’ mode or hasn’t been opened yet. |
 | This is the asset explorer mode toggle button. When clicked the docked asset explorer will change to the popup version. |
Common Asset Explorer Features
Icon | Description |
|---|---|
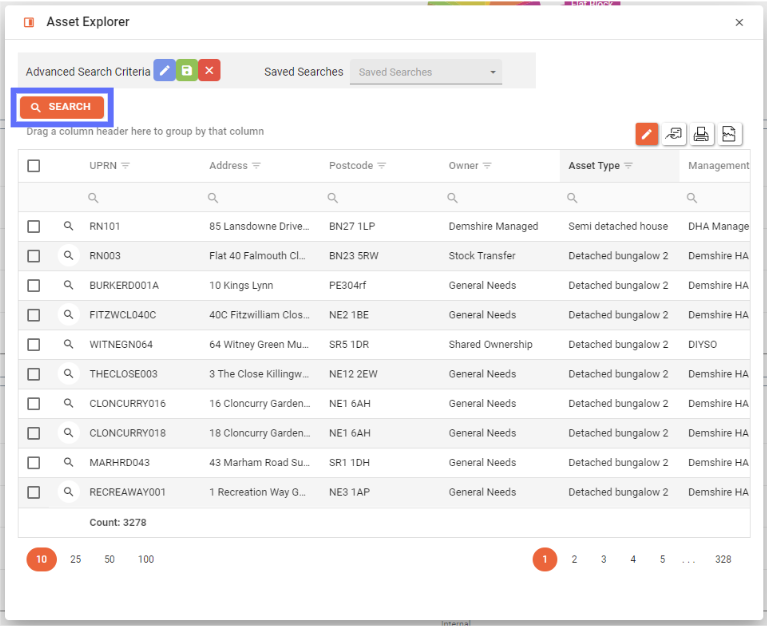
 | This is the search button. Once the user has configured their filters and search criteria, click the search button to show the results. |
To view one of the assets in the asset explorer, click the magnifying glass next to the asset UPRN. This will navigate the main screen to that asset overview. Then close the asset explorer to view the asset.
Alternatively double clicking on the magnifying glass will open the corresponding asset and close the popup automatically.
Advanced Search Criteria
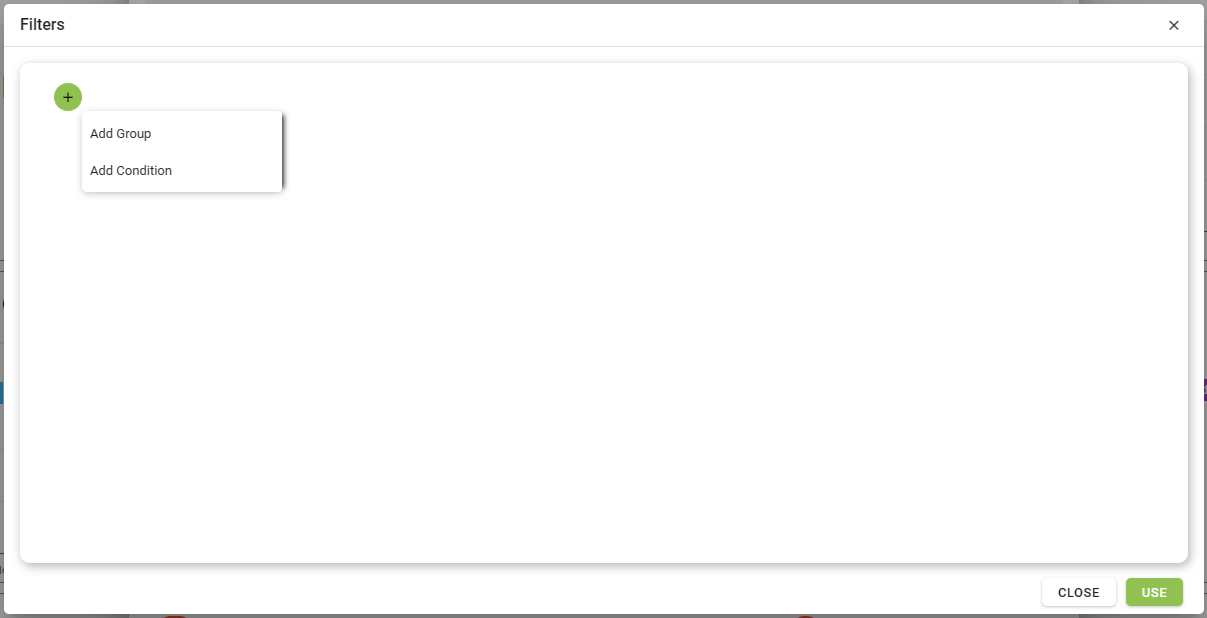
Search criteria is built upon by applying custom filters in the advanced search criteria section. These custom filters are applied by clicking the blue plus button.

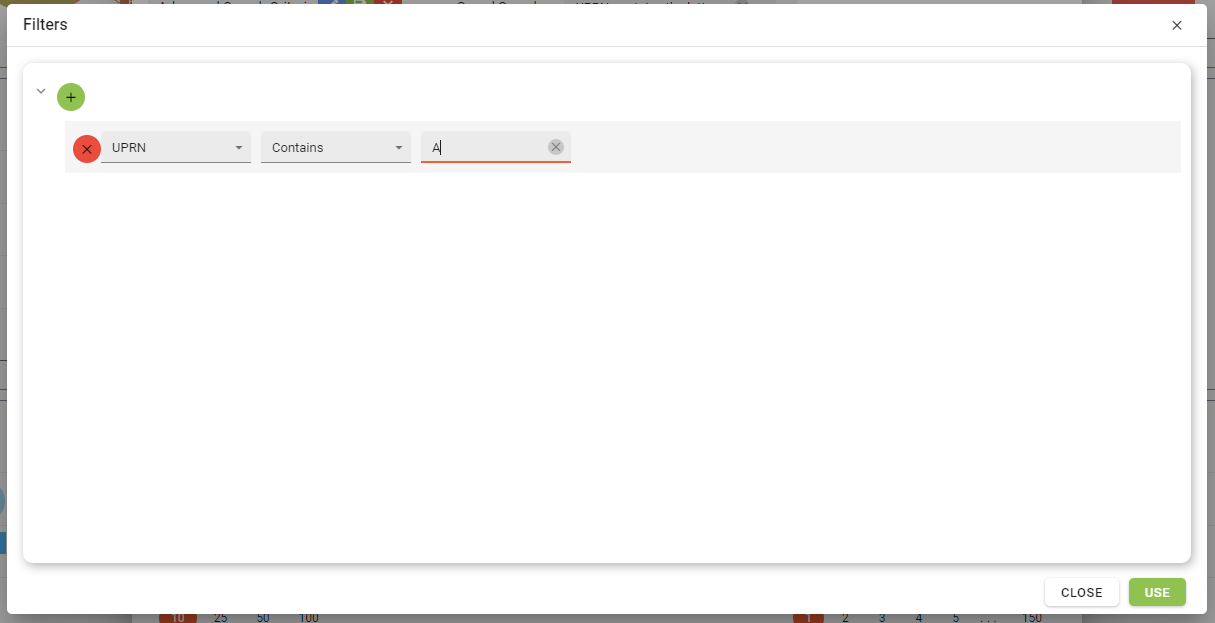
Once the blue plus icon is clicked, the dialogue box will appear. Groups or conditions can be added in the advanced filter. multiple conditions and groups can be added to create complex filters meeting multiple criteria.
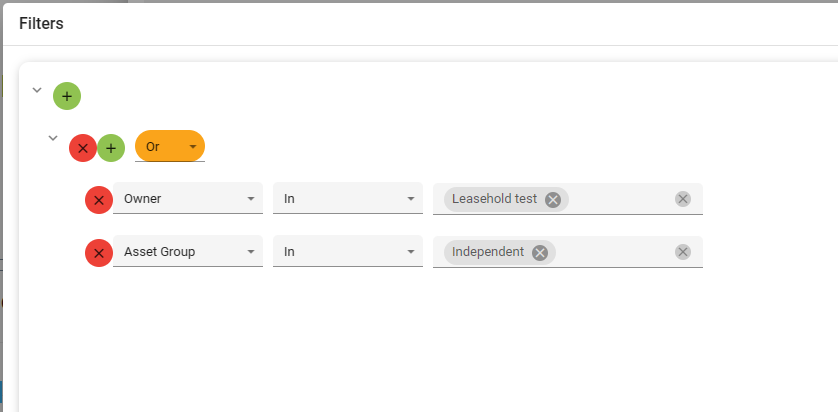
Adding a group to the advanced filter
When the “Add Group” icon has been clicked in the advanced filter builder, this allows for multiple conditions to be evaluated as an “and” or “or” statement. This allows users to build complex multiple statement queries that will evaluate at the same time. An example is given below:
Adding a condition to the advanced filter
To add a condition, click the green plus icon and select “Add Condition”. A single row will appear where a filter can be applied.
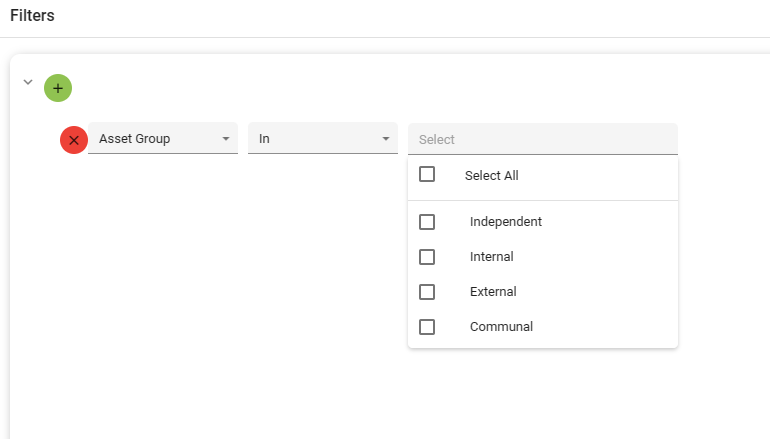
Once the filter is configured to meet the user specification, clicking the “use” button will save this filter and the dialogue box will close. Once all filters have been applied, click the “search button”. The advanced search will then return all assets that meet the criteria.
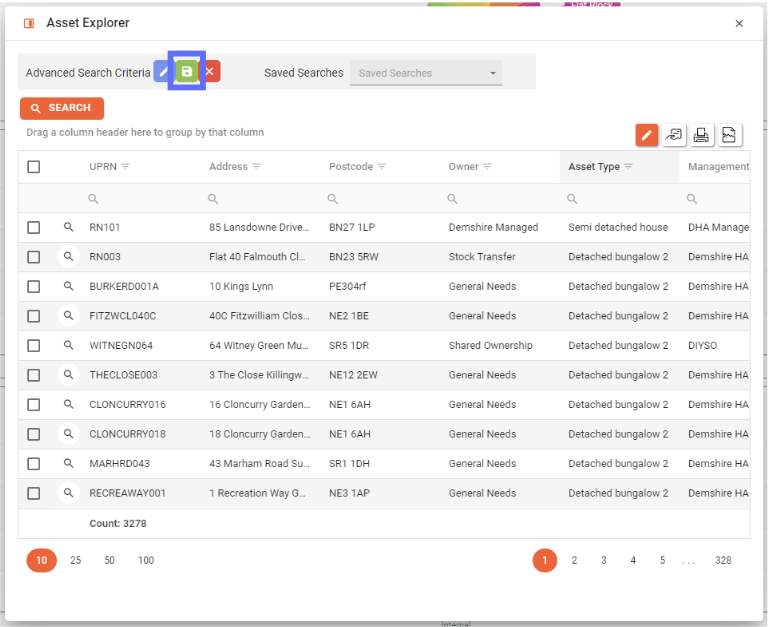
Saving a search criteria
Once you have built up your search criteria, these can be saved for quick access later on by saving the criteria. To do this, click the green “Save” icon that appears in the header.
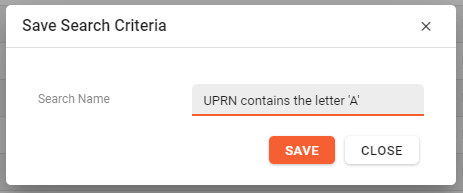
The following dialogue box will appear to name the search criteria for future reference. the box will prepopulate with a search name, but this can be edited to be more memorable and relevant. Click the “Save” button to save the search.
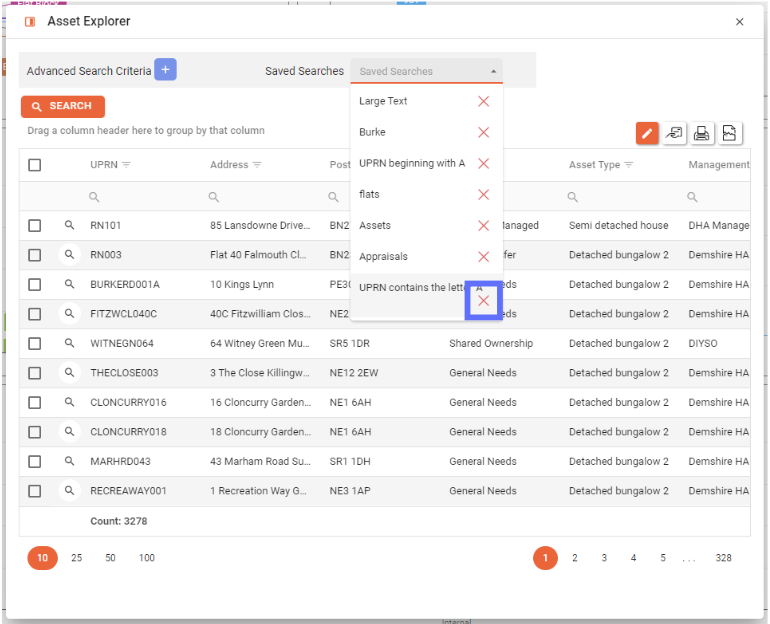
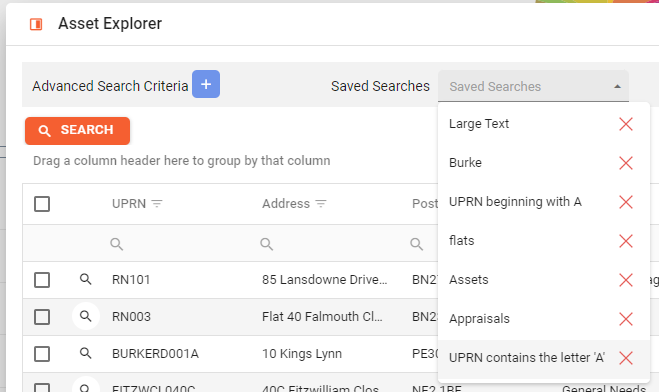
Using Saved Searches
A previously configured search can be chosen from the drop-down list labelled “Saved Searches”. Upon selection the search will be performed and the results returned.
Editing Saved Searches
Choose the “Saved Search” from the drop-down list you want to edit and click on the blue pencil button on the left-hand side of the Asset Explorer. This will open up the screen previously used for creating the search.
Deleting a Saved Search
Click on the red “X” adjacent to the Saved Search you want to delete.