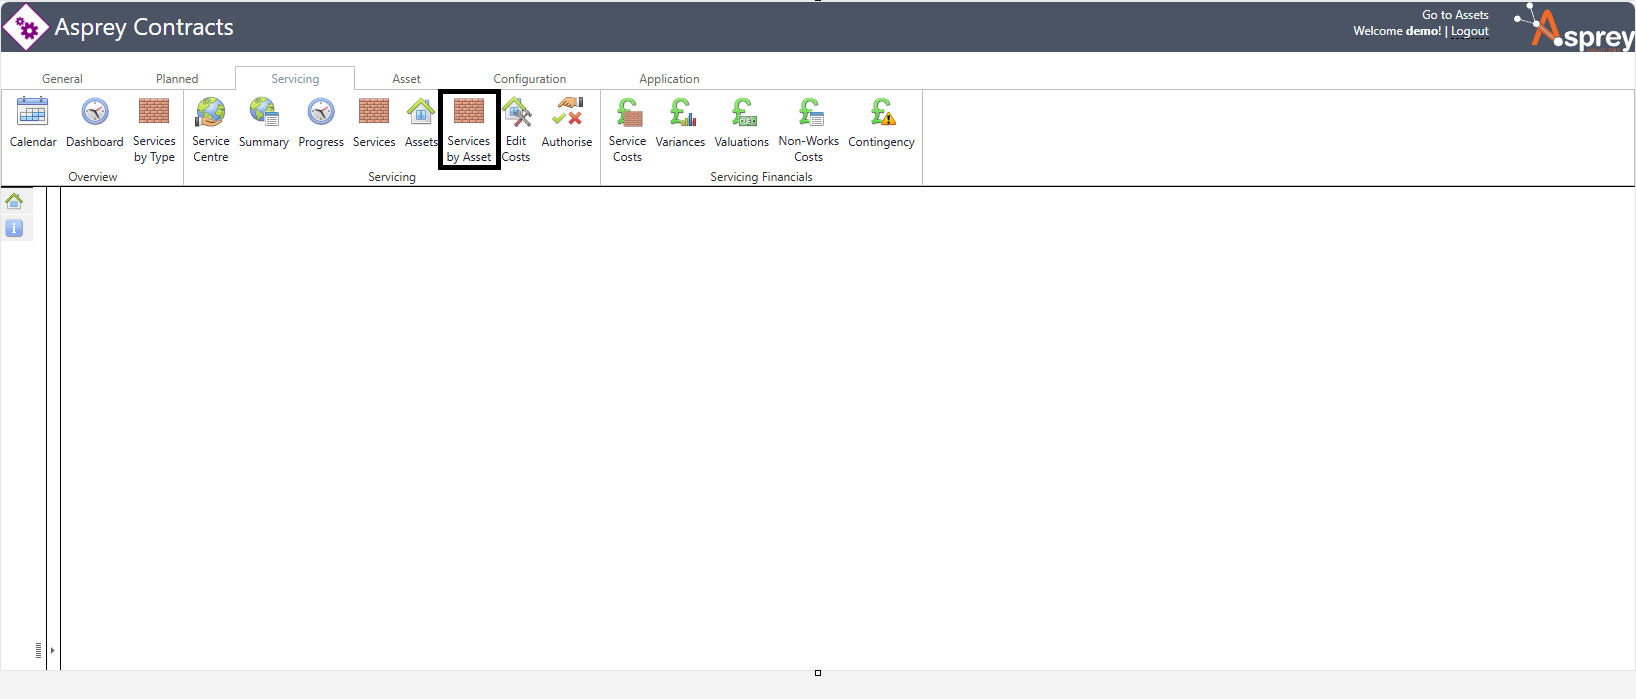
Service by Asset
The services by asset section is accessed through the Servicing Tab by clicking the “Services by Asset” button once a service has been selected from the service Centre.
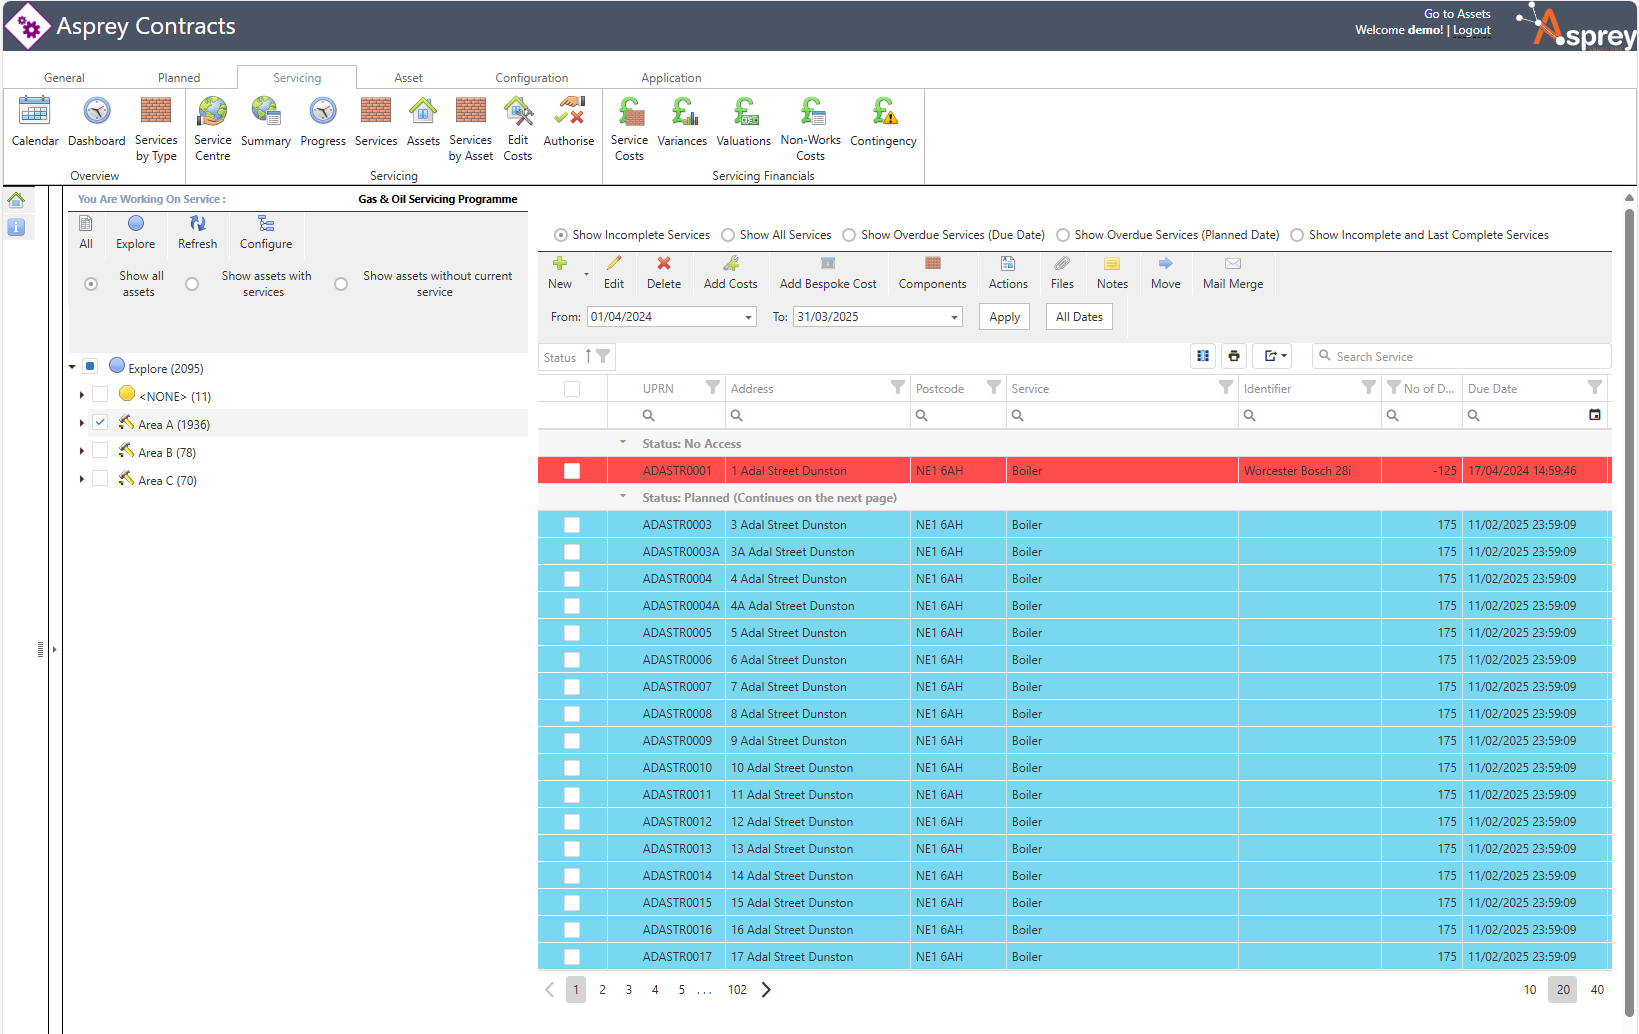
The Service by Asset section allows users to view all assets linked to a service type. It is possible to view all assets or only show assets where a current service is present via a checkbox (Only show assets with services).
Use the tree filter on the left-hand side to select the assets to be viewed in the main screen. These can be expanded to narrow the search results down. The Explore icon will load the asset explorer to narrow the search further. The tree can be configured to group assets by the required hierarchy.
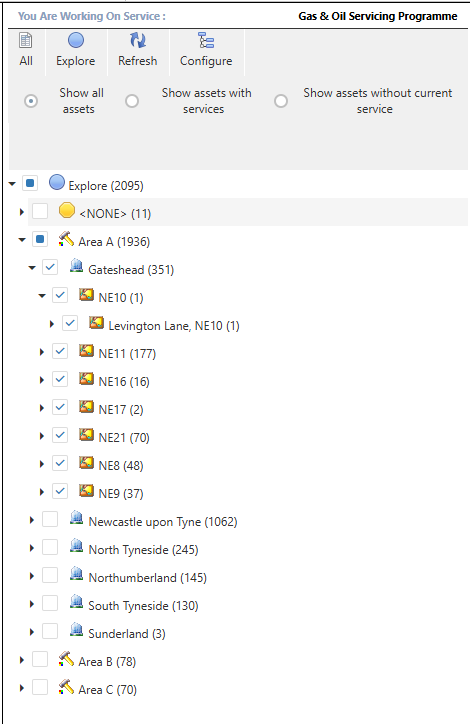
Clicking the “All” button will return all the assets in the service.
Within the main grid, there are many options and actions that can be completed from this screen. The table below gives further details on these actions.
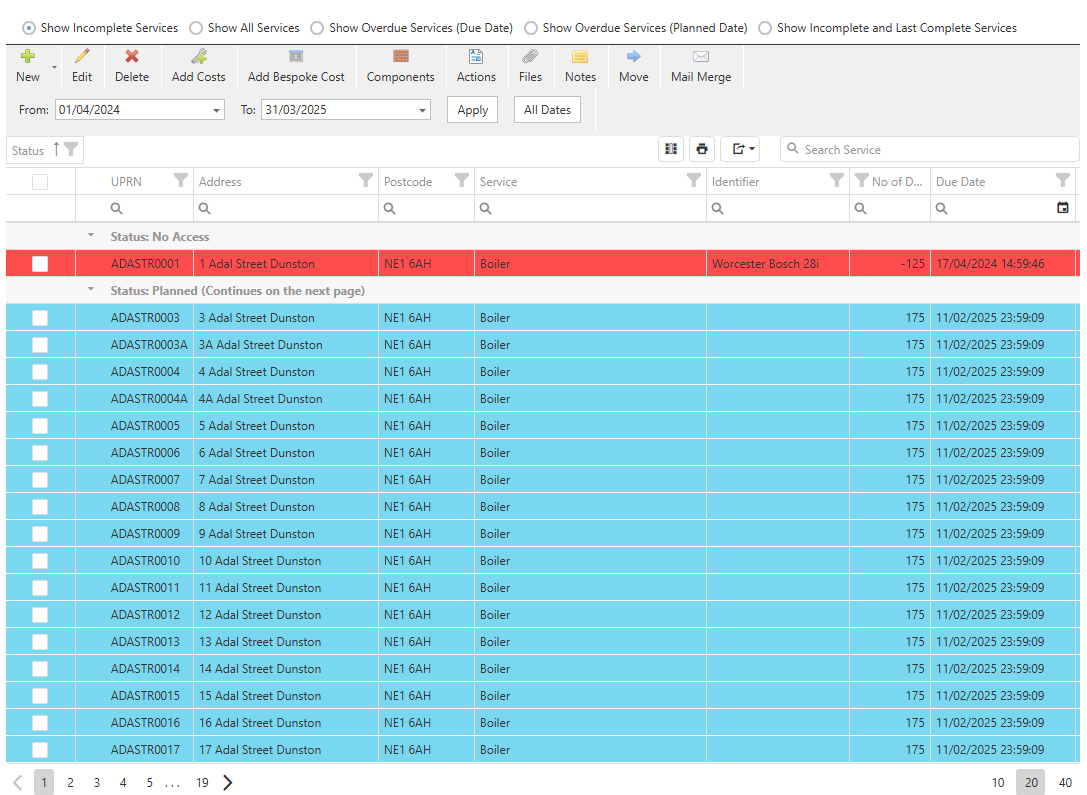
Icon | Description |
|---|---|
 | Filters the grid to show only the incomplete services |
 | Filters the grid to show all services |
 | Filters the grid to show only overdue services based upon the due date |
 | Filters the grid to show only overdue services based upon the planned date |
 | Filters the grid to show only the incomplete and the last completed service |
 | Allows a new service to be added - see below for more details |
 | Edits the details of the selected row(s) |
 | Deletes the selected row(s) |
 | Adds a cost for the selected row(s) |
 | Adds a bespoke cost for the selected row(s) |
 | Shows the components for service for the selected asset |
 | Shows the actions for the selected row |
 | Shows the files box for the selected row. Allows for files to be viewed, added and deleted |
 | Shows the noted for the selected record |
 | Moves the selected service instance into another service |
 | Allows a mail merge for the selected assets |
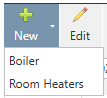
Adding a new service from the service by asset screen
To add a new service in this screen, click the drop-down icon next to the “New” icon and select the component to which the service is to be linked.
A pop-up box will appear with the list of assets in the service project. Select the required assets from the list and click “Continue”
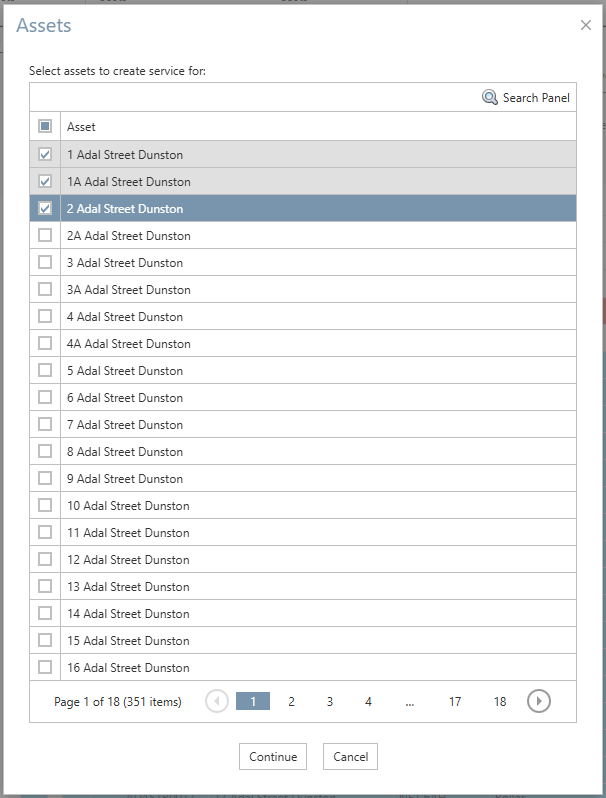
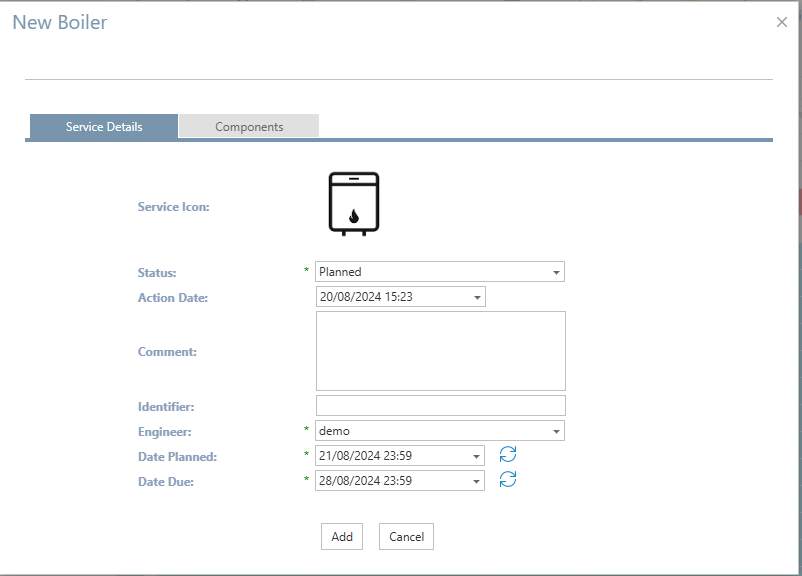
The next screen will show the details of the service to be completed. The items marked with an asterisk are required fields. Once complete, click “Add” to save the new boiler service.