Import and Export
Within the Import and Export screen, bulk changes can be uploaded through an Excel Spreadsheet.
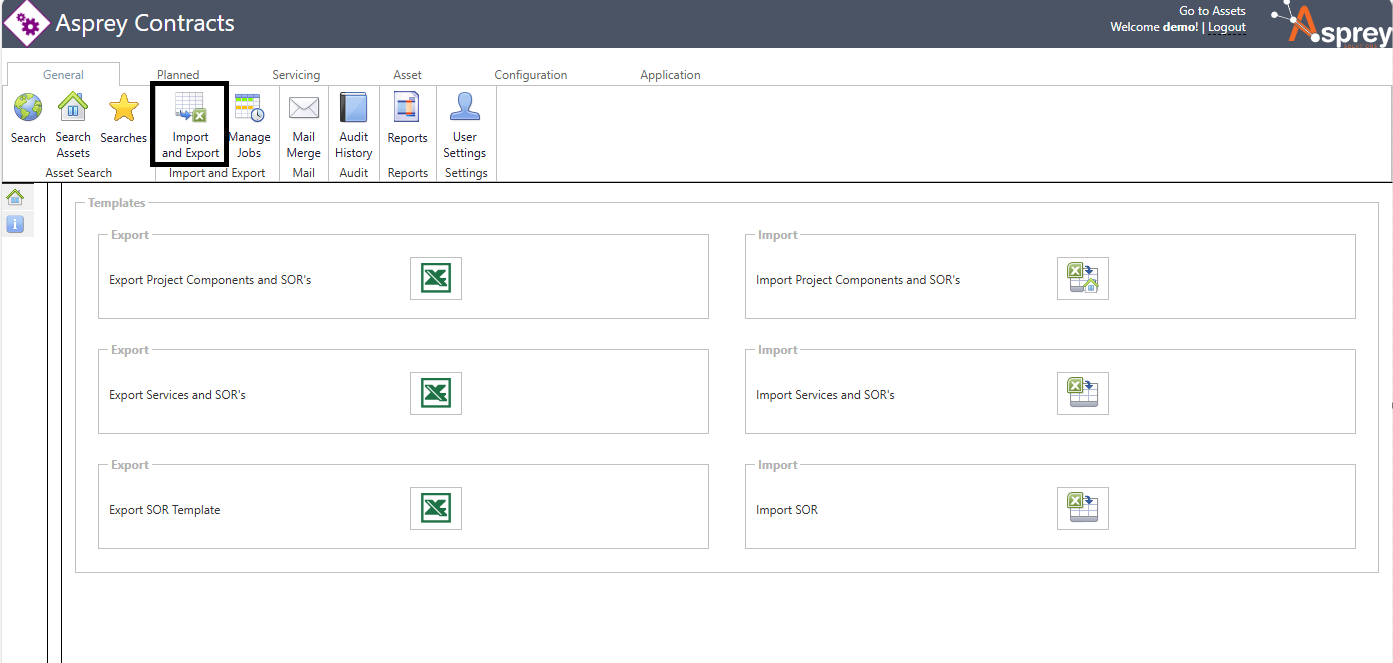
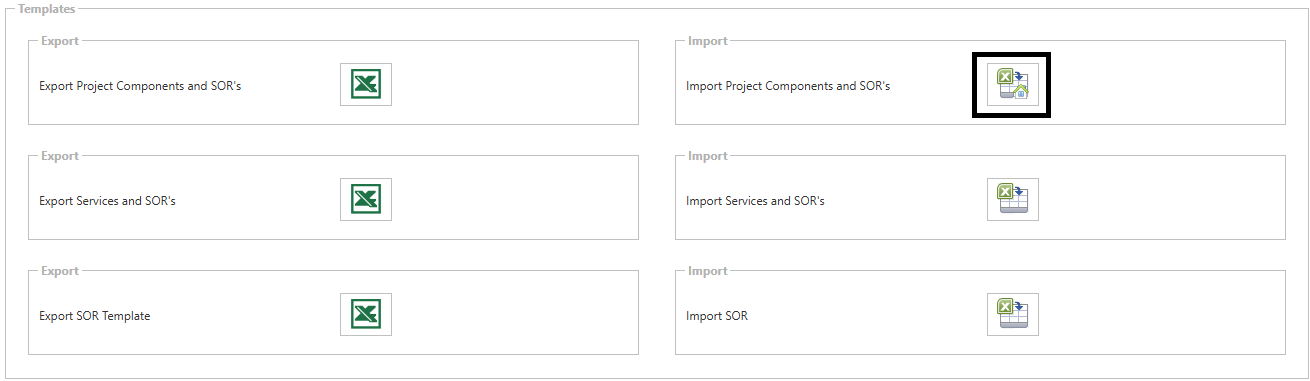
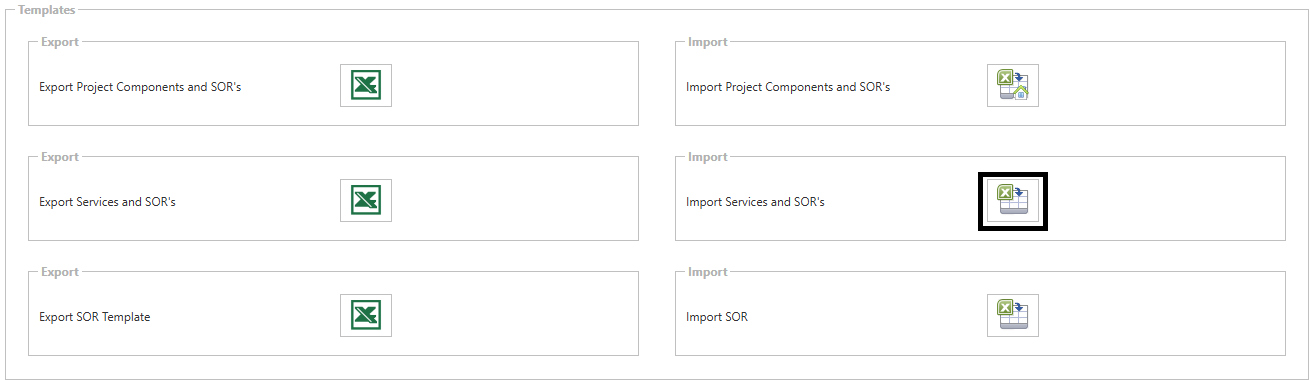
There are three export and import options available within Asprey Contracts. The templates are on the left-hand side and the import icons are on the right-hand side.
Export Project Components and SOR's
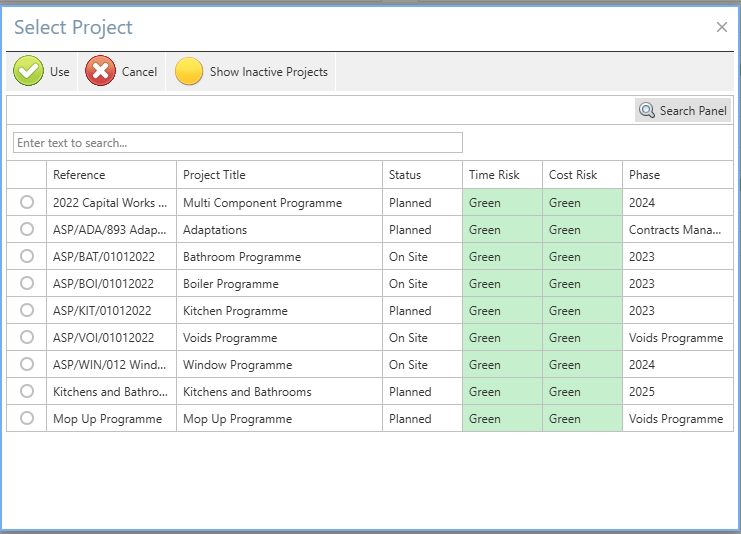
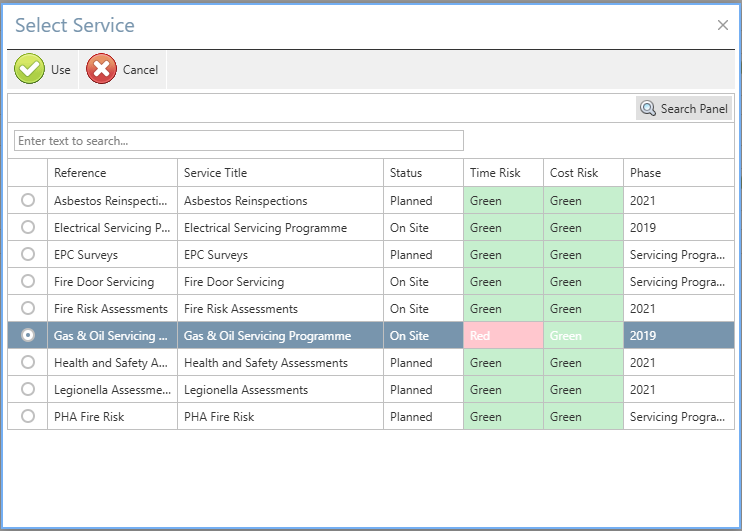
When selecting the project components and SORs export, a pop-up box will appear with the current projects within the system. Select the desired project to export and click the “use” button.
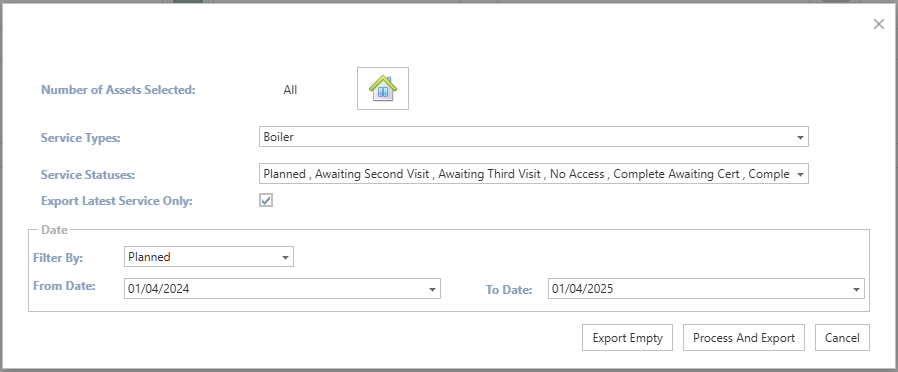
Once the programme has been selected, a second screen appears which gives options around what to export. Firstly, the selection of which assets to export and then a filter for different components and their statuses.
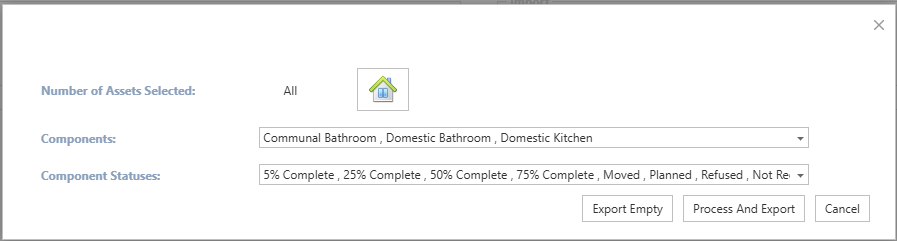
Once complete, click the “Process and Export” button to generate the export template.
You can export a blank template by clicking the “Export Empty”.
Import Project Components and SOR's
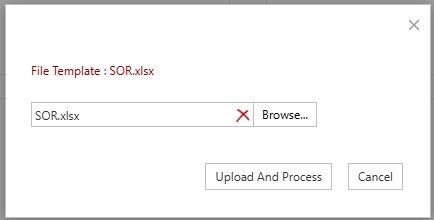
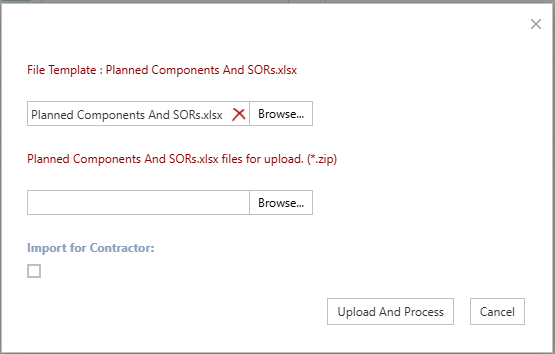
When importing the project components and SOR’s, an import box will appear after clicking the import icon.
Add the file to be uploaded into the first section. If you have multiple files, these can be zipped into a folder and uploaded. Once the file has been uploaded, click the “Upload and Process” Button. The file will then sit in the “Manage Jobs” Section for validation and processing.
Export Services and SOR's
When selecting the Services and SORs export, a pop-up box will appear with the current services within the system. Select the desired Service to export and click the “use” button.
Once the programme has been selected, a second screen appears which gives options around what to export. Firstly, the selection of which assets to export and then a filter for different Services and their statuses. The export can be filtered to only include the latest service and by date.
Once complete, click the “Process and Export” button to generate the export template.
You can export a blank template by clicking the “Export Empty”.
Import Services and SOR’s
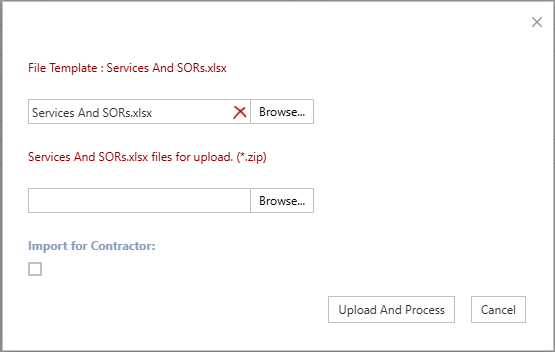
When importing the Services and SOR’s, an import box will appear after clicking the import icon.
Add the file to be uploaded into the first section. If you have multiple files, these can be zipped into a folder and uploaded. Once the file has been uploaded, click the “Upload and Process” Button. The file will then sit in the “Manage Jobs” Section for validation and processing.
Export SOR Template
When selecting the SOR Template export, a pop-up box appears to filter the SOR groups to be exported. Once selected, click the “Process and Export” button to generate the template for download.

You can export a blank template by clicking the “Export Empty”.
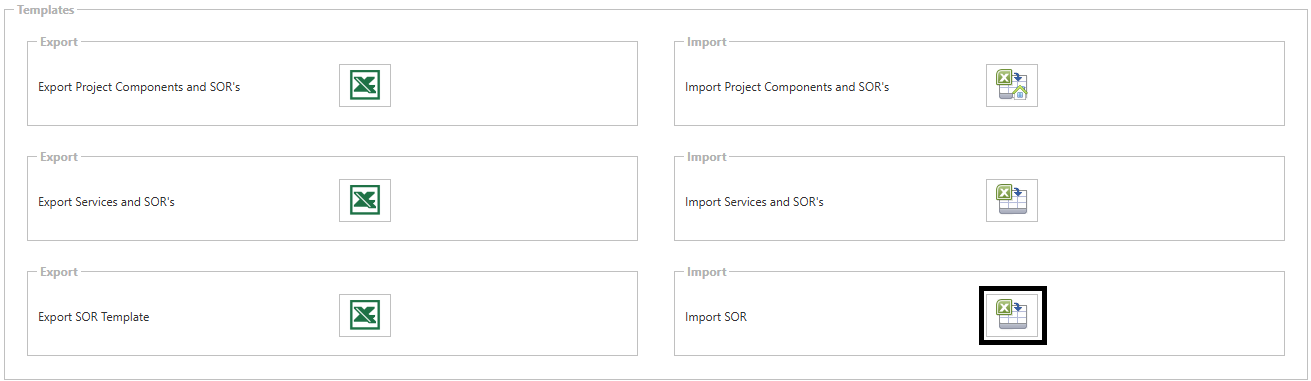
Import SOR Template
When importing the SOR’s, an import box will appear after clicking the import icon.
Add the file to be uploaded into the pop-up box. Once the file has been uploaded, click the “Upload and Process” Button. The file will then sit in the “Manage Jobs” Section for validation and processing.