
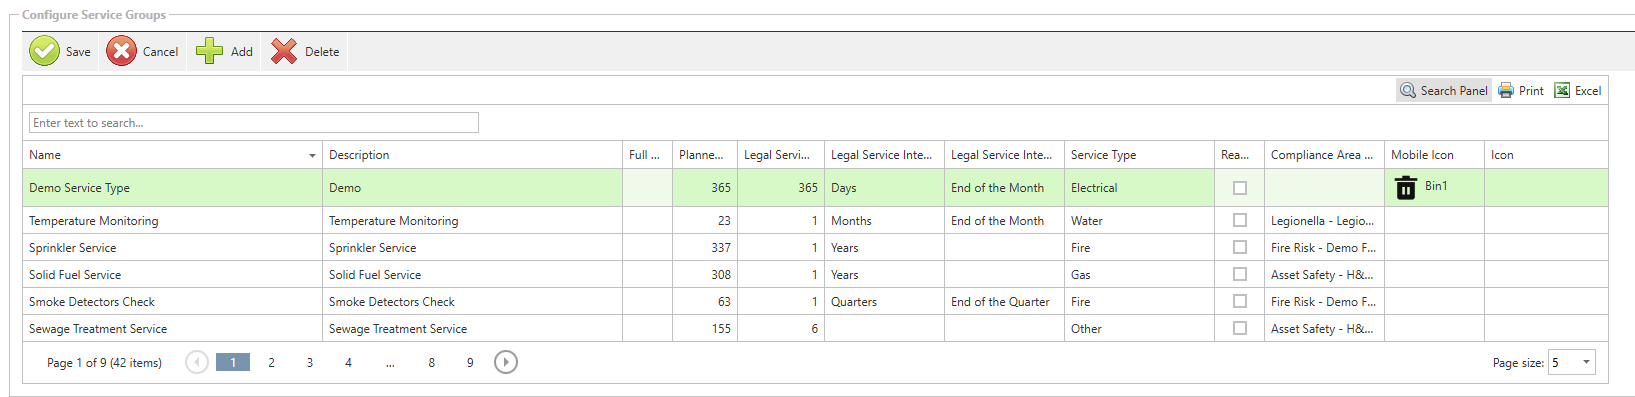
Creating a Service Type from Configuration
To add or create services to a programme, you must first create a new service type. To do this select Configuration and then Service Groups.
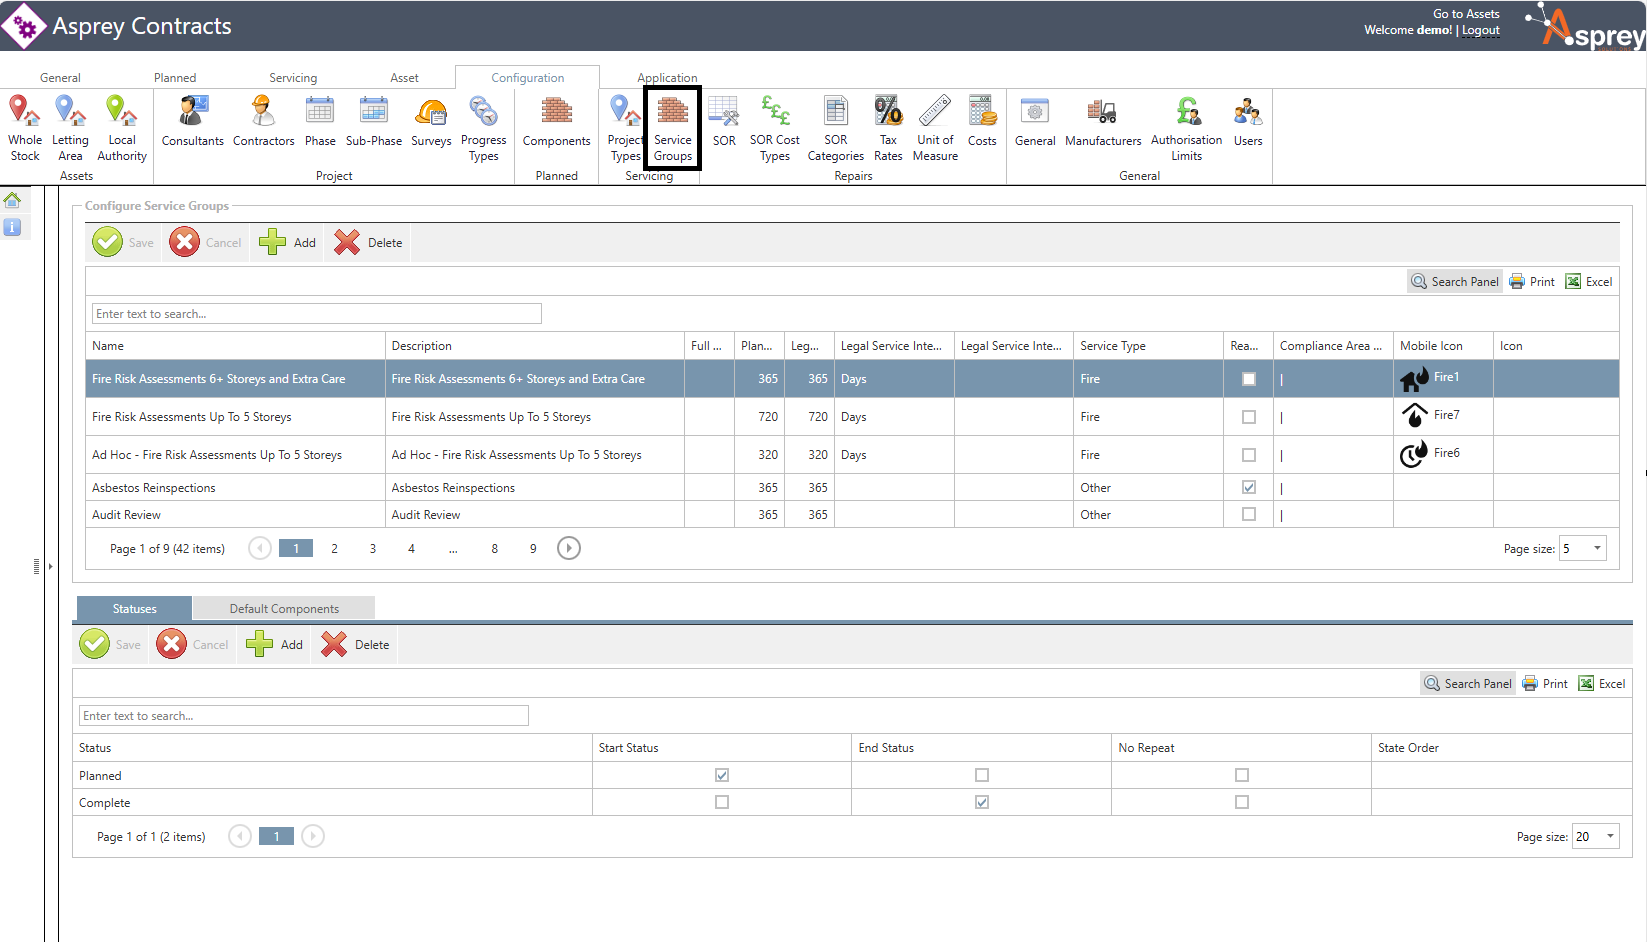
To add a service type, select the Add option. Fill in the following information:
Item | Answer |
Name | Name of service |
Description | Same as the name of the service generally |
Full Service When Completed Within | The number of days the follow on service will be created when a service is completed within x number of days before or after the due date |
Planned Service Interval | The appointment number of days |
Legal Service Interval | The compliance due date number of days |
Service Type | The service group linked to that service |
Icon | Upload an image |
Press Save once completed.
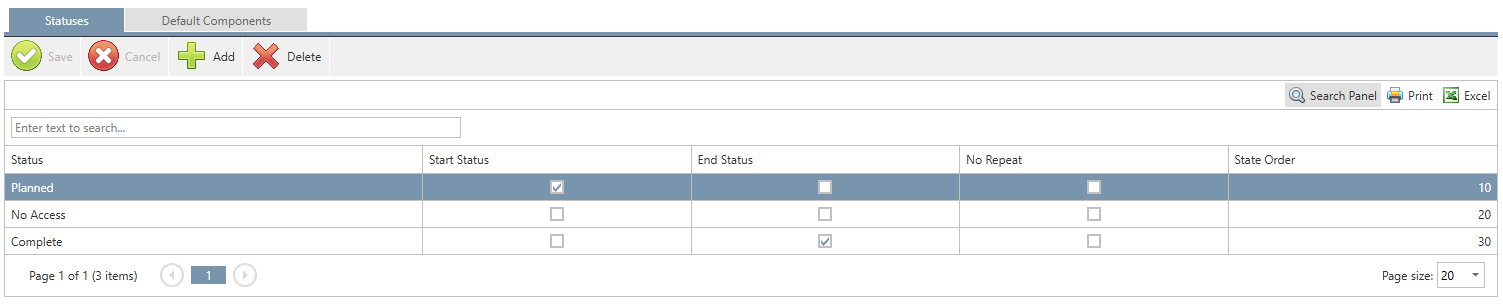
It is important to add the status options to the newly created service; to do this, select the service to add status options for. Then in the Statuses option, select Add. Fill in the following information:
Item | Answer |
Status | Pick your status option from the dropdown |
Start Status | Is this the first status or start status i.e. Planned or Appointment Booked |
End Status | Is this the completed status |
State Order | The order of this status in the list for that service i.e. Planned 1st, then-No Access 2nd, then Complete 3rd; Planned would be 1 |
Repeat for each status.
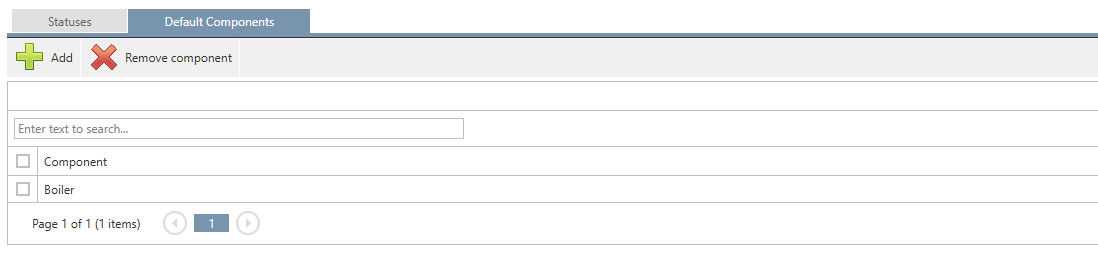
Finally, to add a default component, select the Default Components tab next to Statuses and select Add. Make sure you are still selected on the service you want to add the component too. Using the checkbox, select the default component(s).
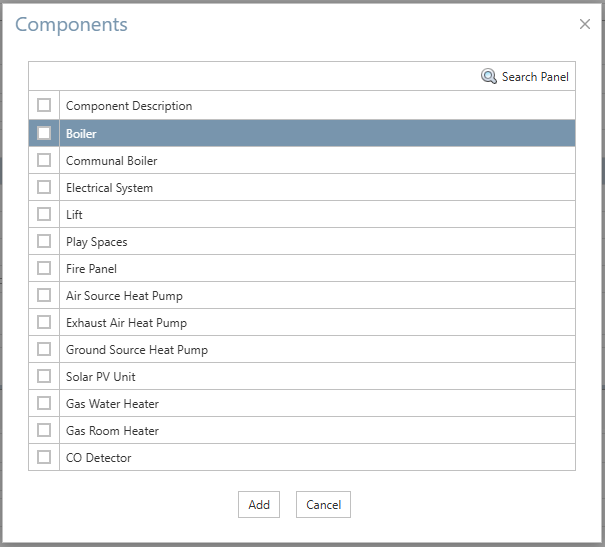
Select Add to add the components.
You have now created a new service, added status options, compliance dates and appointment dates as well as default components. It is now time to add assets and service information to the programme.