
Settings (Cogs)
To access the settings, click the “cog” icon in the top right-hand corner.
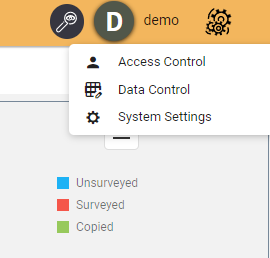
System Settings
The system settings section within Asprey Assets allows administrators to make changes to the system configuration in key areas such as the Switchboard, Dashboards and other settings.
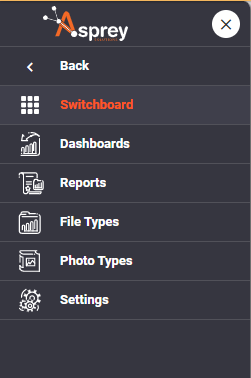
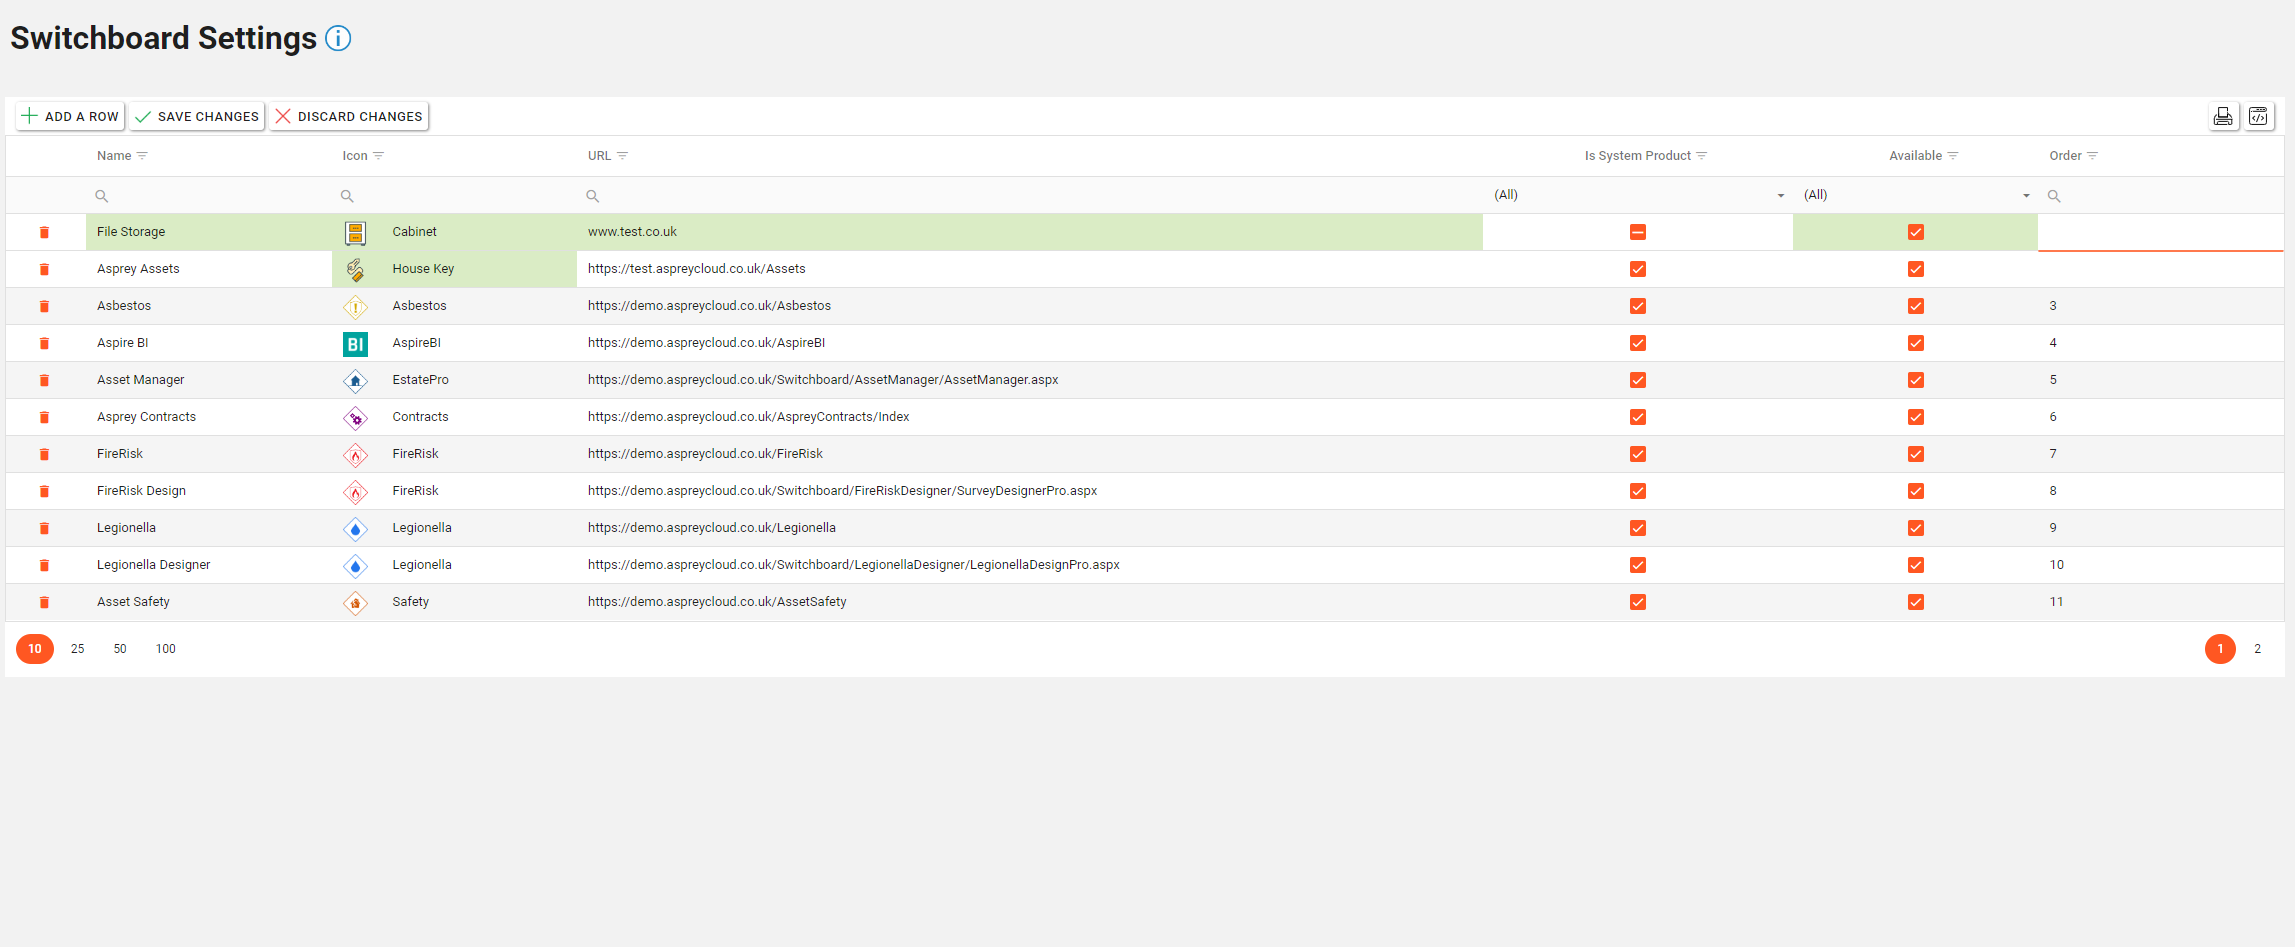
Switchboard
Within the Switchboard settings area, administrators can amend the links within the Switchboard for custom navigation through the Asprey Products.
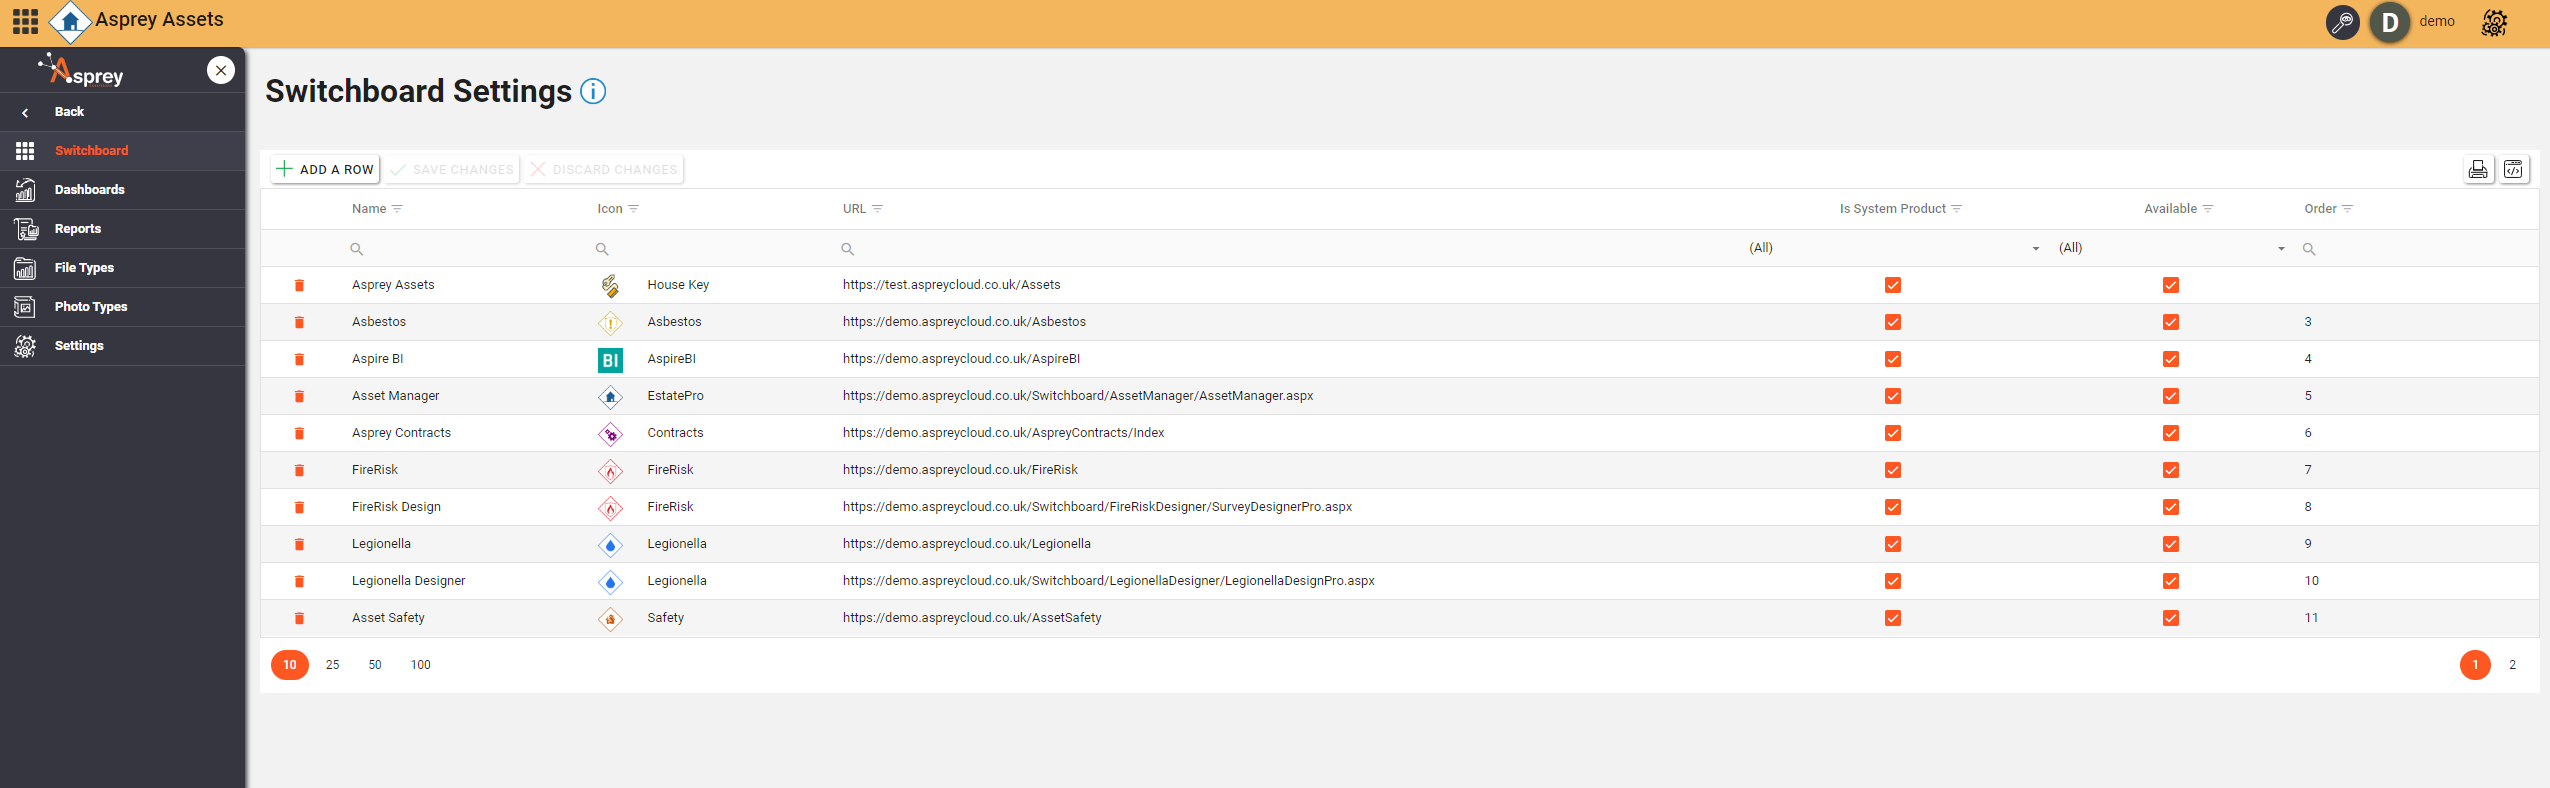
Switchboard links can be ANY URL, not exclusively Asprey products. Links to Search Engines, file Storage and other business sites can be added here.
Editing Switchboard items
To edit any of the switchboard items, simply select the section within the grid and begin editing.
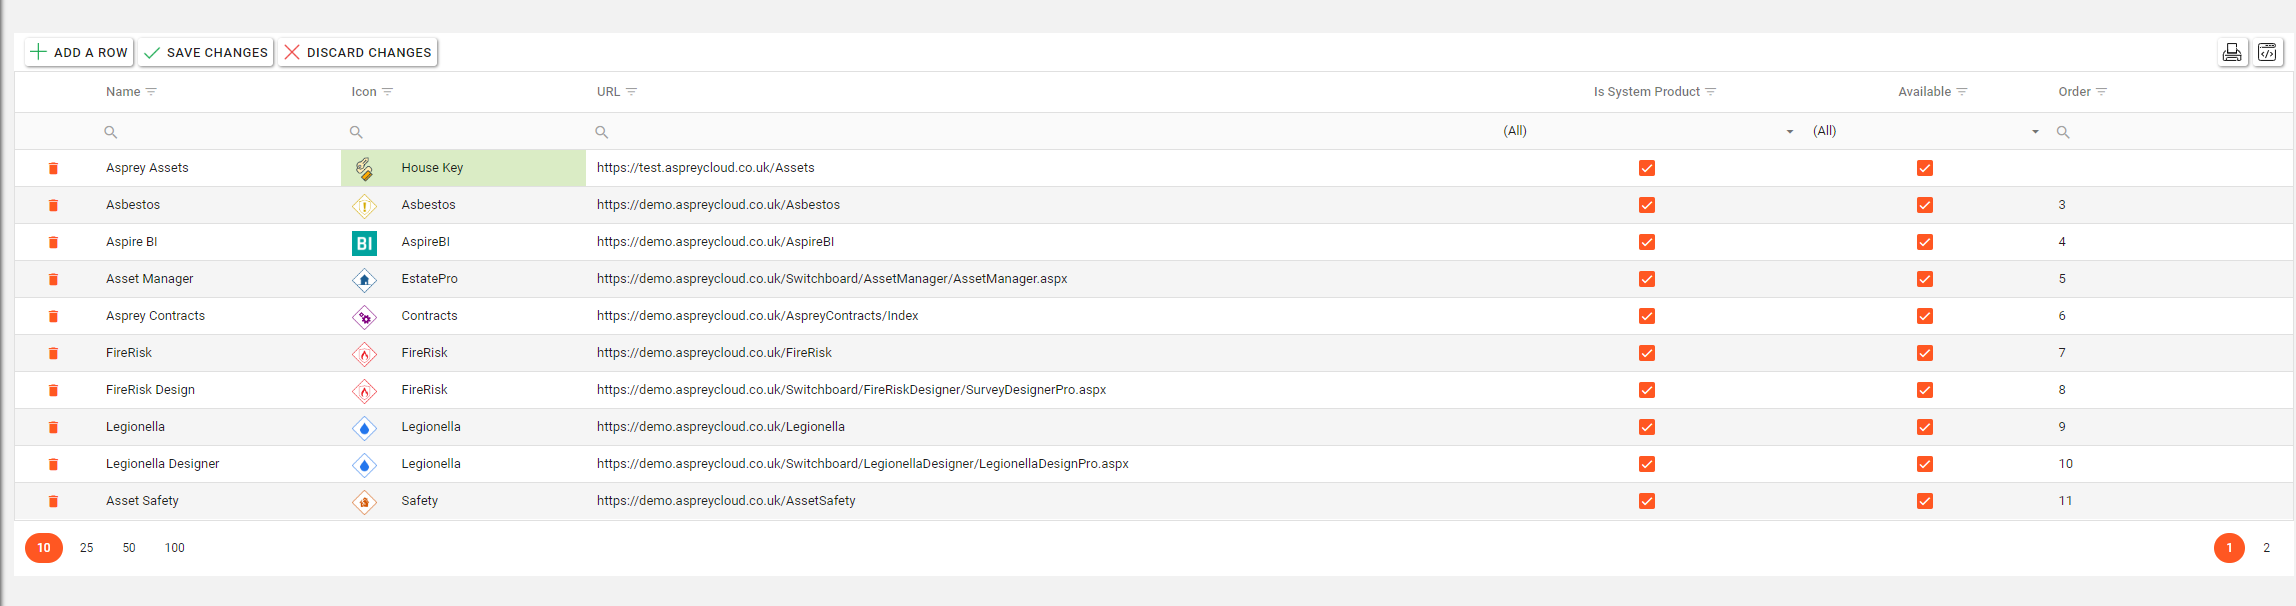
Any changes will be highlighted in green. To save the changes, click “Save Changes”.
Adding Switchboard items
To add a custom Switchboard item, click the “Add a row” button. A new row will be added to the grid. Fill in the required fields with the details of the new Switchboard item.
Once complete, click the “Save Changes” button to save the new Switchboard item.
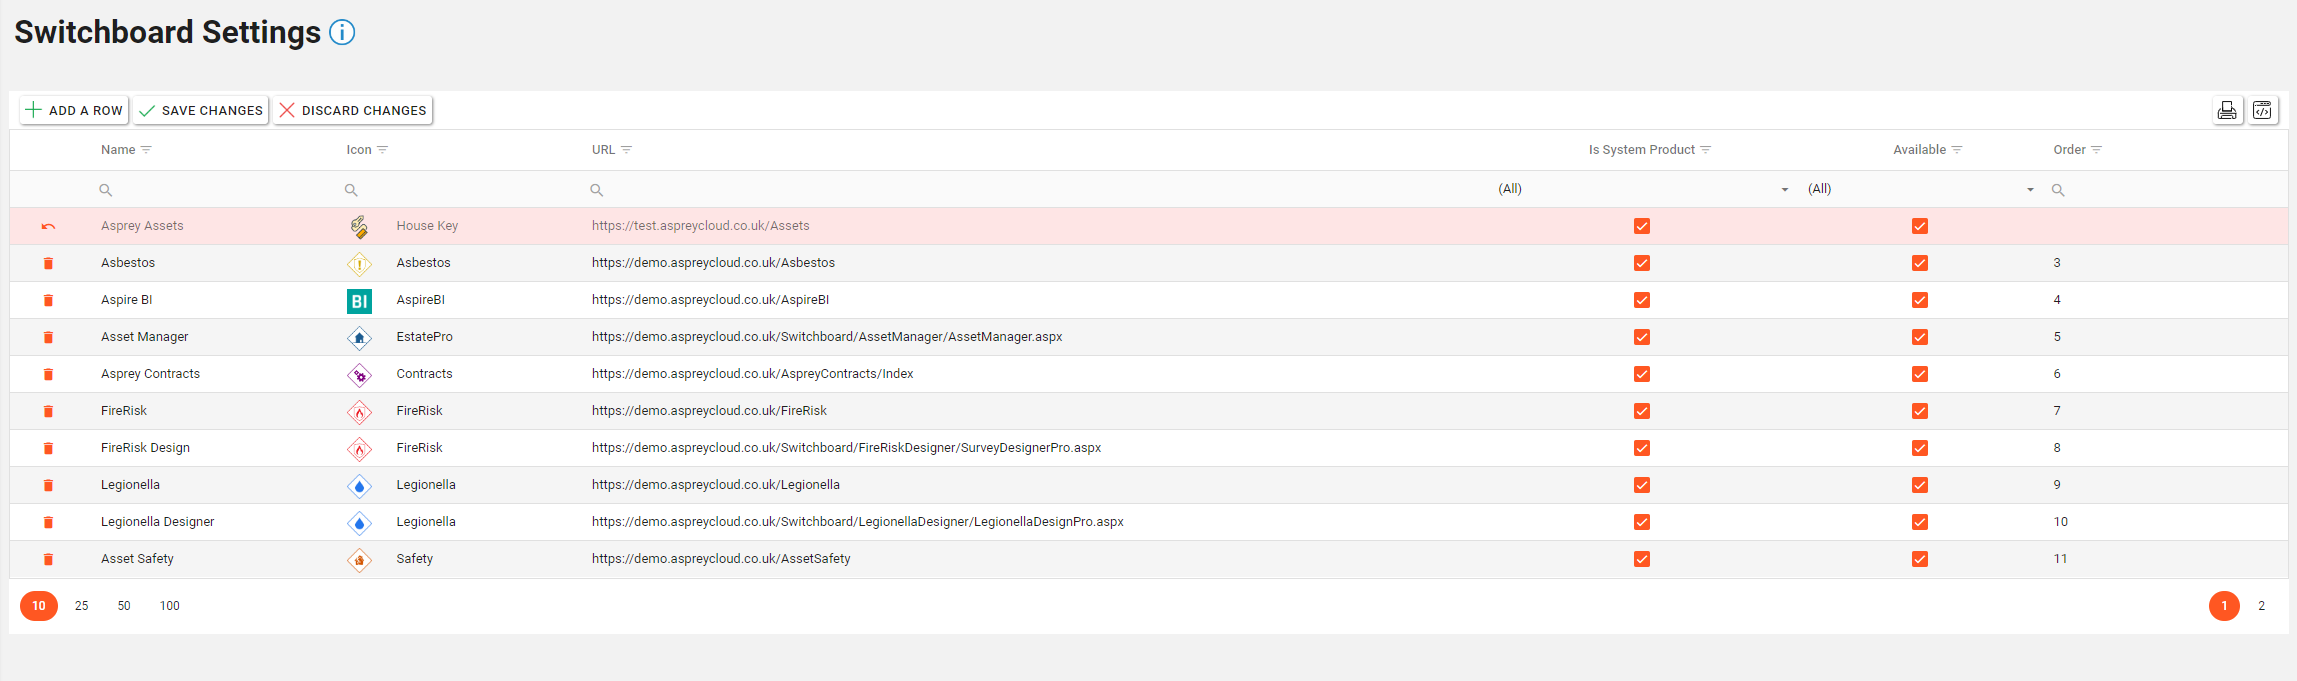
Deleting Switchboard items
To delete a Switchboard item, click the “bin” icon in the required row. This will turn the row red. Once complete, click the “Save Changes” button to update the Switchboard.
Dashboards
Within the Dashboard settings menu page, changes can be made to the Dashboard Groups, Classification Filters and Compliance Area Filters.
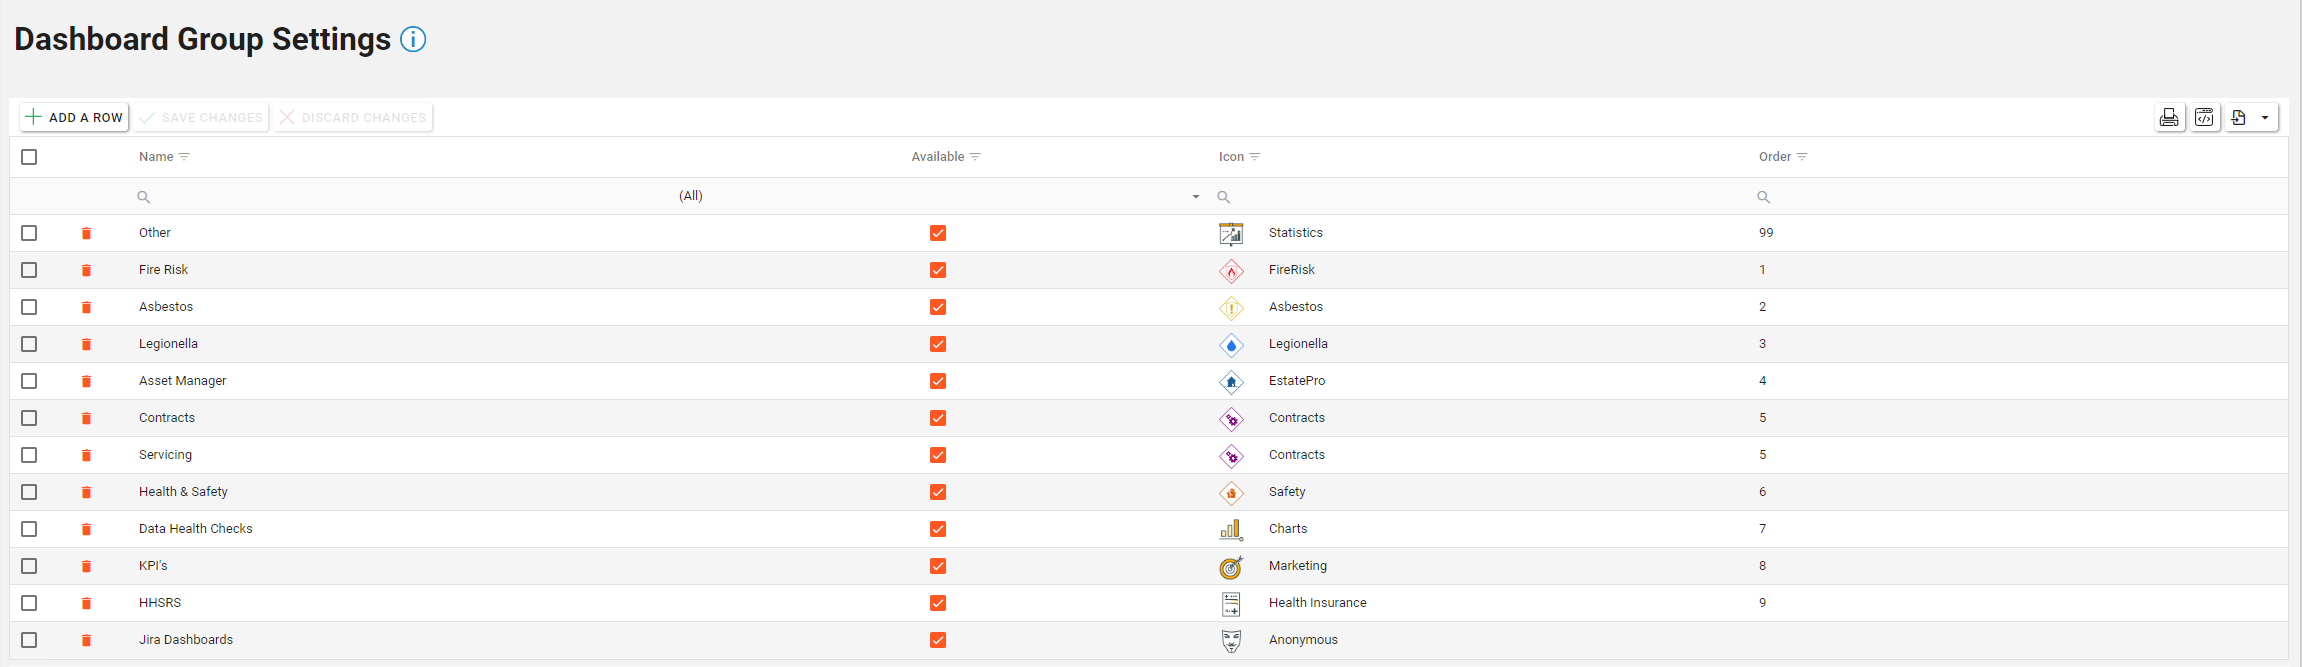
Editing Dashboard Group Settings
To edit any of the Dashboard Group Settings, simply select the section within the grid and begin editing.
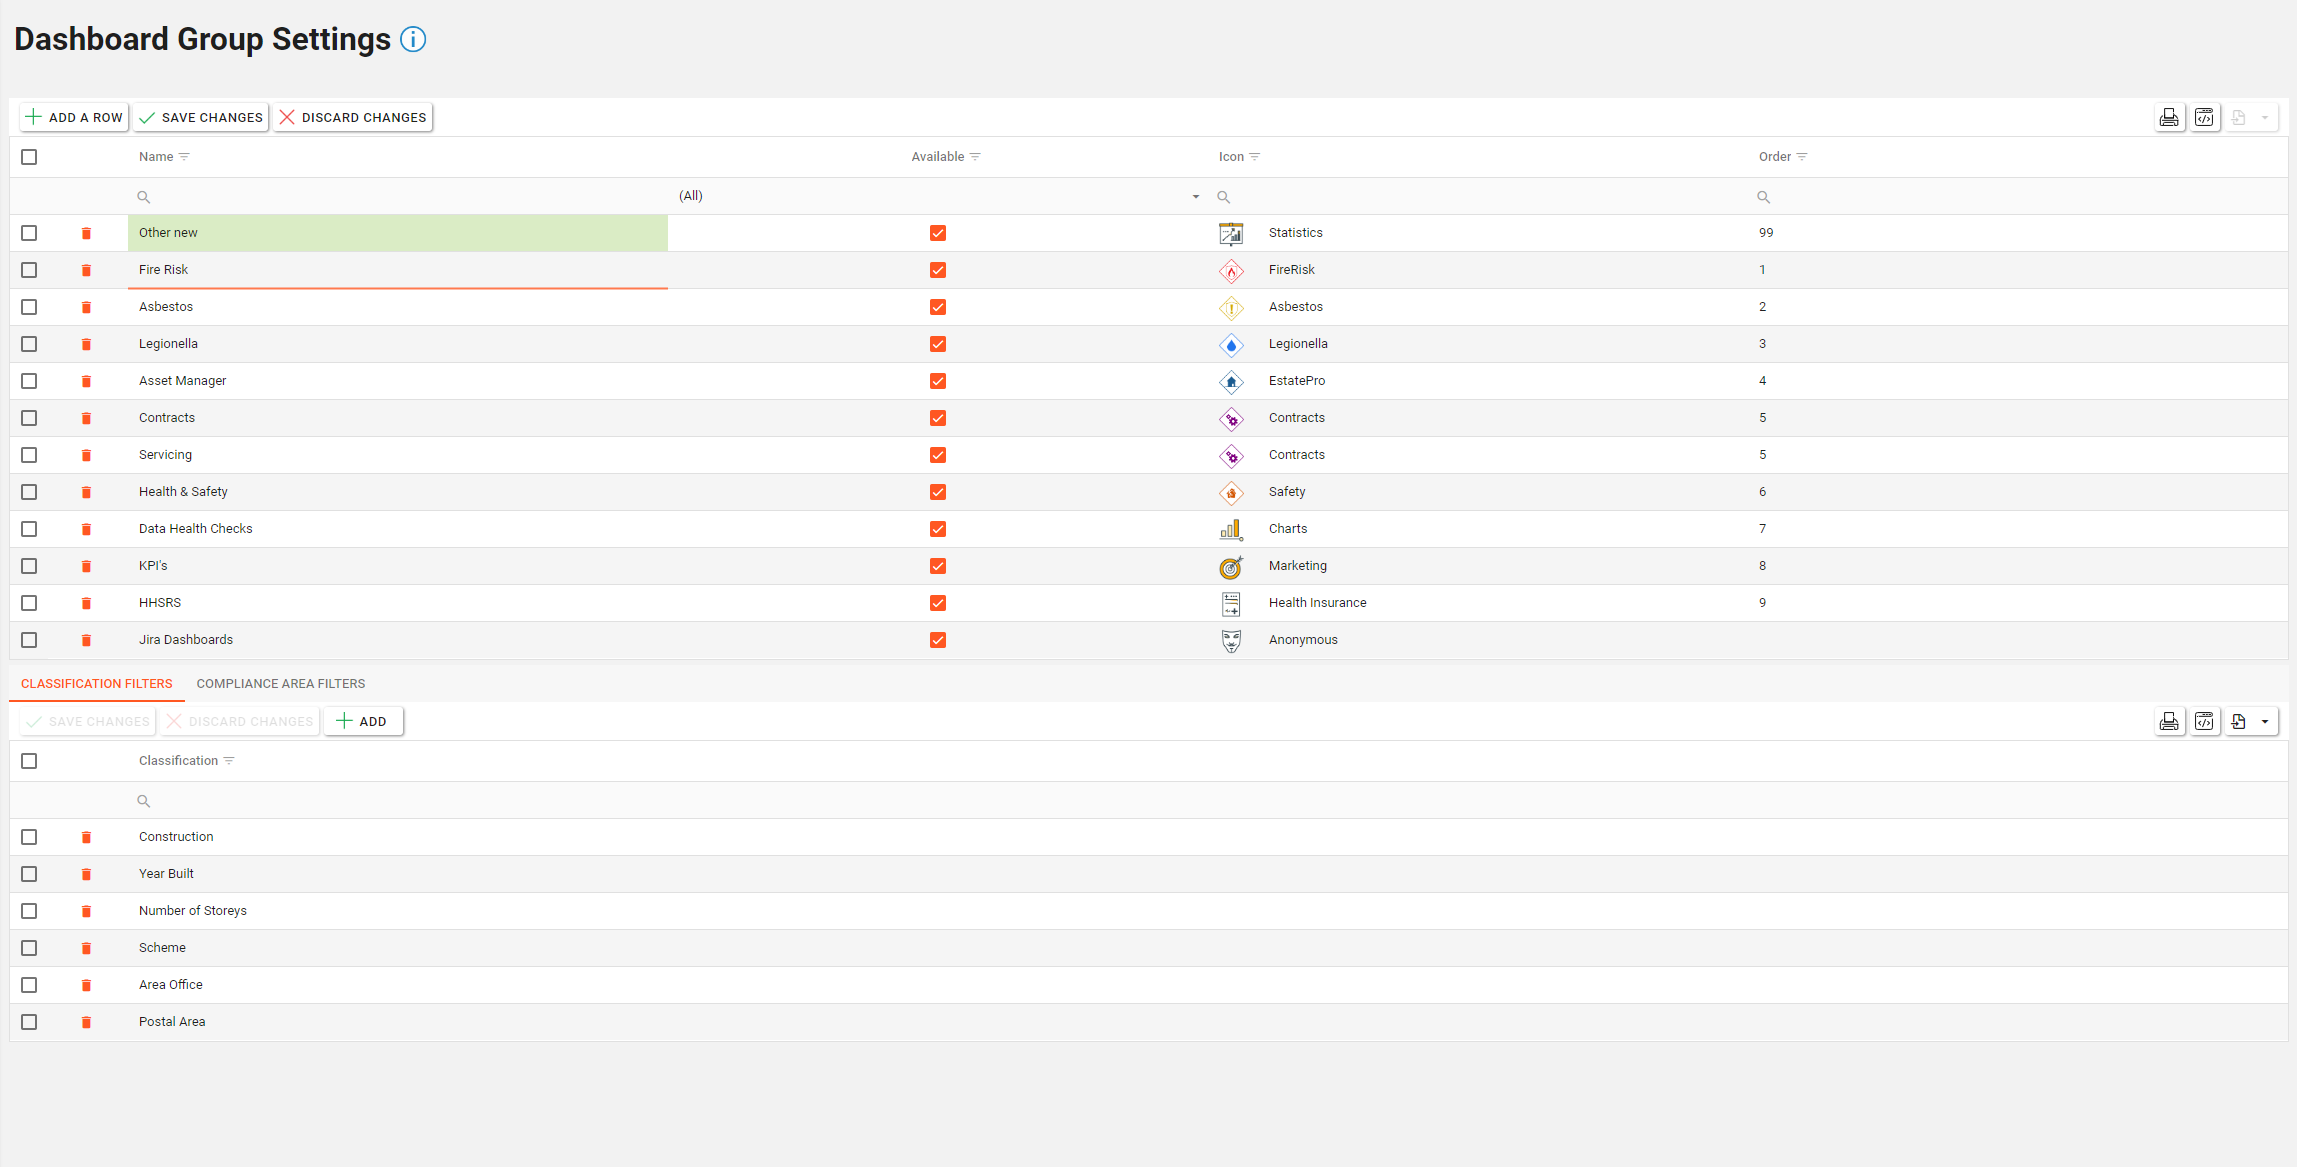
Any changes will be highlighted in green/red. To save the changes, click “Save Changes”.
Adding Dashboard Group Settings
To add a custom Dashboard Group Settings, click the “Add a row” button. A new row will be added to the grid. Fill in the required fields with the details of the new Switchboard item.
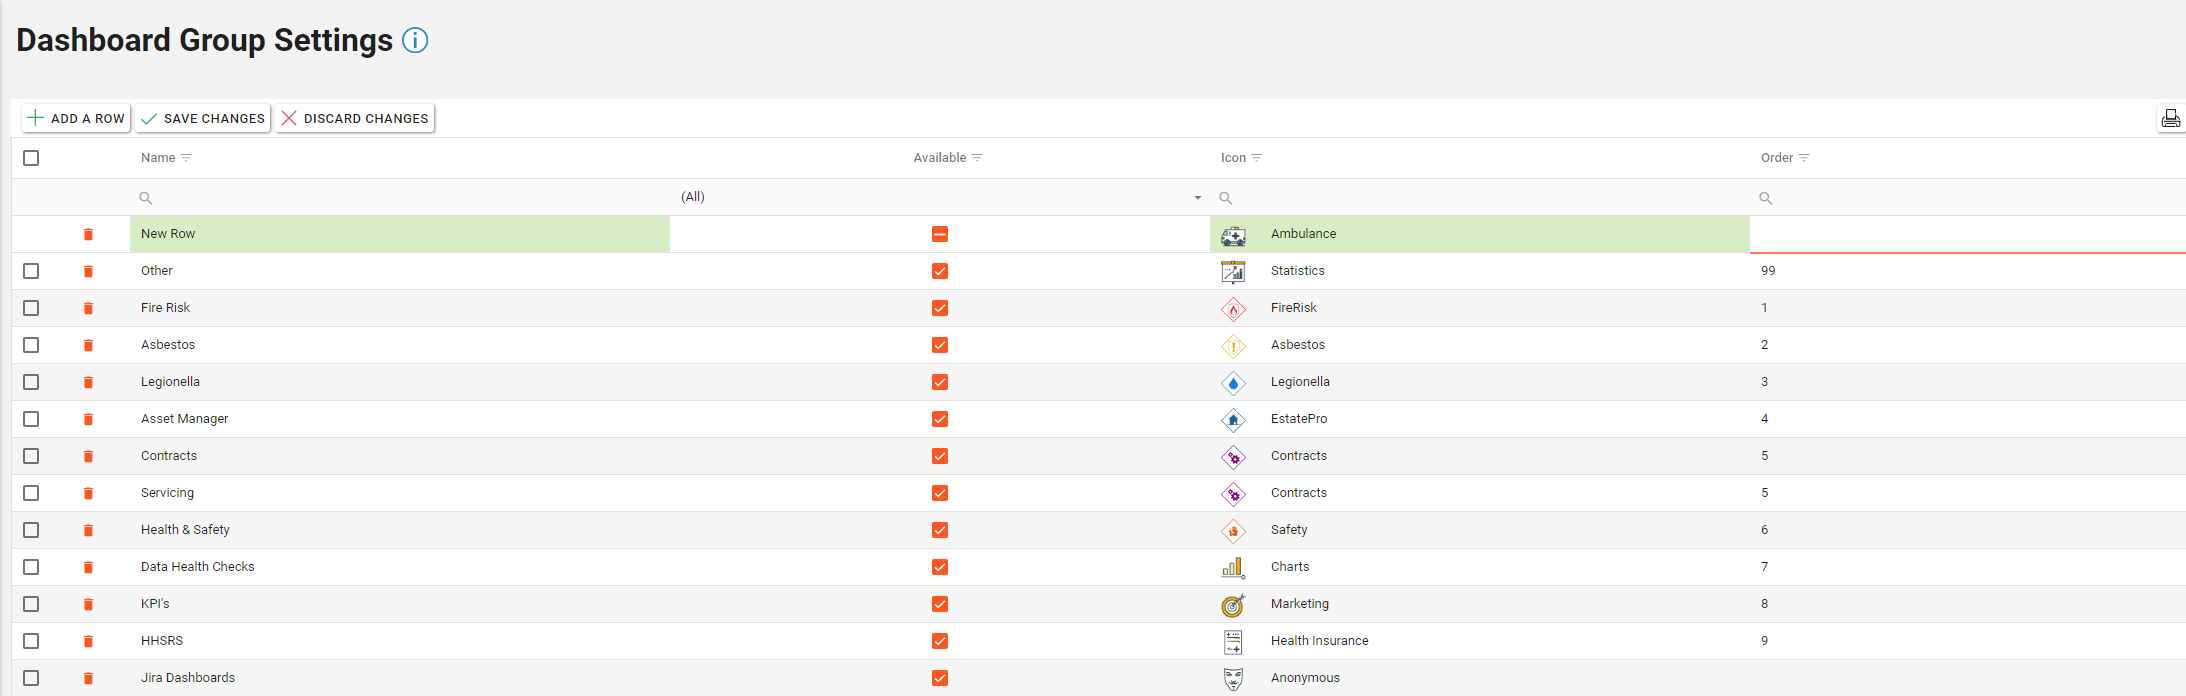
Once complete, click the “Save Changes” button to save the new Switchboard item.
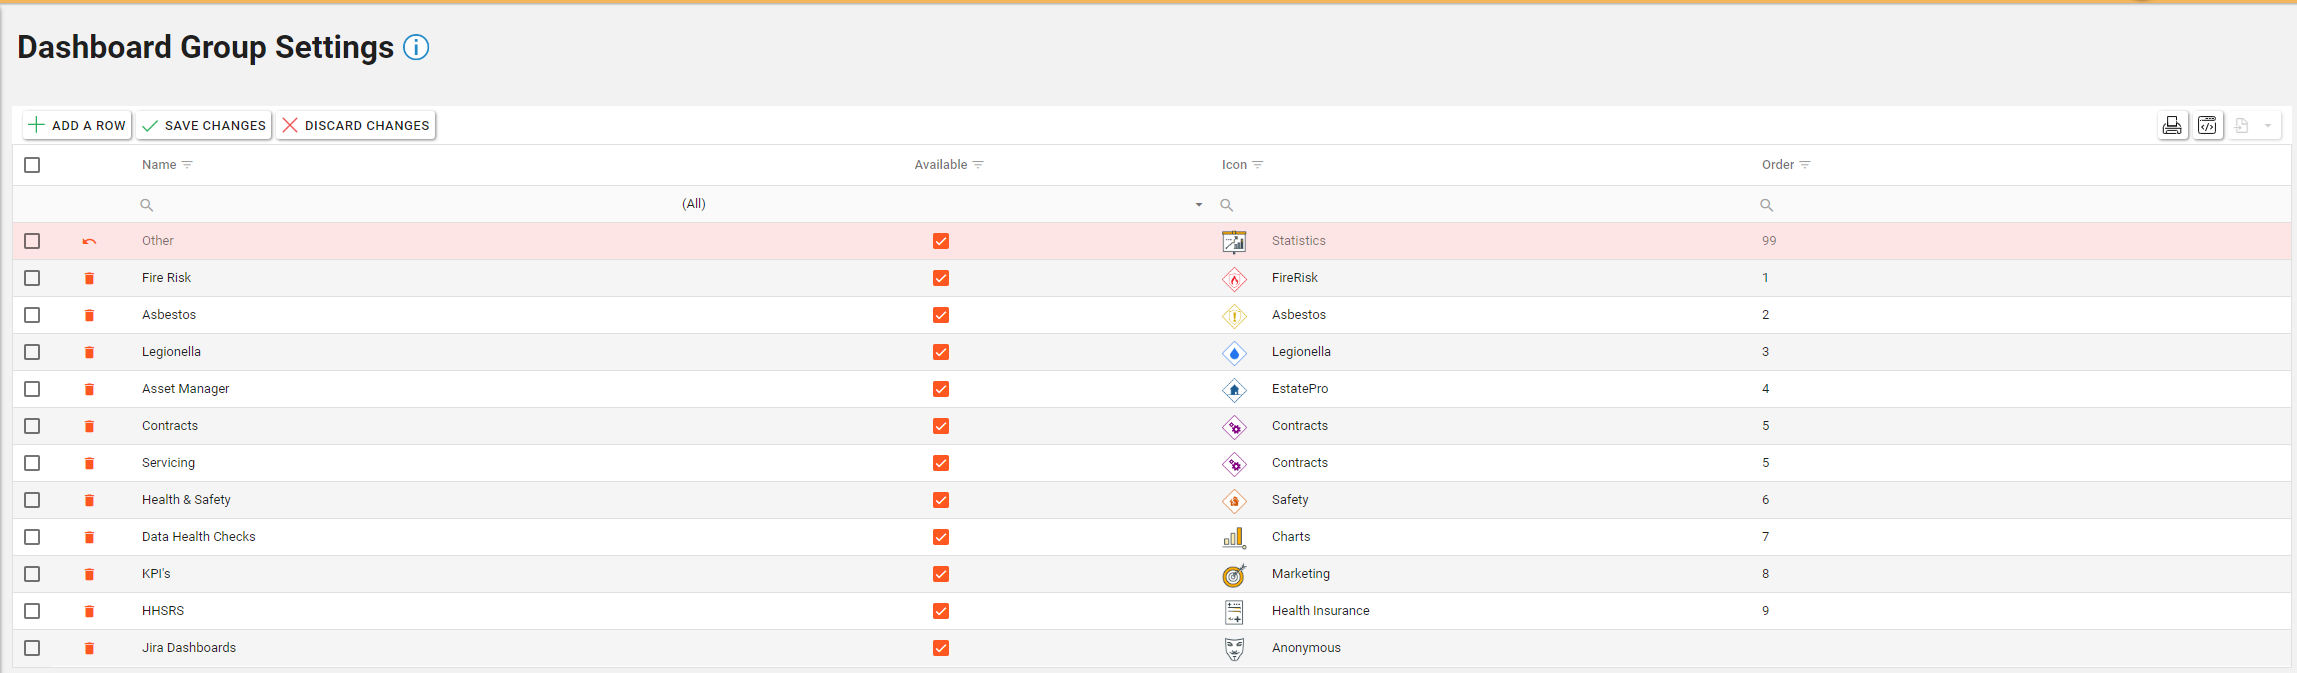
Deleting Dashboard Group Settings
To delete a Dashboard Group Settings, click the “bin” icon in the required row. This will turn the row red. Once complete, click the “Save Changes” button to update the Switchboard.
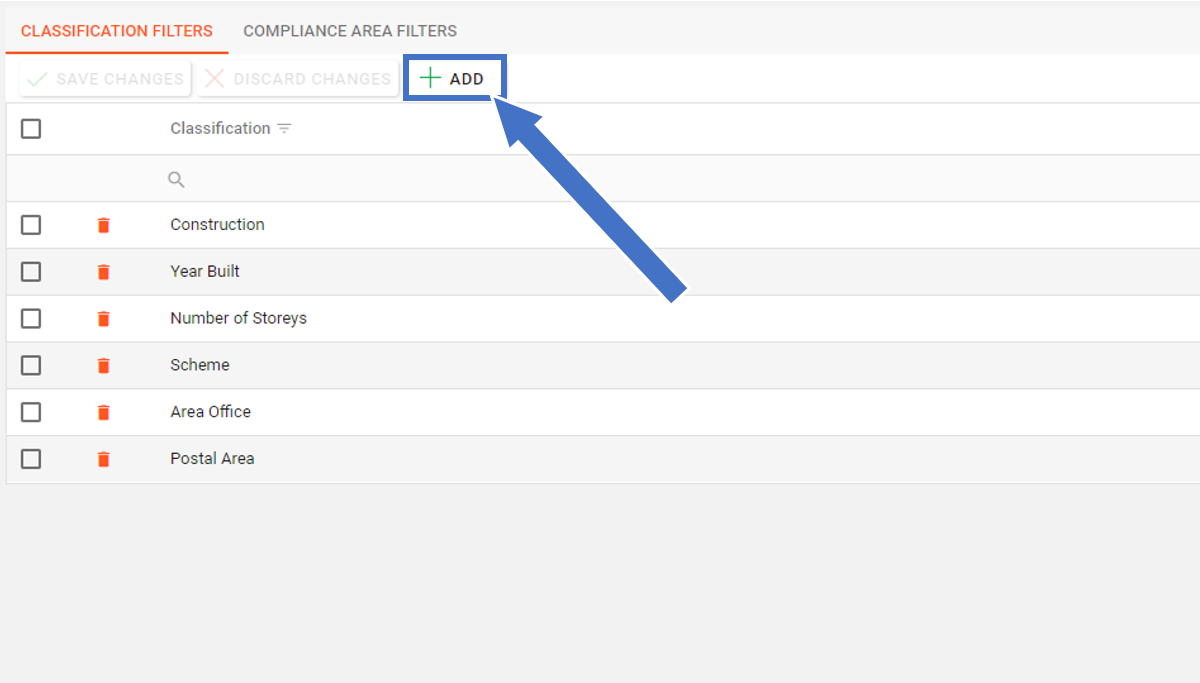
Adding Classification Filters or Adding Compliance Area Filters
To add a new filter to the dashboards, click the “Add” Button.
A Dialogue box will appear with the options available to add as a filter.
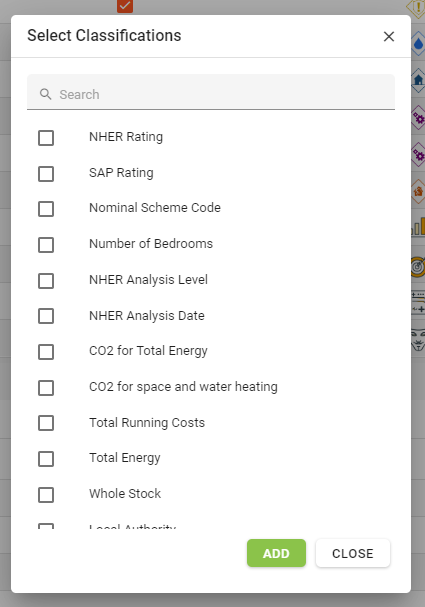
Select the required filters and click the “Add” button.
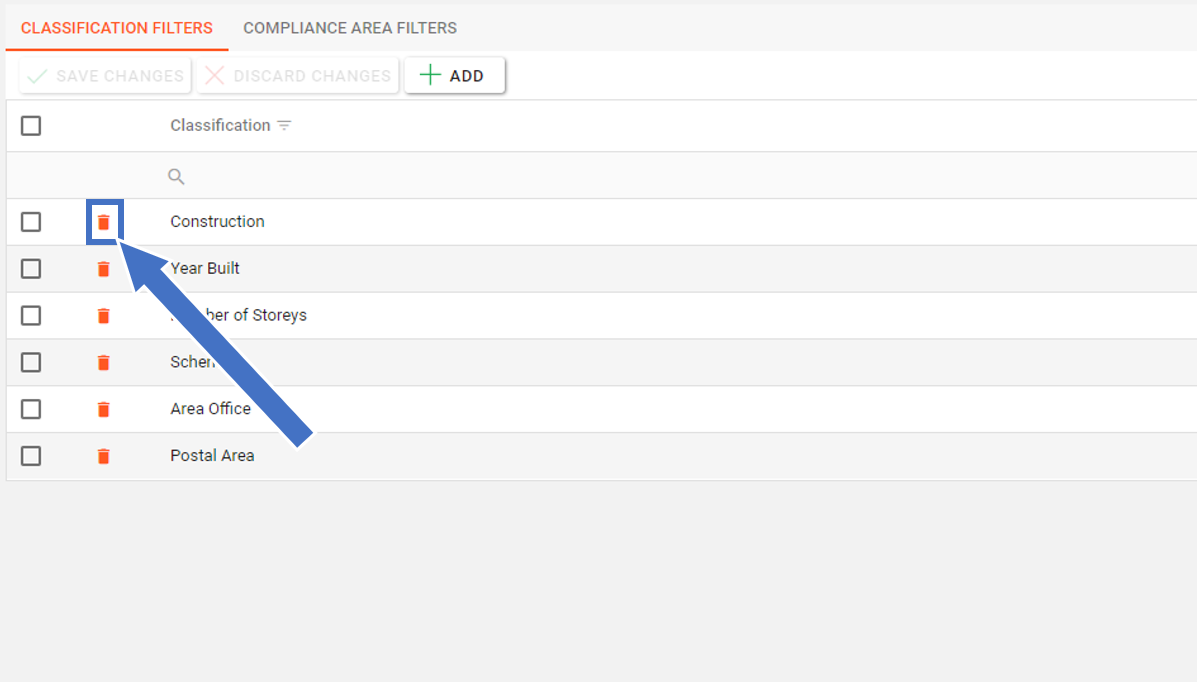
Deleting Classification Filters or Deleting Compliance Area Filters
To delete a filter, click the “bin” icon in the row of the filter you wish to delete.
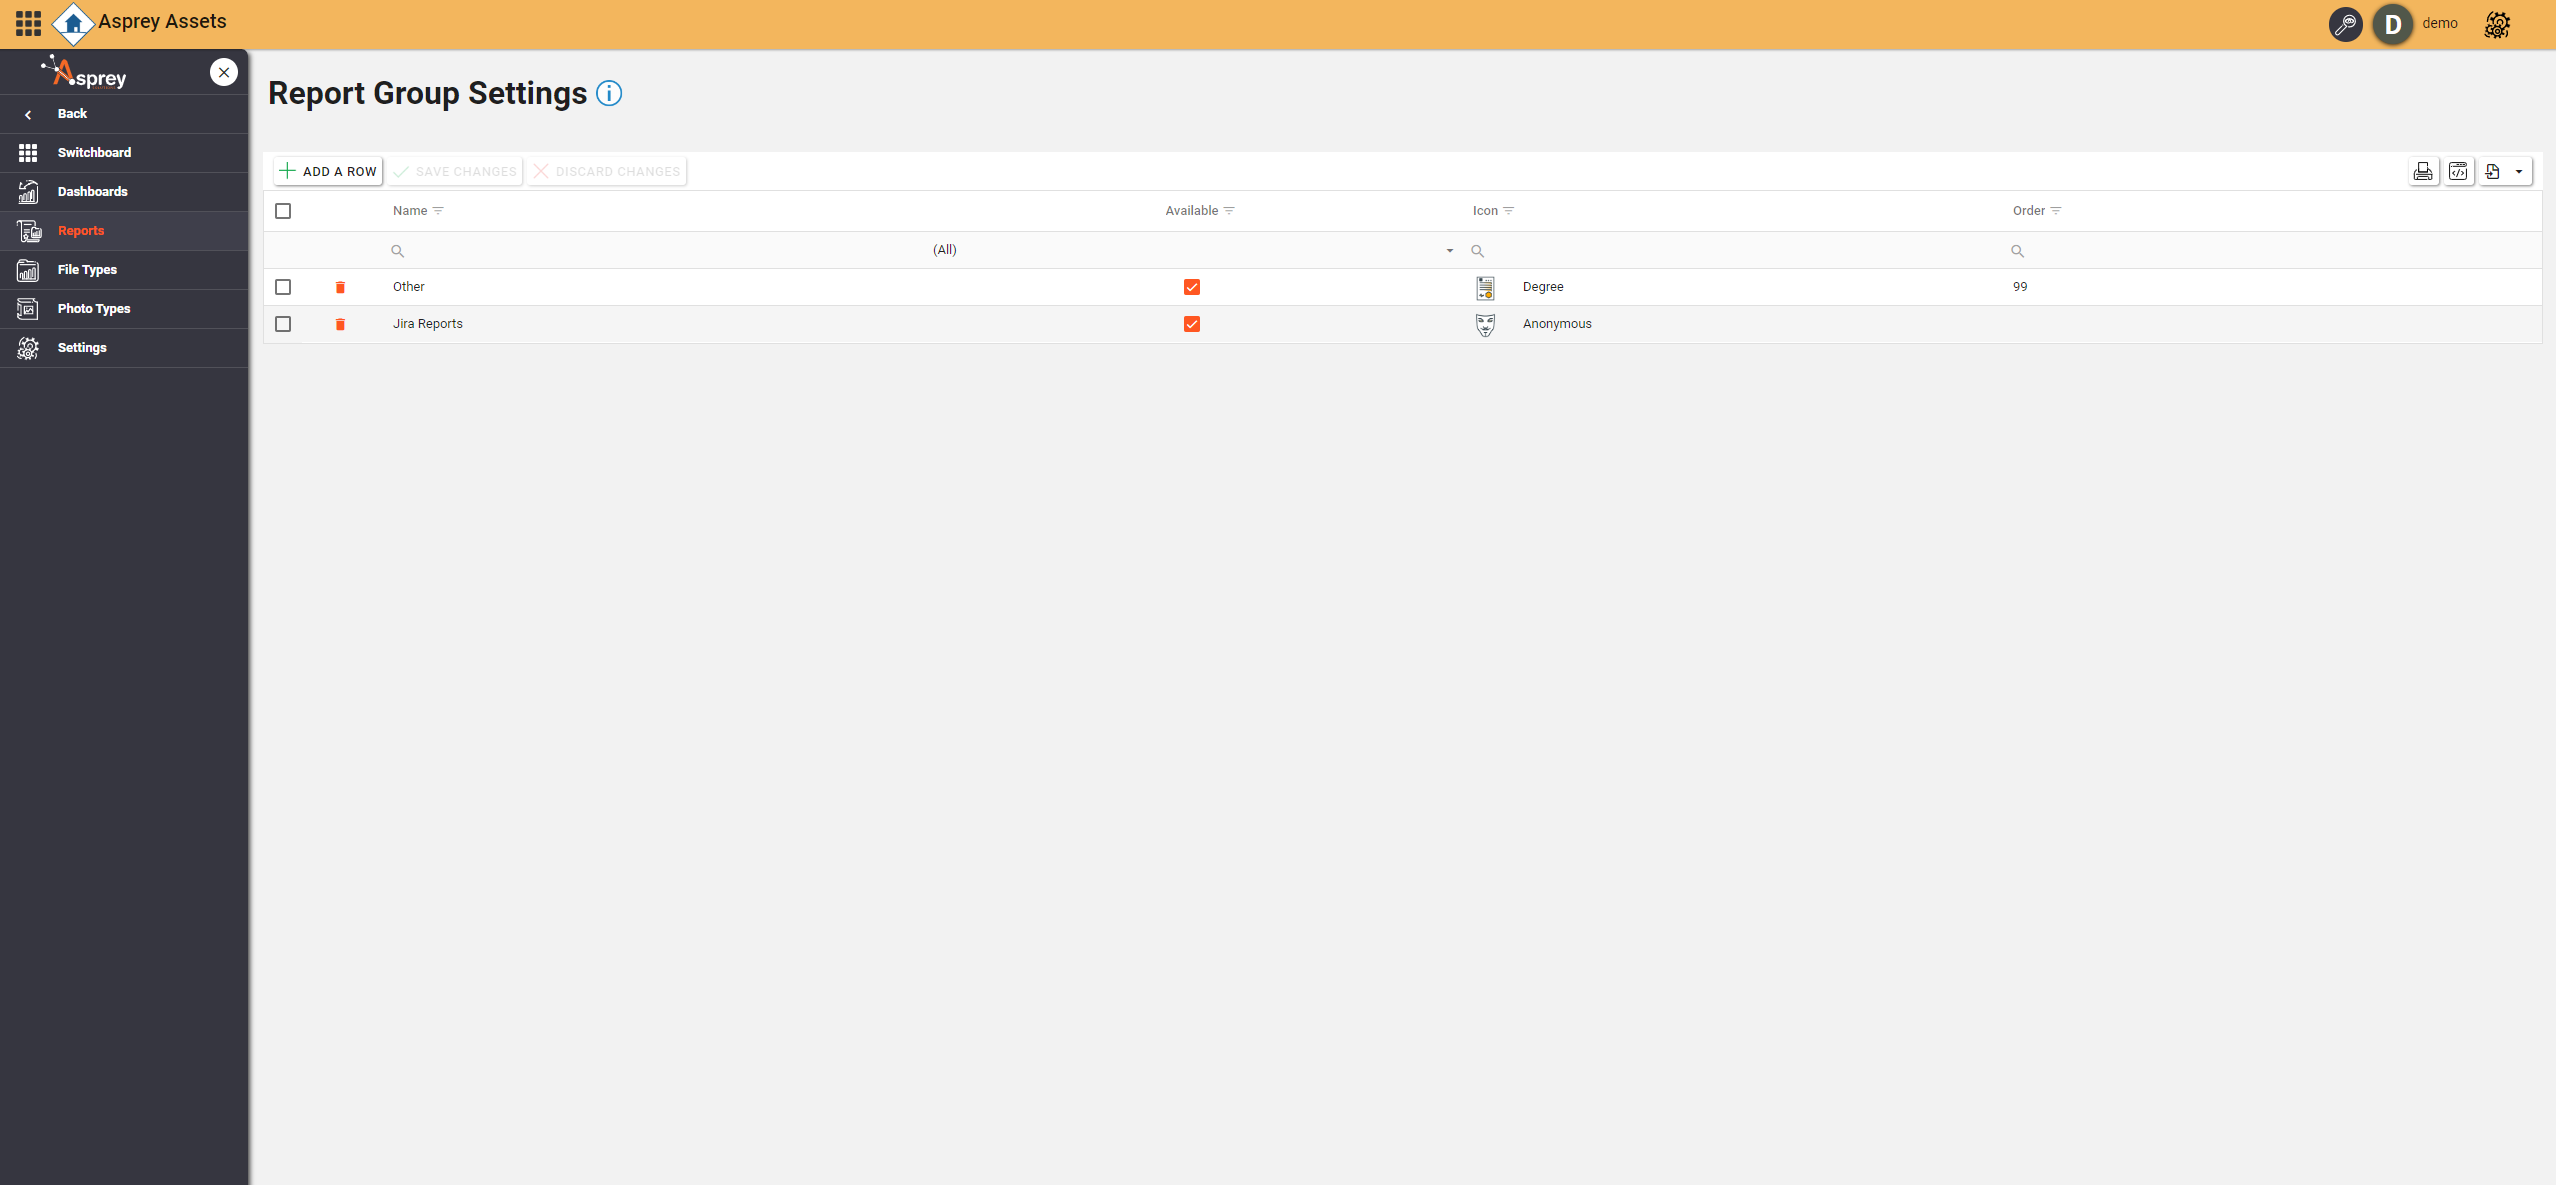
Reports
Within the Reports settings menu page, changes can be made to the Report Groups. These are groups that can be configured for e Reports section of Aspire BI.
Editing Report Groups
To edit any of the Report Group, simply select the section within the grid and begin editing.
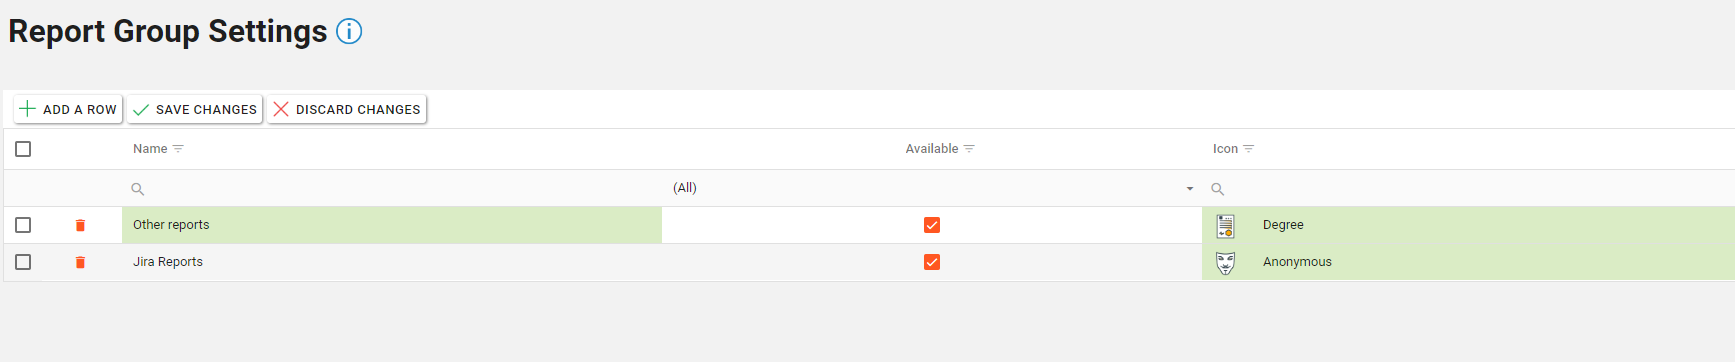
Any changes will be highlighted in green. To save the changes, click “Save Changes”.
Adding Report Groups
To add a custom Report Groups, click the “Add a row” button. A new row will be added to the grid. Fill in the required fields with the details of the new Report Group.
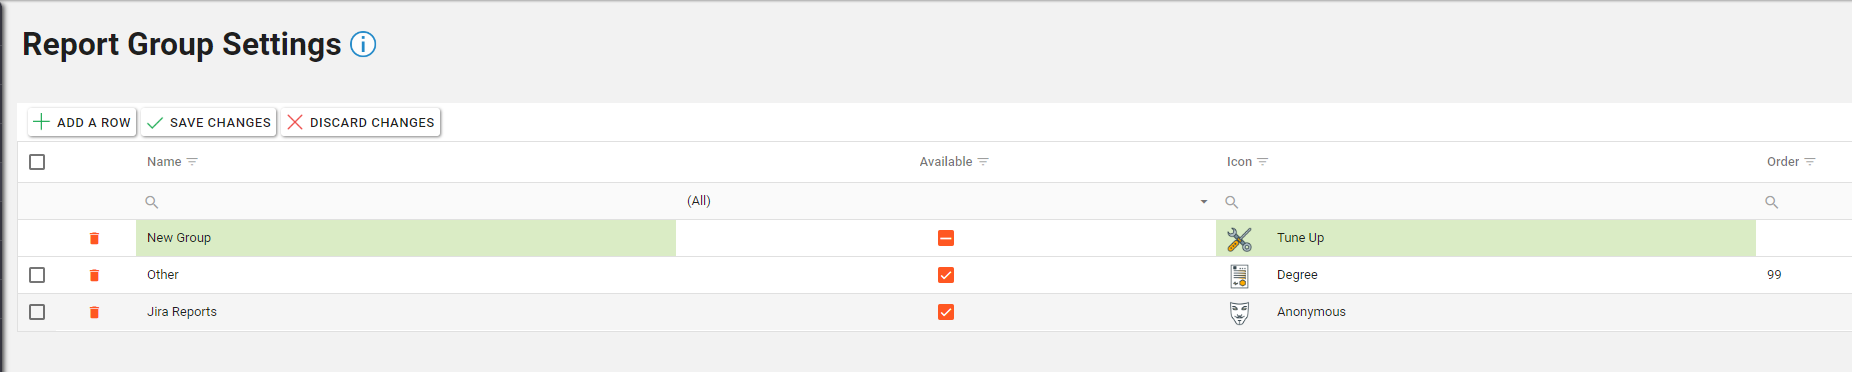
Once complete, click the “Save Changes” button to save the new Report Group.
Deleting Report Groups
To delete a Report Group, click the “bin” icon in the required row. This will turn the row red. Once complete, click the “Save Changes” button to update the Report Groups.
