
Configure Repair Groups
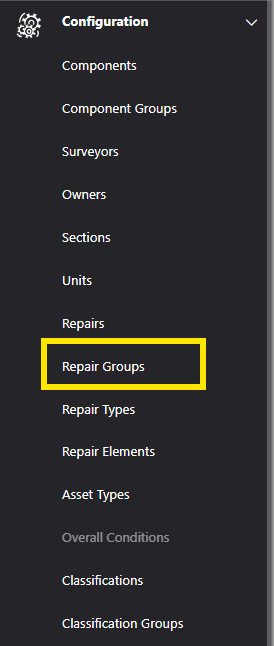
To configure the Repair Groups within Asprey Assets, select “Repair Groups” from the left-hand navigation pane under the “Configuration” heading.
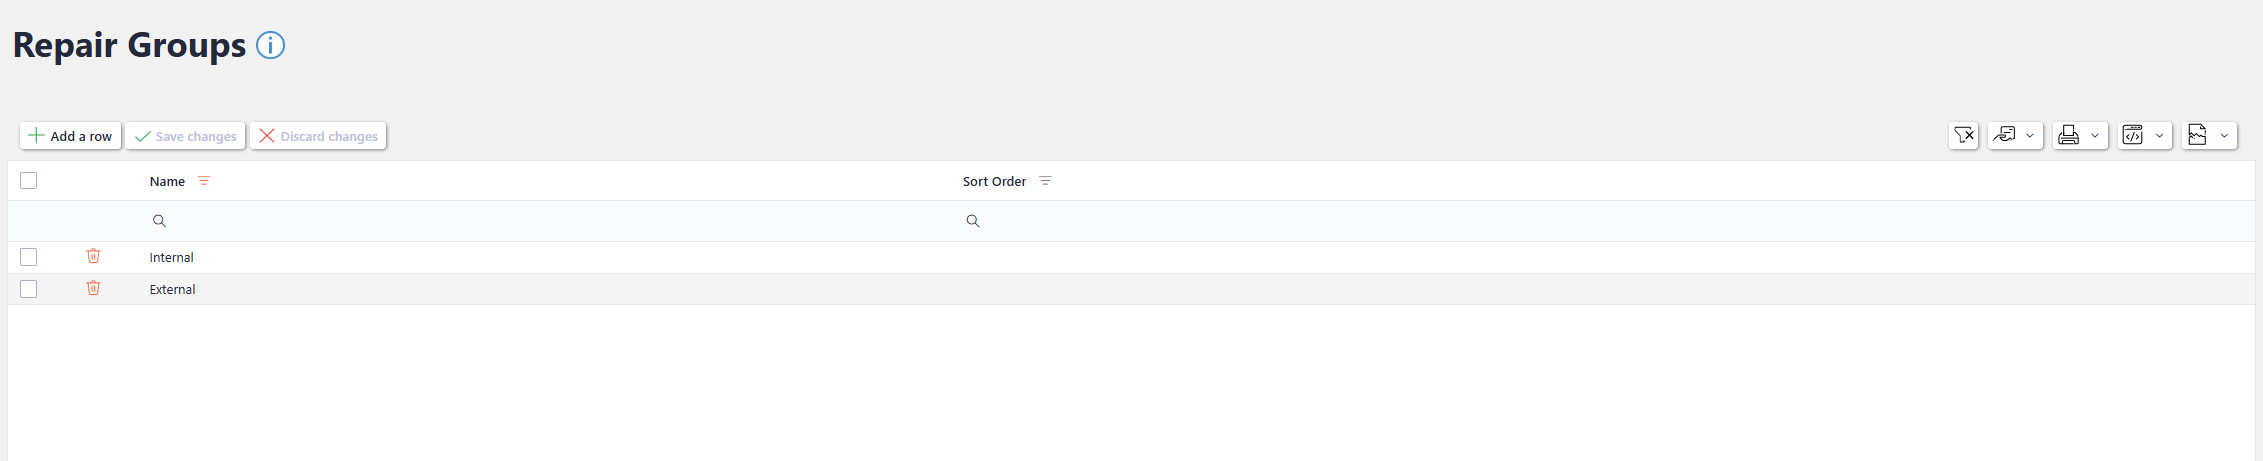
The Repair Groups are associated with Repairs to Group different Repairs together. The Repair Groups section allows users with the required permissions to add, update or delete Repair Group configuration.
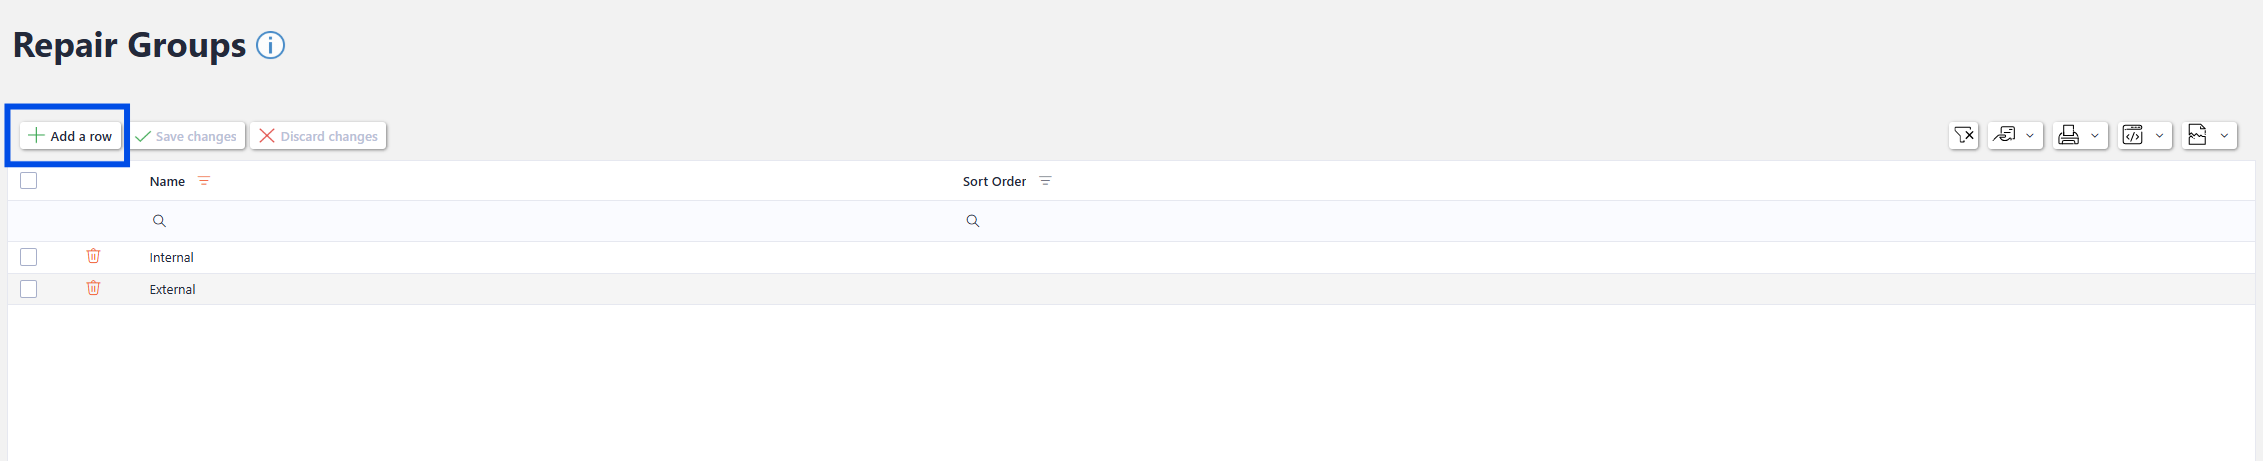
Add a new Repair Group
to add a new repair group, click the “Add a Row” button. A new row will appear in the grid to enter the name of the repair group and the sort order.
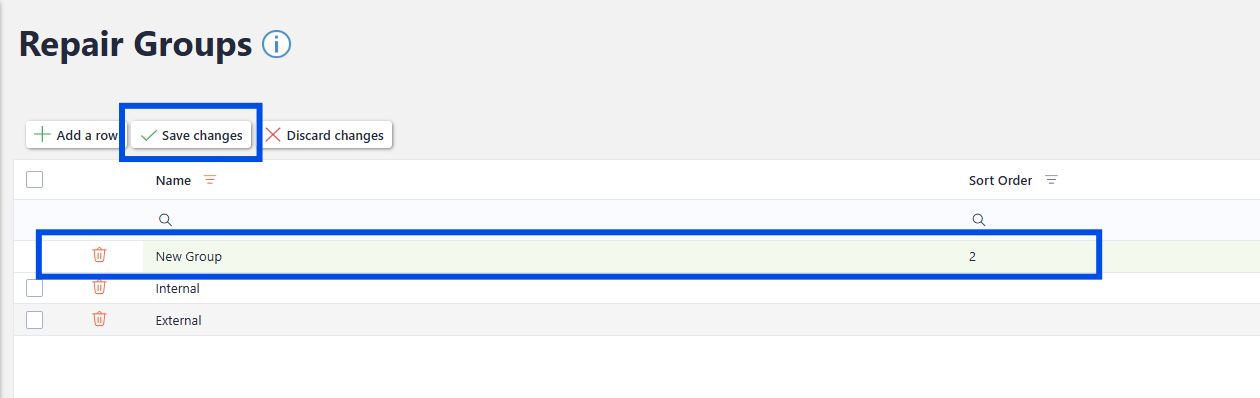
Once the new groups has been named and a sort order given (optional) click the “Save Changes” button to update the repair group.
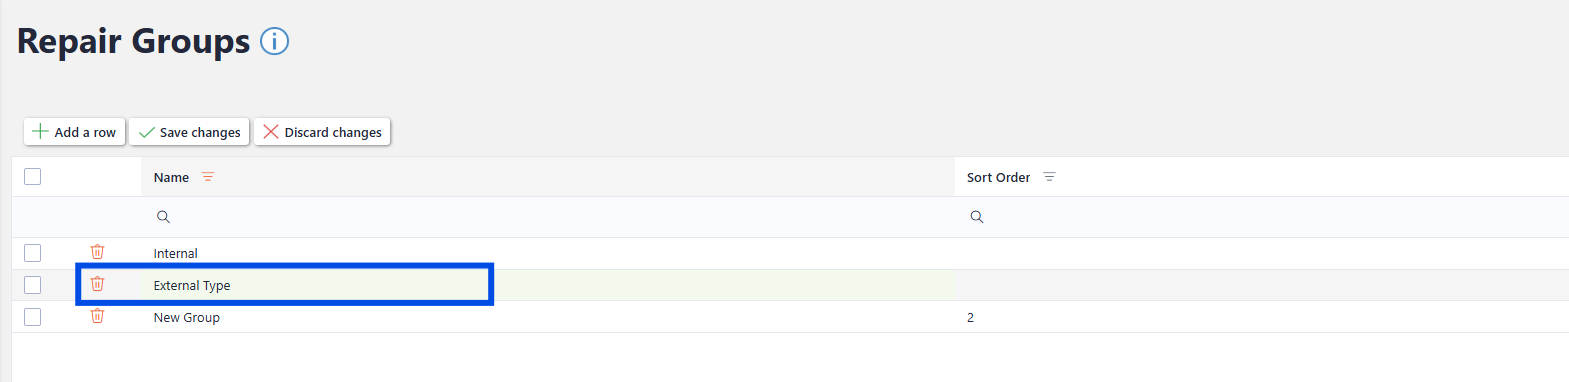
Updating an existing Repair Group
To update an existing Repair Group, click into the desired row and update the text. The field will change to a green highlight to indicate a change has been made but not yet saved.
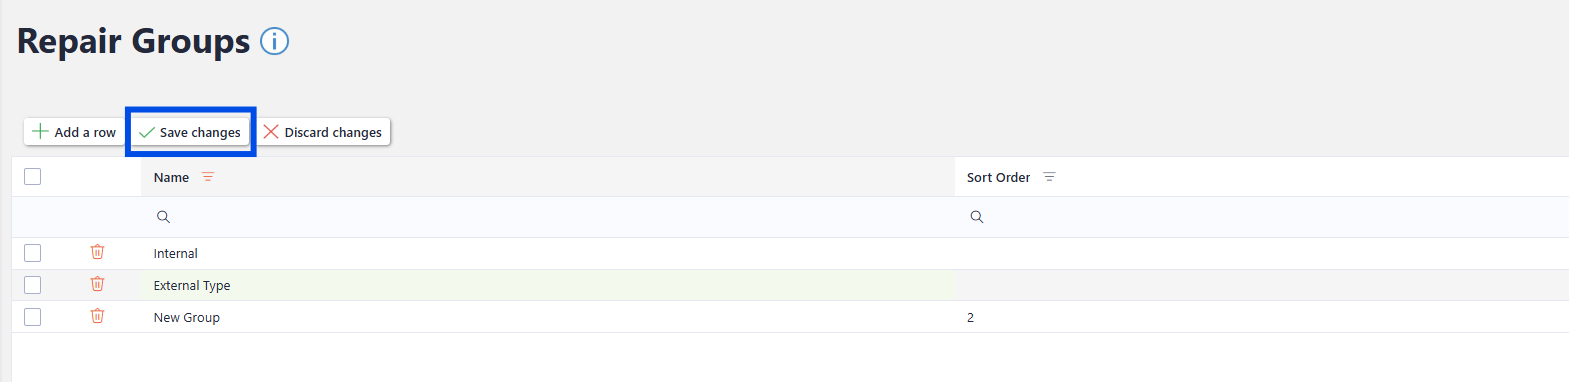
Once the desired changes have been made, click “Save Changes”. To discard the changes, click the “discard Changes” button and the changes will not be saved.
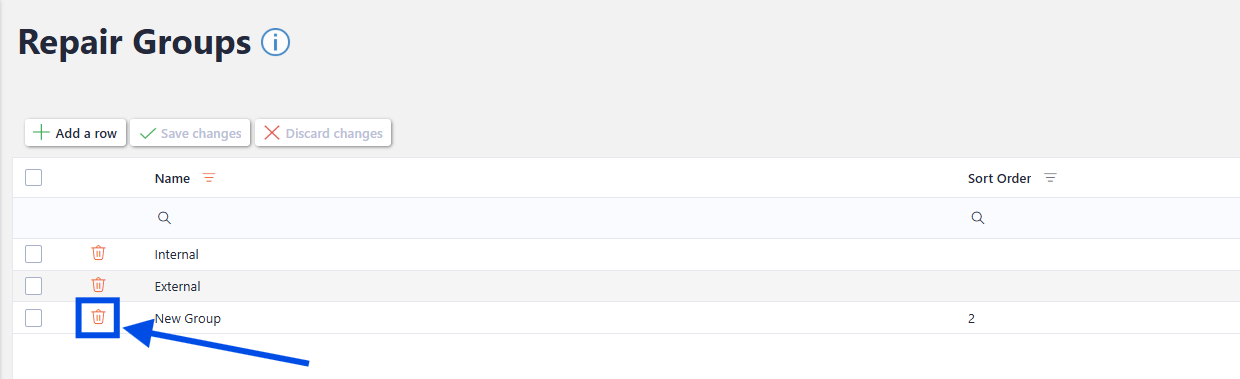
Deleting a Repair Group
You will not be able to delete a Repair Group that is associated with a Repair. Remove the Repair Group from the associated Repairs before continuing.
To delete and existing Repair Group, click the rubbish bin icon next to the row you wish to delete.
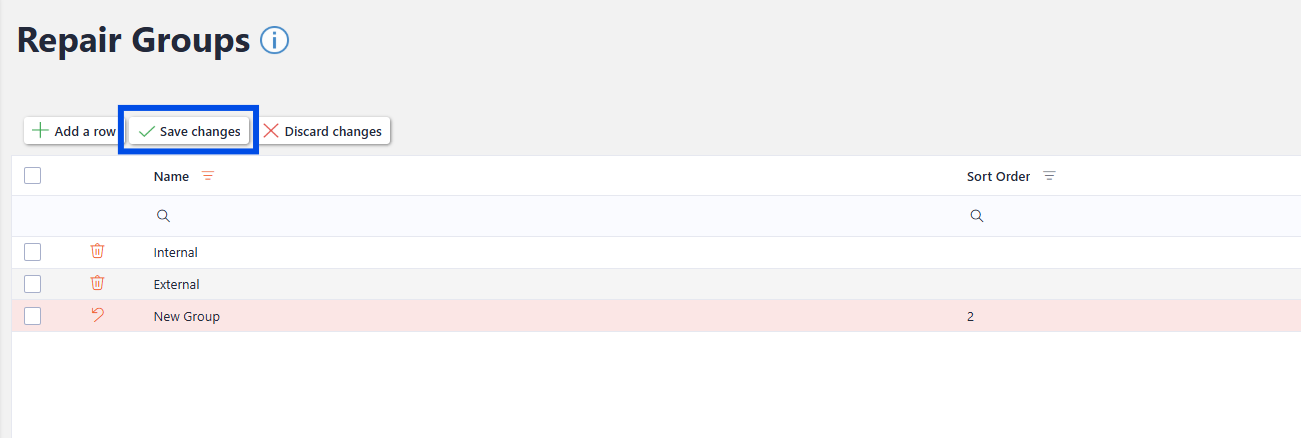
Once clicked, the record will turn red to indicate it is marked for deletion. The Rubbish bin icon will also update to show an “undo” arrow. If you click the “undo” arrow, it will reverse that record for deletion. To save the changes, click the “Save Changes” button.
A confirmation note will appear in the top right-hand corner to indicate the changes have been saved.