
Adding a Dashboard to the Board Portal
Within a dashboard lies the ability to take a snapshot of the dashboard in it’s current guise along with all of it’s data and preserve it for posterity.
This allows users to review the dashboard retrospectively to identify trends over time. It’s also very handy to be able present the dashboard ‘as is’ to a board at the end of a fiscal year.
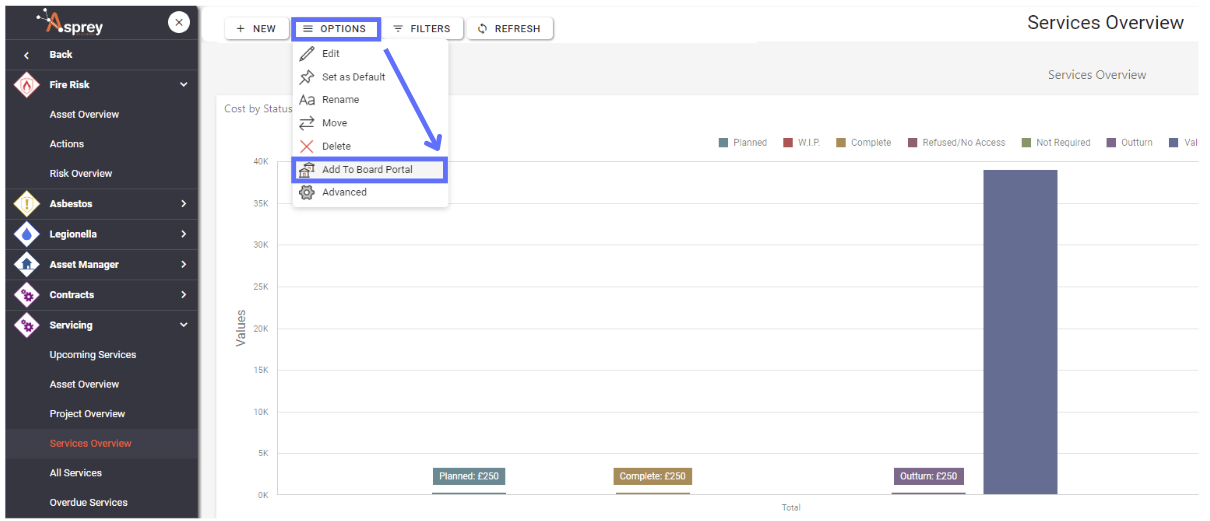
In order to take a snapshot of the current dashboard you need to click on the “Add To Board Portal” menu item on the “Options” menu. (see below)
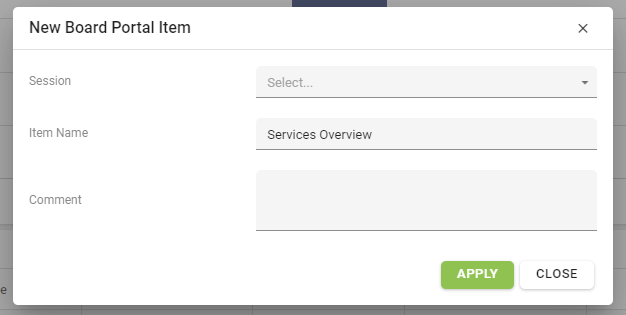
This will open the “New Board Portal Item” dialogue where you can choose from a session, specify a name and add a comment. (see below).
If you haven’t already set up Board Portal Sessions you’ll need to skip ahead to the section “Create a Board Portal Session”.
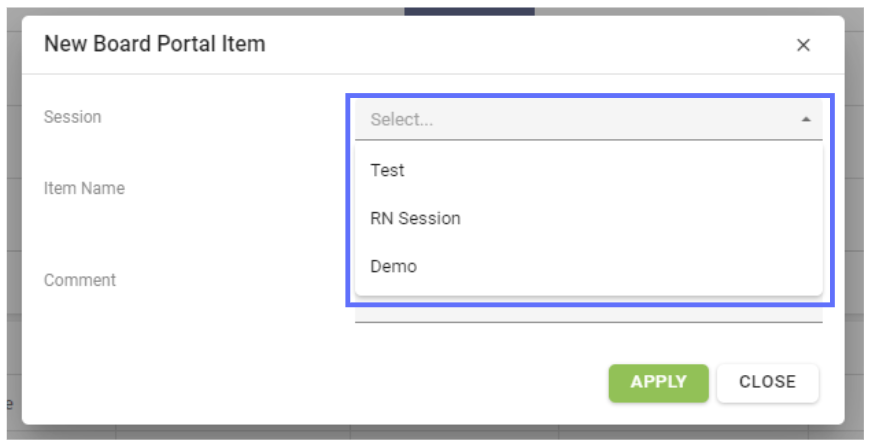
Choose a session from the dropdown list of sessions (see below)
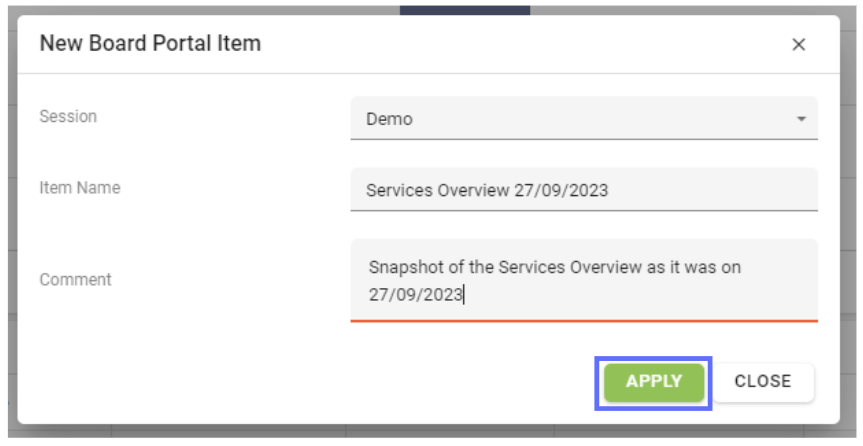
The Item Name is populated with dashboard name you’re adding to the Board Portal, however you can edit the name and I prefer to add a date to help identify when the item was created.
When you’ve completed the details about the new dashboard item, click on the “Apply” button to save the item to the database. (see below)
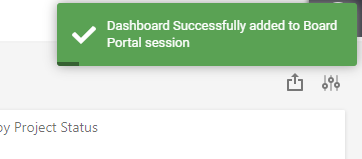
You will see a green toast notification box appear in the top righthand corner of the screen upon successfully saving the item, dashboard and all of it’s current data.
Create a Board Portal Session
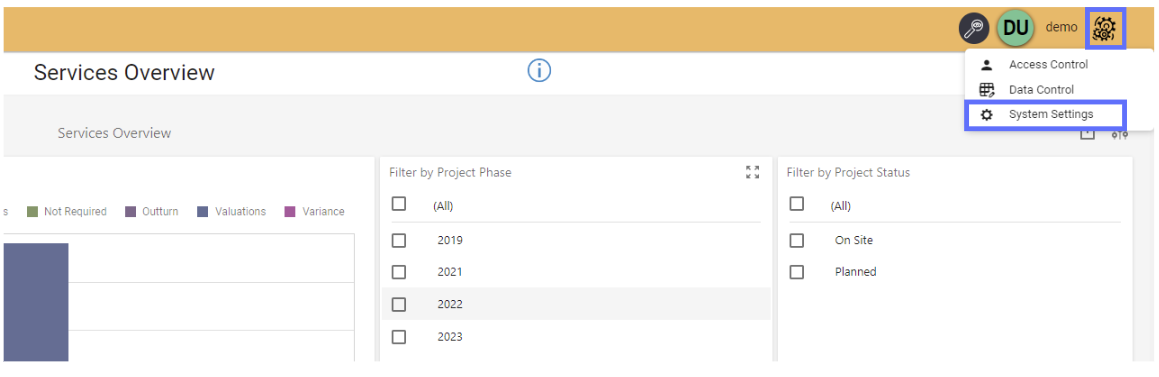
We can create a Board Portal Session by clicking on the cog in the top righthand corner of the screen and selecting the menu item “System Settings”. (see below)
You will require the following permissions to administer Board Portal Sessions in the System Settings menu.
AA_System_Settings_Create
AA_System_Settings_Delete
AA_System_Settings_Update
AA_System_Settings_View
AA_Board_Portal_Settings_Create
AA_Board_Portal_Settings_Delete
AA_Board_Portal_Settings_Update
AA_Board_Portal_Settings_View
Please speak with your internal administrator to grant the relevant permissions.
The System Settings Screen will be opened (see below)
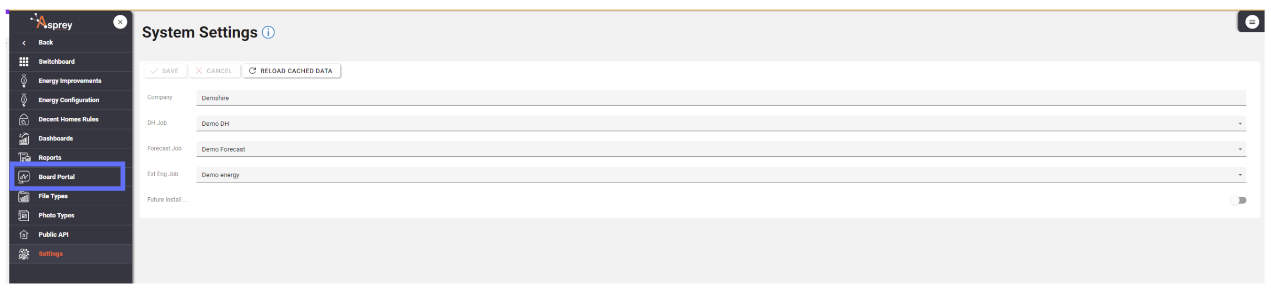
Click on the “Board Portal” menu item on in the lefthand navigation menu to open the “Board Portal Sessions” screen.

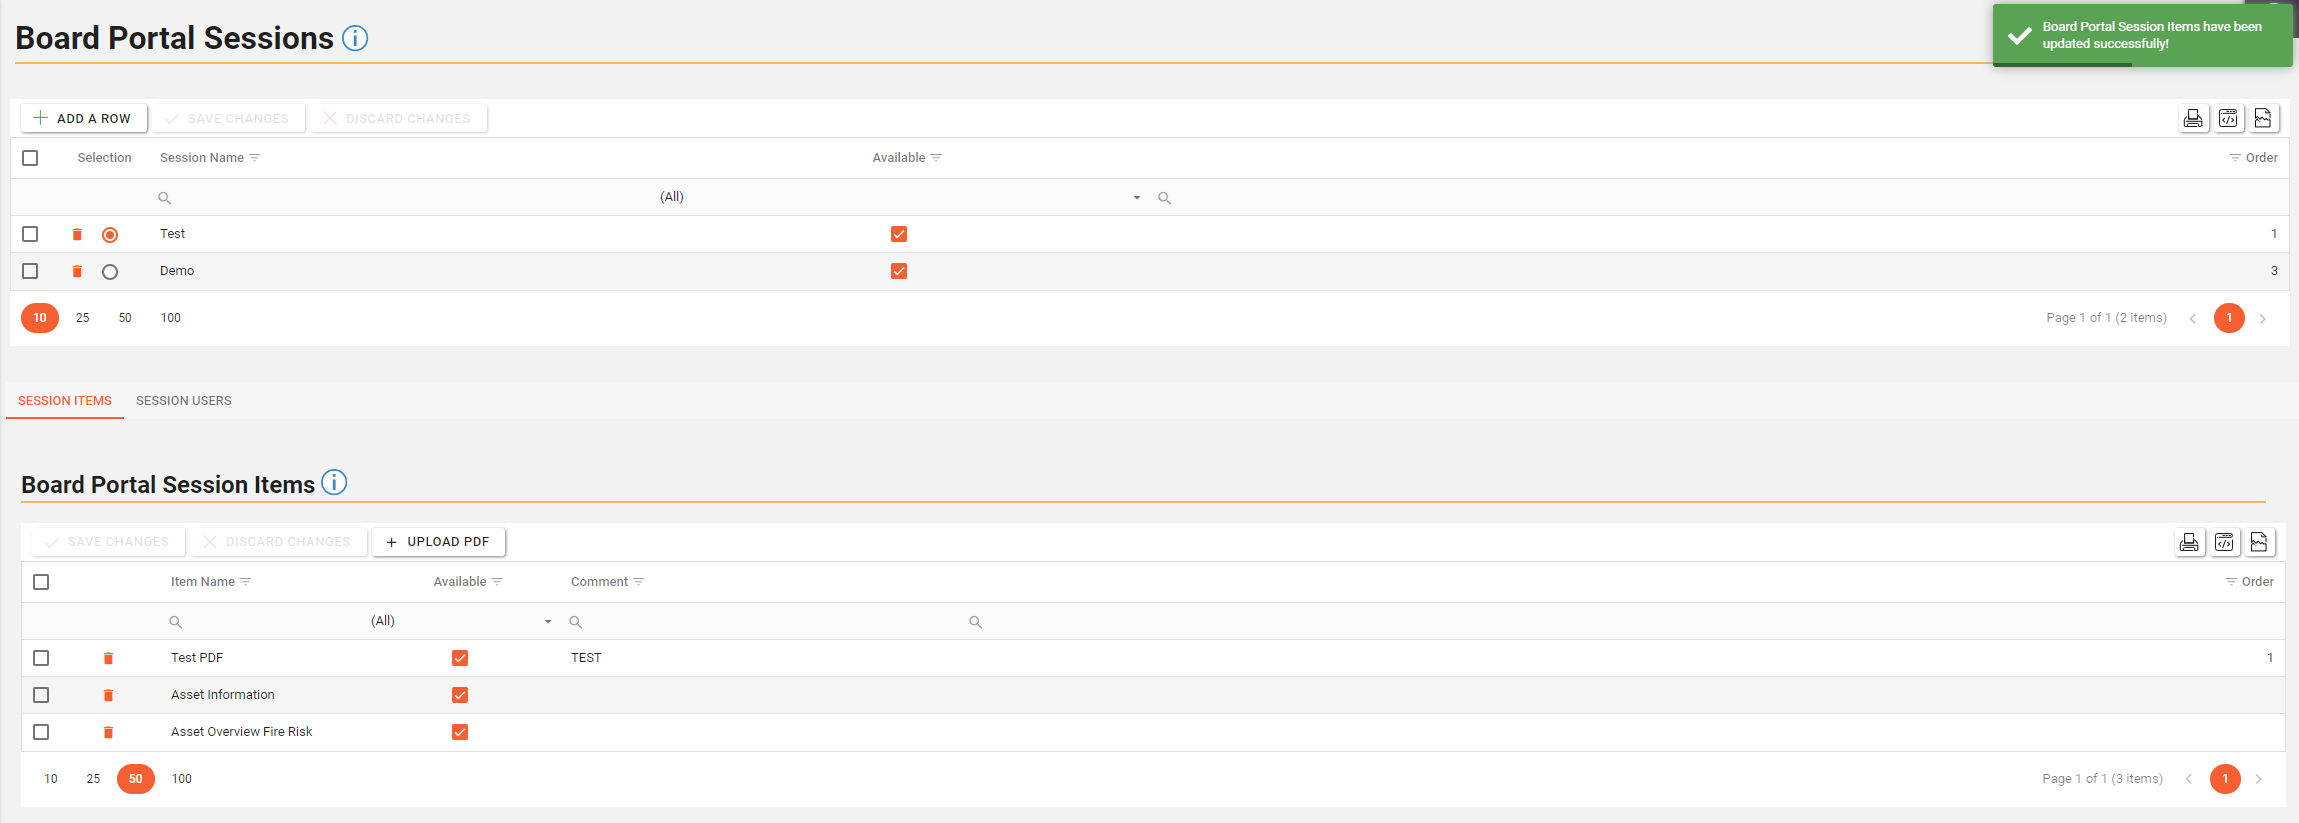
From the Board Portal Screen you can add, edit and delete sessions. Click on the “Add A Row” button to add a new session. (see below)

Specify a session name and the order number and click on the button “Save Changes” to persist the amendments back to the database.
The new session is created (see below)

Select the newly created session by clicking on the radio button on the left hand side of the session row (see below)

A bottom panel will be revealed. Here you can upload PDF’s to the session and specify which users can access the sessions.
Click on the “Session Users” tab in the bottom panel and select yourself from the list of users by clicking on the checkbox next to your name.
Click “Save Changes” in the bottom panel to persist the user selection for the currently selected session back to the database.
When you next visit a dashboard and attempt to “Add to Board Portal” the session will be available in the dropdown list of sessions. (see below)

Deleting a Board Portal Session
Deleting a Board Portal Session will permanently remove it from the database along with all of the linked session items, PDF’s, dashboards, etc.
In order to delete a Board Portal session and it’s linked items, you will first need to navigate to the Board Portal administration screen
Click on the cog in the top righthand corner of the screen and select the menu item “System Settings”. (see below)
You will require the following permissions to administer Board Portal Sessions in the System Settings menu.
AA_System_Settings_Create
AA_System_Settings_Delete
AA_System_Settings_Update
AA_System_Settings_View
AA_Board_Portal_Settings_Create
AA_Board_Portal_Settings_Delete
AA_Board_Portal_Settings_Update
AA_Board_Portal_Settings_View
Please speak with your internal administrator to grant the relevant permissions.
The System Settings Screen will now be opened (see below)
Click on the “Board Portal” menu item on in the lefthand navigation menu to open the “Board Portal Sessions” screen.
Click on the trash can icon on the row that corresponds to the session you want to delete.

This will turn the trash can icon into a revert arrow and the background of the row will be changed to a dusky pink colour indicating the session row has been marked for deletion.
Click on the “Save Changes” button to complete the deletion. (see below)

The session has now been deleted

Deleting a Board Portal Session Item
Deleting a Board Portal Session Item will permanently remove it from the database, the parent session will remain but the PDF or dashboard data will be removed.
In order to delete a Board Portal Session Item, you will first need to navigate to the Board Portal administration screen
Click on the cog in the top righthand corner of the screen and select the menu item “System Settings”. (see below)
You will require the following permissions to administer Board Portal Sessions in the System Settings menu.
AA_System_Settings_Create
AA_System_Settings_Delete
AA_System_Settings_Update
AA_System_Settings_View
AA_Board_Portal_Settings_Create
AA_Board_Portal_Settings_Delete
AA_Board_Portal_Settings_Update
AA_Board_Portal_Settings_View
Please speak with your internal administrator to grant the relevant permissions.
The System Settings Screen will now be opened (see below)
Click on the “Board Portal” menu item on in the lefthand navigation menu to open the “Board Portal Sessions” screen. (see below)
Choose the session that has the item you want to delete by clicking on the radio button on the session row. (see below)

Choose the item you want to delete by clicking on the trash can icon adjacent to the item row. (see below)

this will turn the trash can icon into a revert arrow and make the row background a dusky pink, indicating it’s been marked for deletion.
Click on the “Save Changes” button to permanently delete the item from the database.
The item as now been deleted from the session.